As the summer season comes to an end, it’s time to start thinking about closing your pool. Properly winterizing your pool is essential to protect it from damage during the colder months and ensure it’s ready to use when spring arrives. In this guide, we’ll walk you through the step-by-step process of closing your pool.
Step 1: Clean Your Pool
Before closing your pool, it’s crucial to clean it thoroughly. Remove any debris, leaves, and dirt from the water using a skimmer or pool vacuum. Brush the walls and floor of the pool to remove any algae or dirt buildup. It’s essential to start with a clean pool to prevent any potential issues during the winter.

Credit: www.prestigepoolsandspas.com
Step 2: Balance the Water Chemistry
Once your pool is clean, it’s time to balance the water chemistry. Test the water and adjust the pH, alkalinity, and calcium hardness levels as needed. It’s crucial to ensure that the water chemistry is properly balanced before closing the pool to prevent any damage to the pool surface or equipment.
Step 3: Shock the Pool
After balancing the water chemistry, it’s recommended to shock the pool to kill any remaining bacteria or algae. Follow the manufacturer’s instructions for the shock treatment and allow the pool to circulate for a few hours to ensure the shock is distributed evenly throughout the water.
Step 4: Add Winterizing Chemicals
Adding winterizing chemicals to your pool is essential to protect it during the winter months. These chemicals help prevent algae growth, staining, and scaling. Follow the manufacturer’s instructions for the correct dosage and application of winterizing chemicals.
Step 5: Lower the Water Level
Before closing your pool, lower the water level to below the skimmer mouth to prevent any potential damage from freezing temperatures. Use a submersible pump or siphon to lower the water level to the appropriate height.
Step 6: Drain and Winterize the Equipment
It’s essential to drain and winterize your pool equipment to protect it from freezing temperatures. This includes draining the pump, filter, heater, and any other equipment. Remove any drain plugs and store them in a safe place for easy access in the spring.

Credit: aquapoolsonline.com
Step 7: Cover Your Pool
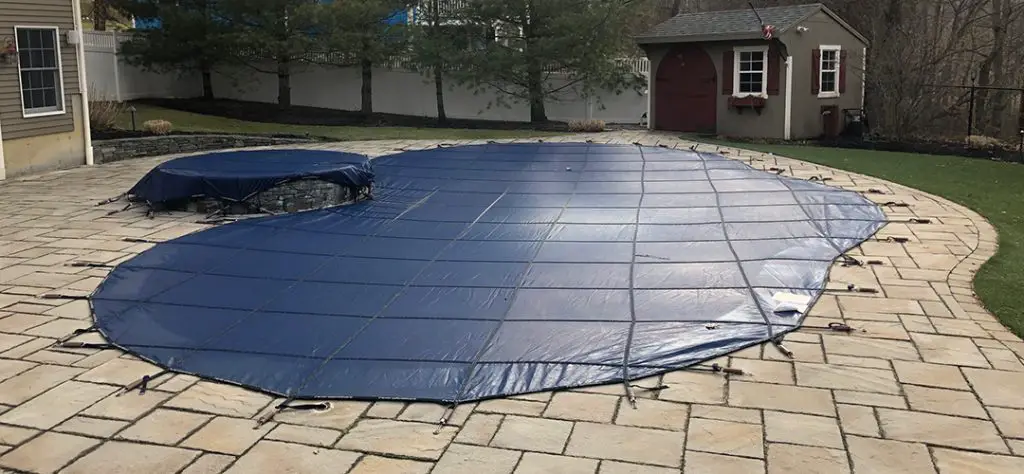
Once you’ve completed all the necessary steps to winterize your pool, it’s time to cover it. Use a durable and properly fitting pool cover to protect your pool from debris, sunlight, and harsh weather conditions. Make sure the cover is securely fastened to prevent any debris from entering the pool.
Step 8: Store Pool Accessories
Before closing your pool, make sure to remove and store any pool accessories such as ladders, toys, and floats. Store these items in a dry and secure location to prevent damage and ensure they’re ready to use when you reopen your pool in the spring.
Step 9: Regular Maintenance Checks
Throughout the winter months, it’s essential to perform regular maintenance checks on your pool. Remove any debris that may accumulate on the pool cover, check the water level, and inspect the pool equipment for any signs of damage. By staying on top of maintenance, you’ll ensure your pool is ready to reopen in the spring.
Step 10: Reopen Your Pool
As the weather starts to warm up in the spring, it’s time to reopen your pool. Remove the cover, clean the pool, balance the water chemistry, and start up the pool equipment. Perform a thorough inspection to ensure everything is in proper working order before inviting friends and family over for a swim.
Conclusion
Closing your pool properly is essential to protect it during the winter months and ensure it’s ready for use in the spring. By following these ten steps to close your pool, you’ll help prevent damage, save time and money on repairs, and enjoy a stress-free pool opening next season. Remember, proper pool maintenance is key to a clean, safe, and enjoyable swimming experience.


