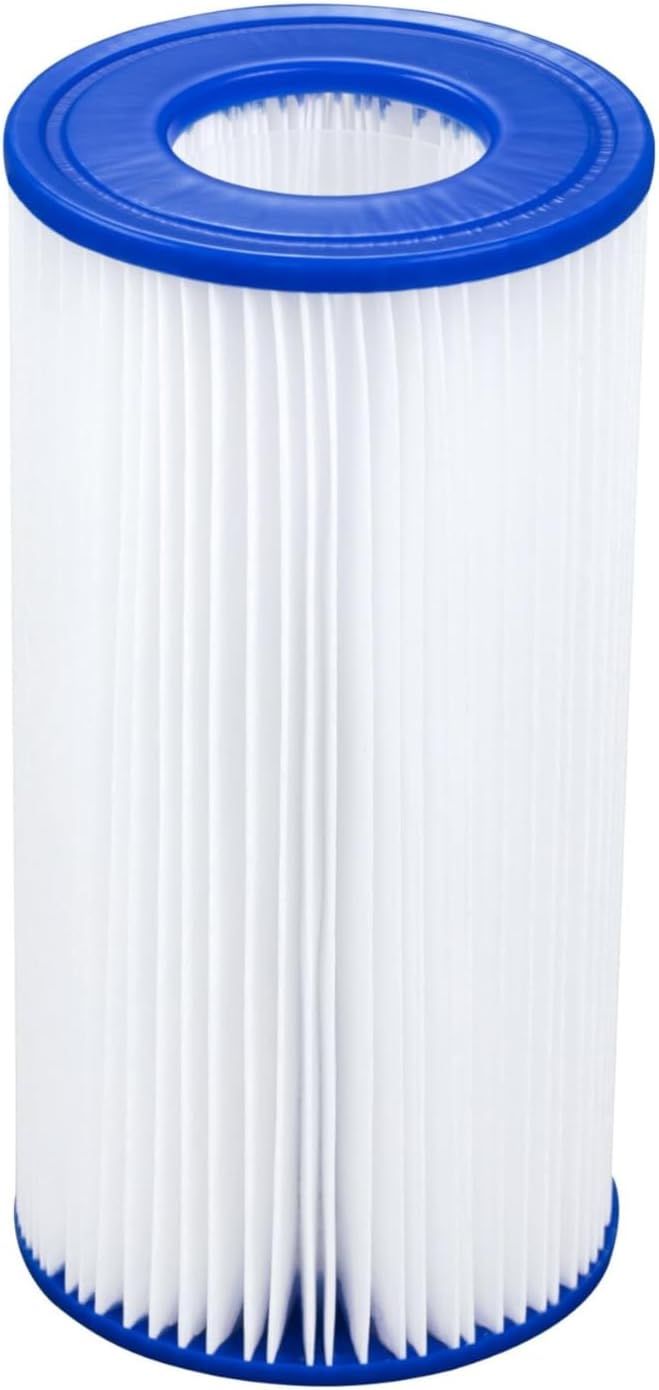
To change the sand in your pool filter, follow these steps: 1. Shut off the pool pump.
2. Remove the drain plug and drain the water. 3. Remove the filter head or multiport valve. 4. Scoop out the old sand and clean the filter tank. 5. Replace the drain plug and fill the tank with new pool filter sand.
6. Reinstall the filter head or multiport valve. 7. Turn on the pool pump and check for any leaks. Now you know how to change the sand in your pool filter.
5 Best Pool Filters For All Types Of Pools
Getting Started
Before delving into the process of changing the sand in your pool filter, it’s crucial to assemble the necessary tools and materials and understand the type of sand your filter requires. This will ensure a swift and efficient sand replacement process, helping to maintain the pristine condition of your pool.
Gathering The Necessary Tools And Materials
- Screwdriver: To open the filter tank.
- Plastic Tarp: For the workspace and easy cleanup.
- New Sand: Ensuring it is compatible with your filter.
- Hose: For rinsing the new sand and cleaning the tank.
- Bucket or Scoop: To remove the old sand and add the new one.
- Owner’s Manual: For specific instructions on your filter model.
Understanding The Type Of Sand Your Filter Requires
It’s essential to identify the specific type of sand recommended for your pool filter. Most filters utilize either #20 silica sand or #20 filter sand. However, some models may require alternative filtration media, such as zeolite or glass beads. Refer to your filter’s manual or consult a professional to ensure you select the right sand.

Credit: www.wikihow.com
Preparation
Before beginning the process of changing the sand in your pool filter, it’s crucial to properly prepare to ensure a smooth and hassle-free experience. The preparation phase involves turning off the pool pump and draining the pool filter system. These steps are essential for the safety and effectiveness of the sand replacement process.
Turning Off The Pool Pump
To initiate the sand replacement process, the first step is to turn off the pool pump. This is a crucial safety measure to prevent any accidents or mishaps during the maintenance process. Ensure that the pool pump is completely turned off before proceeding to the next step.
Draining The Pool Filter System
After turning off the pool pump, the next step is to drain the pool filter system. Draining the system will help in emptying the filter tank, making it easier to remove and replace the filter sand. This step is crucial for ensuring the effectiveness of the new sand and maintaining the optimal functioning of the pool filter system.
Removing Old Sand
Removing Old Sand:
Changing the sand in your pool filter is a crucial maintenance task to ensure clean and clear pool water. The first step in this process is removing the old sand efficiently and thoroughly.
Opening The Filter Tank:
To start, locate and open the filter tank by removing any bolts or clamps securing the lid.
Carefully Scooping Out The Used Sand:
Once the tank is open, use a scooping tool to carefully remove the used sand, ensuring not to damage any internal parts of the filter.
Cleaning The Filter Tank
As part of regular maintenance for your pool filter, cleaning the filter tank is essential to ensure maximum filtration efficiency. Over time, debris and contaminants can accumulate in the tank, which can hamper the flow of water and reduce the effectiveness of the filtration system. By following the proper cleaning procedure, including rinsing the tank interior and inspecting/replacing the lateral assembly if necessary, you can keep your pool water sparkling clean. In this article, we will guide you through each step to make the process seamless.
Rinsing The Tank Interior
To begin cleaning the filter tank, the first step is to rinse the tank interior thoroughly. This helps to remove any loose debris or sediment that may have settled at the bottom of the tank. Proper rinsing ensures that the sand bed is not disturbed during the cleaning process, allowing for optimal filtration performance.
To rinse the tank interior, follow these steps:
- Turn off the pool pump to stop the water flow.
- Close the valve that connects the pool to the filter system.
- Open the drain valve at the bottom of the tank to release the water and any accumulated sediment.
- Use a garden hose to rinse the interior of the tank thoroughly.
- Continue rinsing until the water runs clear and free of any debris.
- Close the drain valve once you’re done rinsing.
Inspecting And Replacing Lateral Assembly If Necessary
The lateral assembly consists of small tubes that are responsible for distributing water evenly across the filter bed. Over time, these tubes can become clogged or damaged, affecting the filtration process. Therefore, it is important to inspect the lateral assembly regularly and replace any damaged or worn-out parts.
Follow these steps to inspect and replace the lateral assembly if necessary:
- Remove the top of the filter tank to access the lateral assembly.
- Inspect the lateral tubes for any signs of cracks, damage, or clogs.
- If any tubes are damaged or clogged, replace them with new ones.
- Ensure the lateral assembly is positioned correctly and securely in the tank.
- Reassemble the filter tank by putting the top back on.
By regularly cleaning the filter tank, rinsing the interior, and inspecting/replacing the lateral assembly if necessary, you can maintain the efficiency of your pool filter and enjoy clean, clear water all season long. Taking the time to follow these steps will ensure that your pool stays in optimal condition while providing a safe and enjoyable swimming experience for all.
Adding New Sand
When it comes to adding new sand to your pool filter, it’s essential to follow the correct steps to ensure optimal filtration and a clean swimming experience. Adding new filter sand is a crucial aspect of pool maintenance, and doing it right can prolong the life of your filter system and improve water quality.
Adding The Correct Amount Of New Filter Sand
Adding the correct amount of new filter sand is critical for the efficient operation of your pool filter. Consult your filter’s manual to determine the exact amount of sand required for replacement. Generally, most pool filters require around 100 pounds of filter sand, but confirm this with your specific model.
Ensuring Proper Sand Distribution
After adding the new sand, it’s important to ensure proper distribution within the filter tank. Start by carefully pouring the new sand into the tank, taking care to disperse it evenly to avoid any clumping or uneven distribution. Using a small hand trowel or scoop can help to evenly spread the sand as it’s added.

Credit: www.youtube.com
Reassembling The Filter
Learn how to change the sand in your pool filter by following these step-by-step instructions to reassemble the filter. Keep your pool clean and ready for swim season with this simple maintenance task.
Closing The Filter Tank
After changing the sand, it’s crucial to properly close the filter tank. Begin by reseating the tank O-ring carefully. Ensure, there are no twists or kinks in the O-ring, creating a tight seal.
Restarting The Pool Pump
To restart the pool pump, switch the valve back to filter mode. Next, slowly open the air relief valve on top of the filter tank. Once water starts flowing consistently, close the relief valve. After completing the sand replacement, reassemble the filter components. Start by securing the tank lid back in place, ensuring it is tight and secure.
Closing The Filter Tank
– Reseat the tank O-ring carefully. – Confirm no twists or kinks in the O-ring. – Create a tight seal by properly closing the tank.
Restarting The Pool Pump
1. Switch the valve to filter mode. 2. Slowly open the air relief valve. 3. Close the valve once water flows consistently. Remember to always follow manufacturer guidelines for your specific filter model.
Finishing Touches
After replacing the sand in your pool filter, there are a few final steps to ensure everything is working properly. By running a backwash cycle and checking for proper functionality, you can complete the process and have your pool filter running efficiently once again.
Running A Backwash Cycle
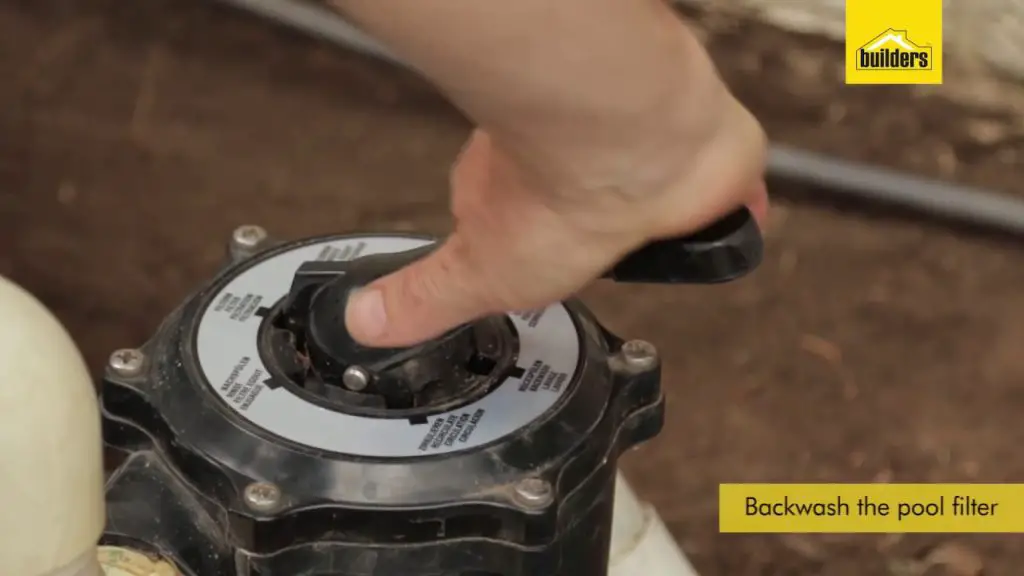
To initiate the backwash cycle, turn the pool filter system off and set the multiport valve to the “Backwash” position. Turn the system back on and allow it to run for about 2-3 minutes or until the water in the sight glass runs clear.
Then, switch the valve to the “Rinse” position and run the system for another 1-2 minutes to ensure any remaining debris is expelled from the filter. Finally, return the valve to the “Filter” position to complete the backwash cycle.
Checking For Proper Functionality
After completing the backwash cycle, check for any leaks or irregular sounds coming from the pool filter system. Also, ensure that the water flow is consistent by observing the pressure gauge on the filter.
If everything appears to be functioning properly, you have successfully changed the sand in your pool filter and can now enjoy clean and clear pool water.

Credit: www.swimuniversity.com
Conclusion
Maintaining your pool filter is crucial for crystal-clear water. Regularly changing the sand enhances filtration efficiency. Follow the simple steps outlined to save time and money. Trust a clean pool for more enjoyable swimming experiences. Stay proactive and enjoy a refreshing swim season with a well-maintained pool filter.


