Are you experiencing issues with your pool motor and thinking about changing it yourself? Changing a pool motor can be a daunting task, but with the right guidance, you can do it successfully. In this comprehensive guide, we will walk you through the step-by-step process of changing your pool motor. Let’s dive in!

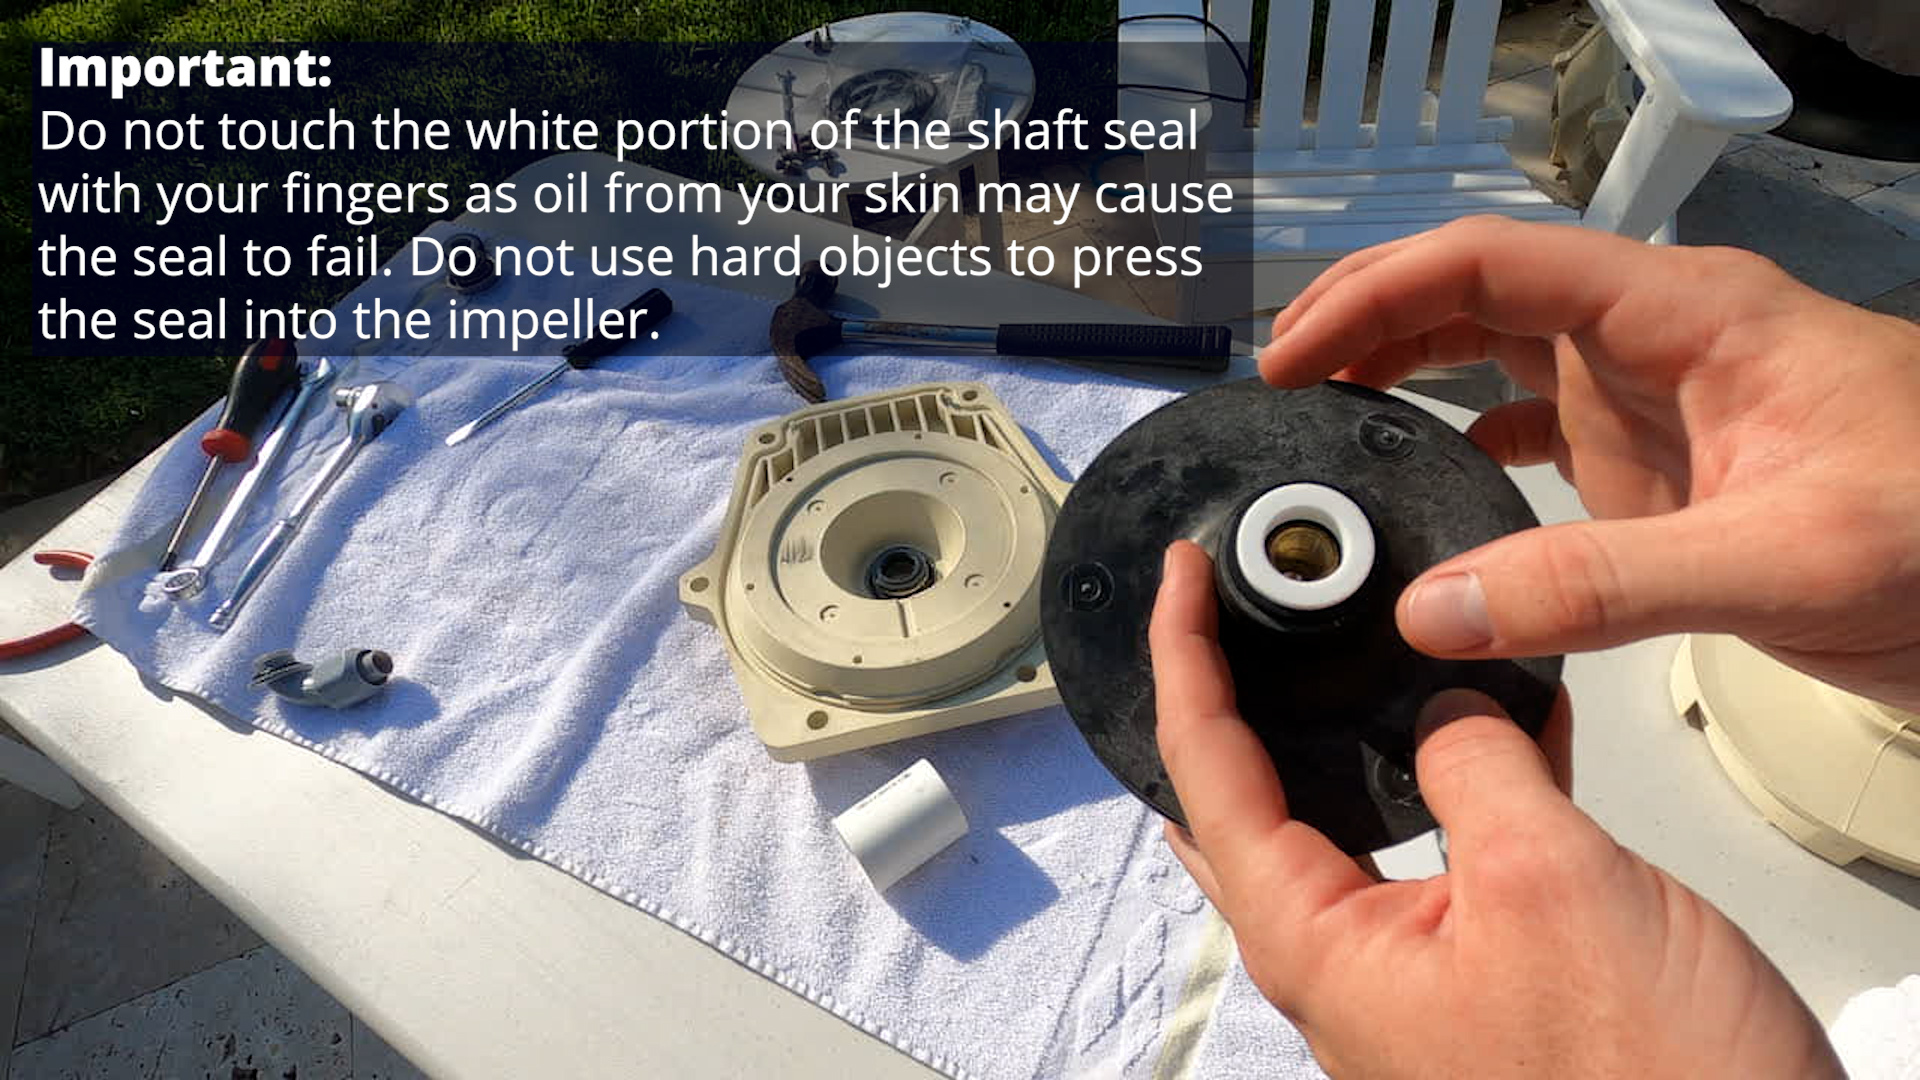
Credit: www.inyopools.com
Step 1: Gather the Necessary Tools and Equipment
Before you start the process of changing your pool motor, make sure you have all the necessary tools and equipment on hand. Here is a list of items you will need:
- Replacement pool motor
- Screwdriver
- Adjustable wrench
- Socket set
- Wire cutters
- Electrical tape
- Thread sealant
- Owner’s manual
Step 2: Turn Off Power Supply
Safety should always be your top priority when working with electrical components. Before you begin, make sure to turn off the power supply to the pool motor. Locate the circuit breaker that controls the pool motor and switch it off to ensure there is no electricity running to the motor.
Step 3: Disconnect the Old Pool Motor
Now that the power is off, you can start disconnecting the old pool motor. Follow these steps to remove the old motor:
- Remove the pump housing bolts.
- Disconnect the electrical wiring from the motor.
- Unscrew the motor mounting bolts.
- Remove the old motor from the pump housing.
Step 4: Install the New Pool Motor
Once you have removed the old motor, it’s time to install the new one. Follow these steps to install the new pool motor:
- Place the new motor into the pump housing.
- Secure the motor with mounting bolts.
- Reconnect the electrical wiring to the new motor.
- Apply thread sealant to the pump housing bolts.
- Tighten the pump housing bolts securely.
Step 5: Test the New Pool Motor
Before you power up the pool motor, it’s essential to test it to ensure everything is properly connected. Follow these steps to test the new pool motor:
- Turn on the power supply to the pool motor.
- Observe the motor for any unusual noises or vibrations.
- Check the water circulation to ensure the motor is functioning correctly.
Step 6: Adjust Motor Settings
After testing the pool motor, you may need to adjust the motor settings to optimize its performance. Refer to the owner’s manual of the new motor to make any necessary adjustments to the speed or timer settings.
Step 7: Secure and Seal
Once you are satisfied with the installation and testing of the new pool motor, it’s time to secure and seal everything in place. Make sure all connections are tight and secure to prevent any leaks or electrical issues.
Step 8: Turn On the Pool Motor
After completing all the steps and ensuring everything is properly installed, sealed, and secured, you can now turn on the pool motor. Monitor the motor for a few minutes to ensure it is running smoothly and circulating water effectively.

Credit: m.youtube.com
Step 9: Maintenance and Care
Regular maintenance and care are crucial to ensure the longevity and efficiency of your pool motor. Make sure to clean the motor regularly, check for any signs of wear or damage, and address any issues promptly to prevent further damage.
By following these steps and guidelines, you can successfully change your pool motor and keep your pool running smoothly and efficiently. Remember to always prioritize safety and consult a professional if you are unsure about any step in the process. Enjoy your refreshing pool experience with a new pool motor!


