LED pool lights are a popular choice for pool owners due to their energy efficiency, longevity, and bright illumination. However, like any other pool equipment, LED pool lights may need to be replaced over time. If you’re looking to change your LED pool light, follow this step-by-step guide to do it yourself.
Step 1: Gather Your Tools and Supplies
Before you start the process of changing your LED pool light, make sure you have all the necessary tools and supplies. Here’s what you’ll need:
- Replacement LED pool light
- Gasket lubricant
- Screwdriver
- Socket wrench
- Non-contact voltage tester
- Pool light niche tool (if needed)
Step 2: Turn Off Power to the Pool Light
Safety should always be a top priority when working with electrical equipment. Before you begin changing the LED pool light, turn off the power to the light at the circuit breaker. To ensure the power is off, use a non-contact voltage tester to test the light fixture.
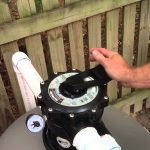
Step 3: Remove the Pool Light Fixture
Depending on your pool setup, you may need to use a pool light niche tool to remove the light fixture from the niche. Once you have access to the light fixture, use a screwdriver to remove the screws holding the fixture in place.

Credit: www.amazon.com
Step 4: Disconnect the Wires
After removing the screws, carefully pull the pool light fixture out of the niche. Be cautious not to damage the wires connected to the fixture. Disconnect the wires from the old LED pool light by unscrewing the wire nuts.
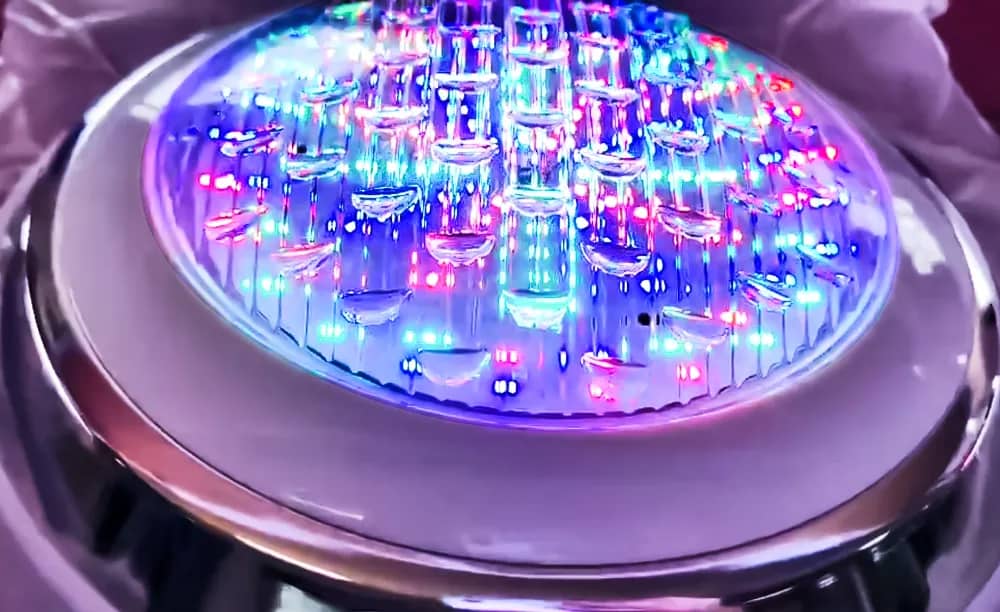
Step 5: Remove the Old LED Pool Light
Once the wires are disconnected, you can remove the old LED pool light from the fixture. Take note of how the old light is positioned so you can correctly install the new one.
Step 6: Install the New LED Pool Light
Before installing the new LED pool light, apply gasket lubricant to the gasket on the light fixture. This will help create a watertight seal when the new light is installed. Carefully connect the wires of the new LED pool light to the wires in the fixture using wire nuts.
Step 7: Test the New LED Pool Light
Once the new LED pool light is securely installed, turn the power back on at the circuit breaker. Test the light to ensure it is working correctly. If the light does not turn on, double-check the connections and troubleshoot as needed.
Step 8: Secure the Pool Light Fixture
After confirming that the new LED pool light is working, secure the light fixture back into the niche using the screws you removed earlier. Make sure the fixture is tightly secured to prevent water from entering the niche.
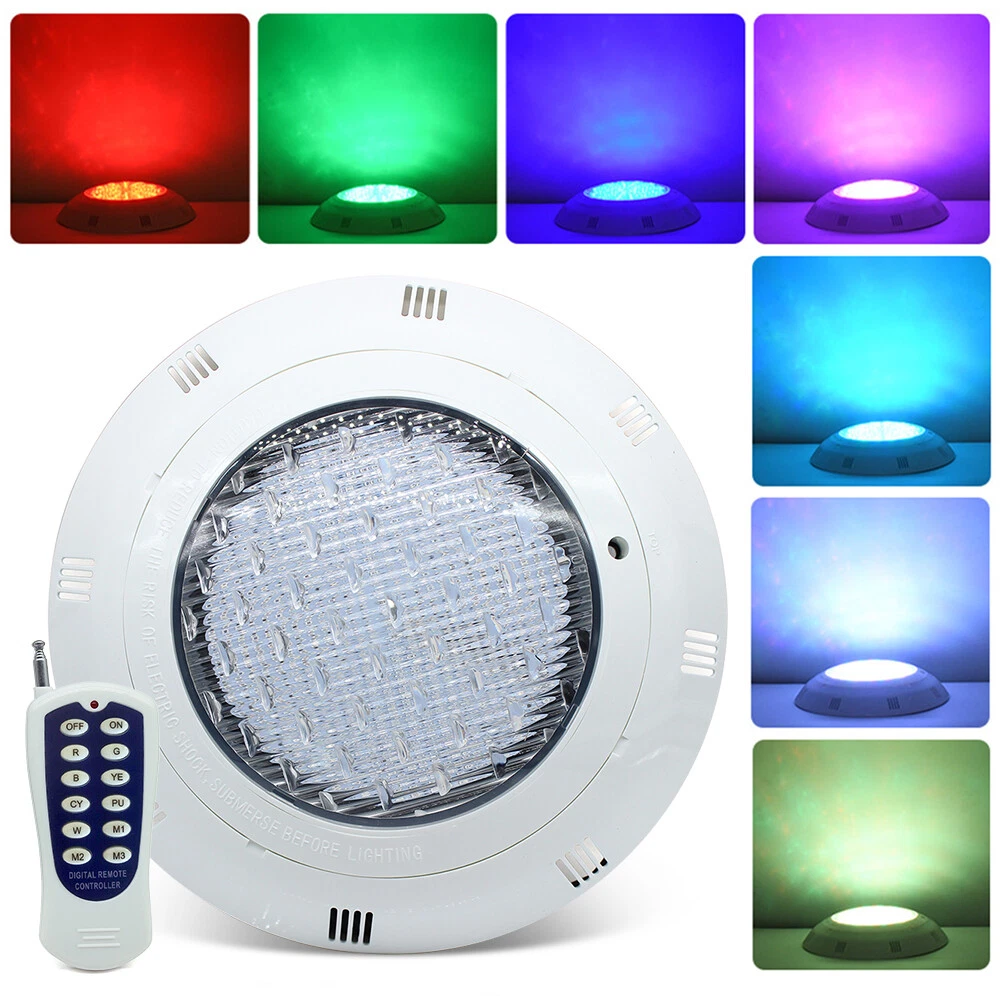
Credit: www.ebay.com
Step 9: Enjoy Your Newly Installed LED Pool Light
With the new LED pool light successfully installed, you can now sit back, relax, and enjoy the vibrant illumination it provides to your pool. Regularly inspect and maintain your LED pool light to ensure it continues to function optimally for years to come.
Conclusion
Changing an LED pool light may seem like a daunting task, but with the right tools and a step-by-step guide, you can easily replace the light yourself. By following the outlined steps and prioritizing safety, you can enjoy a well-lit and inviting pool environment. Remember to consult a professional if you encounter any difficulties or are unsure about the process.