Are you experiencing issues with your pool motor and considering replacing it? Changing a pool motor might seem like a daunting task, but with the right guidance, you can do it yourself and save on costly professional repairs. In this comprehensive guide, we will walk you through the process of changing a pool motor step-by-step. Let’s dive in!
Tools and Materials You Will Need:
- Replacement pool motor
- Adjustable wrench
- Screwdriver
- Socket wrench set
- Wire cutters
- Insulated gloves
- New seals and gaskets (if required)
- Owner’s manual for your pool pump
Step 1: Turn Off Power
Before starting any work on your pool motor, ensure that the power to the pump is turned off. Locate the circuit breaker that controls the pool pump and switch it off to prevent any accidents while working on the motor.
Step 2: Disconnect the Motor
Use your screwdriver and socket wrench set to disconnect the electrical connections to the pool motor. Take note of how the wires are connected as you will need to reconnect them to the new motor in the same way.
Step 3: Remove the Old Motor
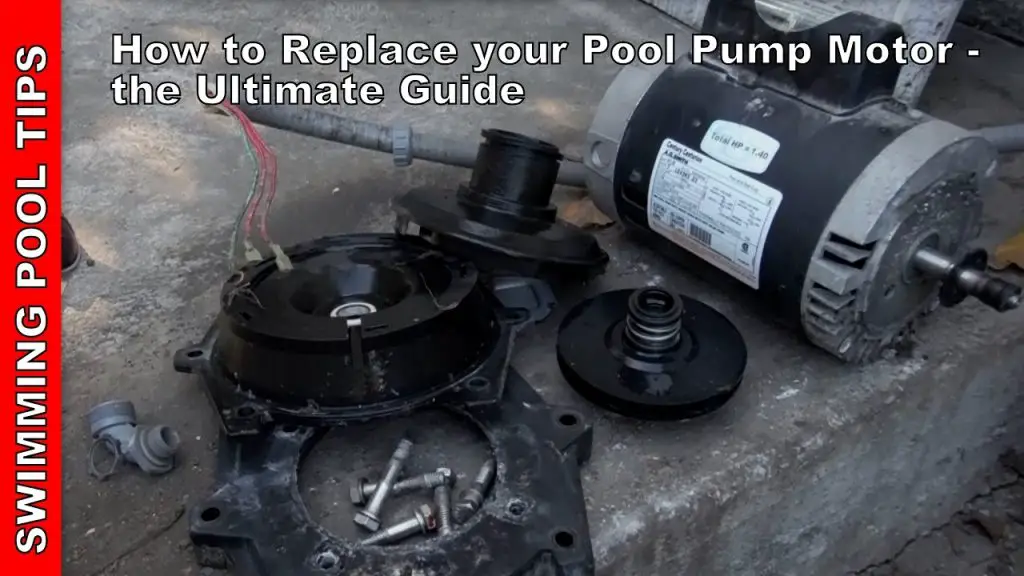
Once the electrical connections are disconnected, use the adjustable wrench to loosen the bolts that secure the motor to the pump. Carefully remove the old motor from the pump housing, taking care not to damage any surrounding components.
Step 4: Install the New Motor
Position the new motor in place of the old one and secure it with the bolts using the adjustable wrench. Ensure that the motor is aligned correctly and fits snugly into the pump housing.
Step 5: Reconnect the Electrical Connections
Refer to the notes you took when disconnecting the wires from the old motor and reconnect them to the new motor in the same configuration. Use wire cutters to trim any excess wire and ensure a secure connection.
Step 6: Check Seals and Gaskets
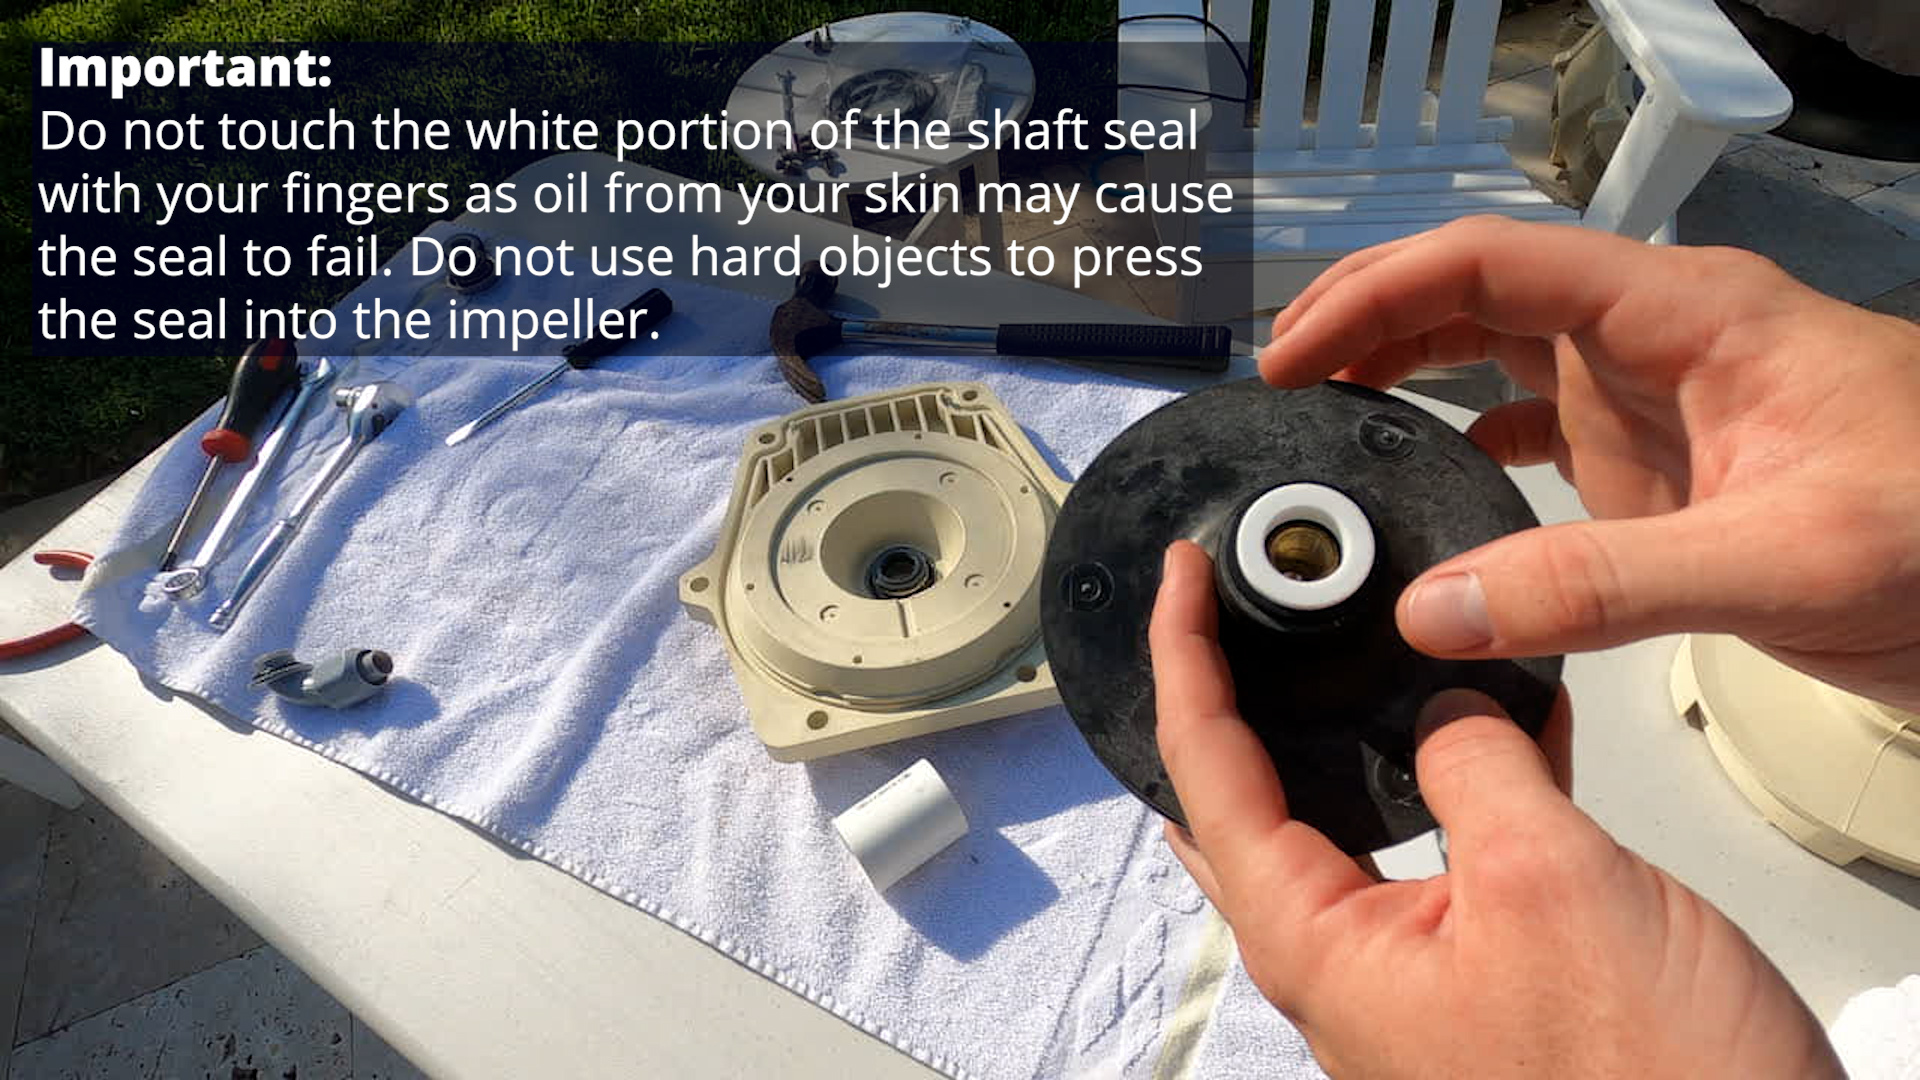
Inspect the seals and gaskets around the motor for any signs of wear or damage. If necessary, replace them with new seals and gaskets to prevent leaks and ensure the proper functioning of the pool motor.

Credit: m.youtube.com
Step 7: Test the Motor
Before sealing everything back up, turn the power back on and test the new motor to ensure it is working correctly. Listen for any unusual noises and check for proper water flow to confirm that the motor is functioning as it should.

Credit: www.inyopools.com
Step 8: Secure the Motor
Once you have confirmed that the new motor is working properly, secure it in place by tightening the bolts and ensuring all connections are properly secured. Double-check the alignment and stability of the motor within the pump housing.
Step 9: Restore Power and Monitor
Turn the power back on and monitor the pool motor for any irregularities. Keep an eye on the motor for the next few days to ensure it is running smoothly and without any issues.
Conclusion
Changing a pool motor may seem like a daunting task, but with the right tools and guidance, you can successfully replace it yourself. By following the steps outlined in this guide, you can save on costly repairs and keep your pool running efficiently. Remember to always prioritize safety and consult a professional if you are unsure about any step in the process. Enjoy your clean and well-maintained pool with a new pool motor!


