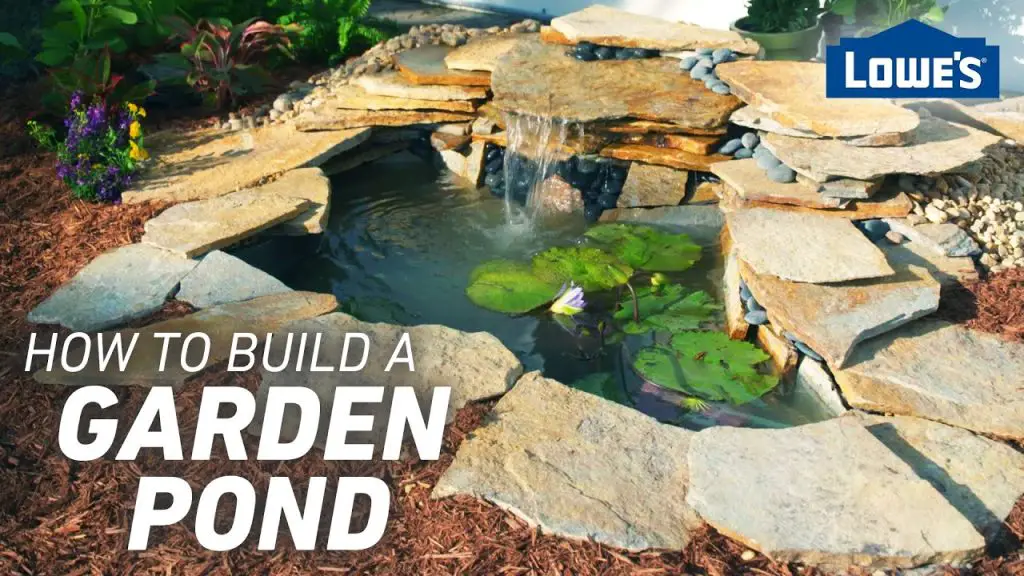
How to Build Your Own Pond: A Step-by-Step Guide
Are you dreaming of creating a tranquil oasis in your backyard? A pond can be the perfect addition to your outdoor space, providing a serene and natural focal point for relaxation and enjoyment. Building your own pond might seem like a daunting task, but with the right guidance and a clear plan, it can be a rewarding and satisfying project. In this comprehensive guide, we will walk you through the step-by-step process of building your own pond, from planning and design to maintenance and enjoyment.
Step 1: Planning and Design
Before you start digging, it’s essential to carefully plan and design your pond to ensure that it complements your landscape and meets your specific needs. Consider the following factors:
Location: Choose a suitable location for your pond, taking into account factors such as sunlight exposure, proximity to trees, and visibility from your home. A spot with partial sunlight is ideal to support a variety of aquatic plants and wildlife.
Size and Shape: Determine the size and shape of your pond based on the available space and your design preferences. A naturalistic, organic shape often looks more appealing than a perfectly symmetrical design.
Depth: Decide on the depth of your pond, taking into consideration the types of plants and fish you wish to include. A depth of at least 18 to 24 inches is recommended for fish to survive winter and to prevent overheating in the summer.
Step 2: Excavation and Shaping
Once you have a clear plan in place, it’s time to start digging. Here’s how to proceed:
Mark the Area: Use a garden hose or spray paint to outline the shape of your pond on the ground, then use a shovel to dig along the marked lines. Remove the topsoil and set it aside for later use in landscaping around the pond.
Create Shelves: If you plan to include aquatic plants in your pond, create shelves at varying depths around the perimeter to accommodate different plant species. Use a shovel or a pond shovel to create gradual sloping shelves, ensuring that the edges are level.
Digging the Main Basin: After creating the shelves, continue digging the main basin of the pond to the desired depth. Use a level to ensure that the bottom of the pond is even and free of sharp objects or roots that could puncture the pond liner.
Step 3: Installing the Pond Liner
The pond liner is a crucial component of your pond, as it prevents water from seeping into the surrounding soil. Follow these steps to install the pond liner:
Lay the Underlayment: Before laying the pond liner, spread a layer of protective underlayment or padding over the excavated area to cushion the liner and prevent punctures. Use materials such as old carpet, newspaper, or specially designed pond underlayment.
Place the Liner: Carefully position the pond liner over the excavated area, allowing for an overhang of at least 12 inches around the perimeter. Smooth out any wrinkles and ensure a snug fit against the shelves and bottom of the pond.
Secure the Liner: Use rocks, bricks, or other heavy objects to secure the edges of the pond liner and prevent it from shifting during the next steps of the construction process.
Step 4: Adding Rocks, Gravel, and Filtration
To create a naturalistic and visually appealing pond, consider adding rocks and gravel to the design. Additionally, a filtration system is essential for maintaining water quality and clarity. Here’s what to do:
Add Rocks and Gravel: Arrange a variety of rocks and gravel around the perimeter of the pond and on the shelves to create a natural appearance. Use different sizes and shapes of rocks to mimic the look of a natural water feature.
Install Filtration System: Depending on the size and intended use of your pond, choose an appropriate filtration system to maintain water quality. Options include submersible filters, external filters, and ultraviolet clarifiers to control algae growth.
Step 5: Filling and Landscaping
With the pond structure in place, it’s time to fill it with water and add the finishing touches:
Fill the Pond: Use a garden hose to fill the pond with water, taking care not to displace the rocks and disturb the liner. Allow the water to sit for a few days to allow any chlorine to dissipate before adding plants and fish.
Add Plants and Fish: Introduce a variety of aquatic plants to the pond, including oxygenating plants, floating plants, and marginal plants. When adding fish, choose species that are suitable for the size and depth of your pond and provide adequate space for them to thrive.
Landscaping Around the Pond: Use the excavated topsoil and additional landscaping materials to create a visually appealing border around the pond. Incorporate shrubs, flowers, and mulch to blend the pond seamlessly into your garden landscape.
Step 6: Maintenance and Enjoyment
Once your pond is complete, it’s important to establish a regular maintenance routine to keep it healthy and beautiful. Here are some maintenance tips:
Regular Cleaning: Remove debris such as leaves, twigs, and algae from the surface of the water and the pond bottom to prevent water quality issues and maintain a clear view of your pond.
Water Quality Testing: Periodically test the water quality for pH, ammonia, nitrites, and nitrates to ensure a healthy environment for fish and plants. Adjust water parameters as needed to maintain optimal conditions.
Seasonal Care: In colder climates, prepare your pond for winter by trimming back aquatic plants and installing a pond heater or aerator to prevent the water from freezing completely.
With these steps and tips in mind, you can embark on the exciting journey of building your own pond. By carefully planning, designing, and constructing your pond, you can create a beautiful and tranquil aquatic environment that will bring joy and relaxation to your outdoor living space for years to come.


