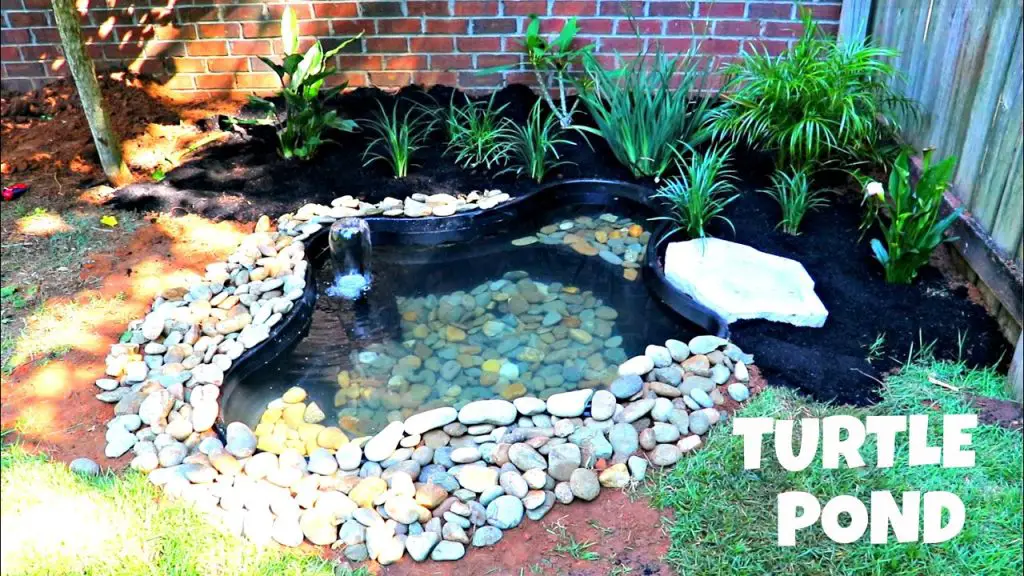
Welcome to our guide on how to create your very own outdoor turtle pond. Building a turtle pond is not only a fun and rewarding project, but it also provides a natural habitat for your aquatic turtles to thrive. Follow these steps to design and construct a beautiful outdoor turtle pond that your shelled friends will love!
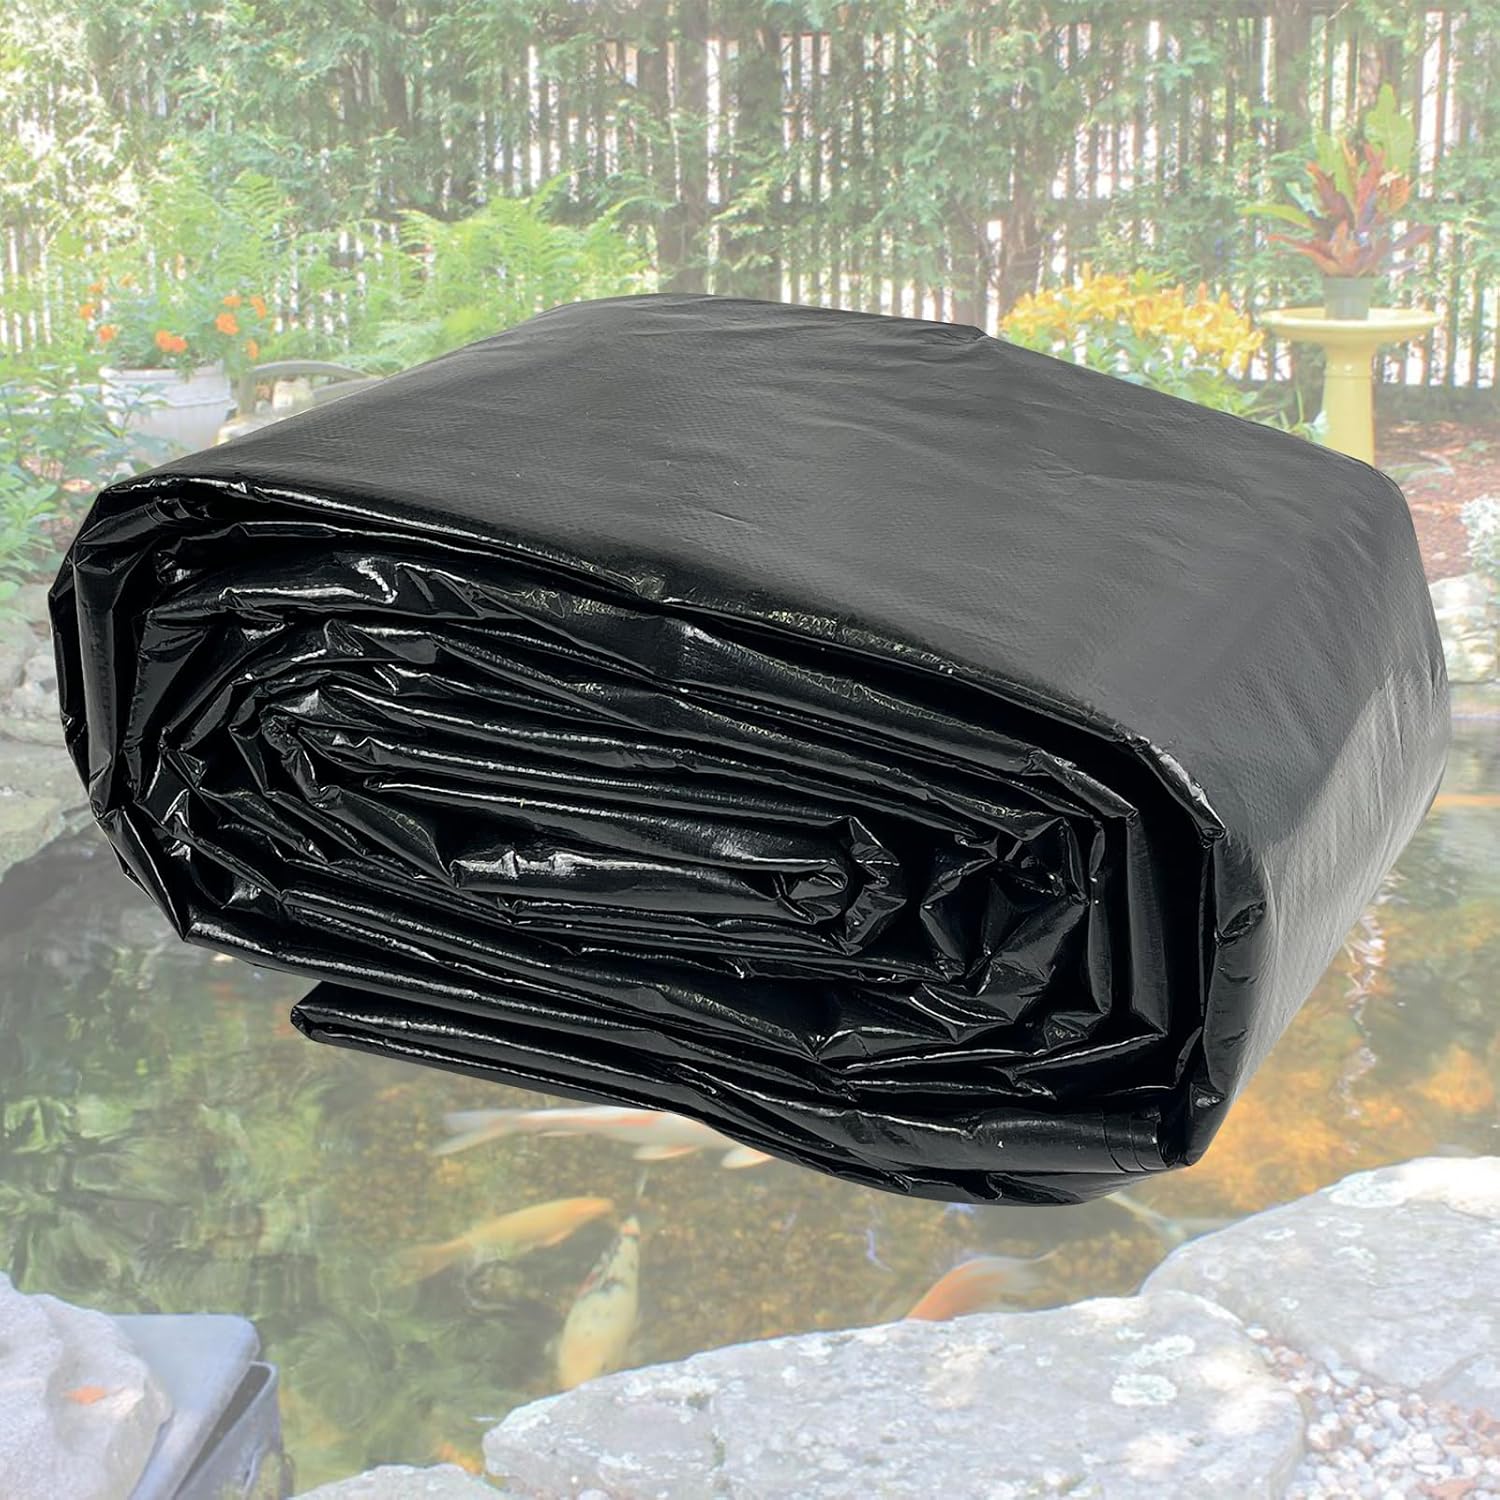
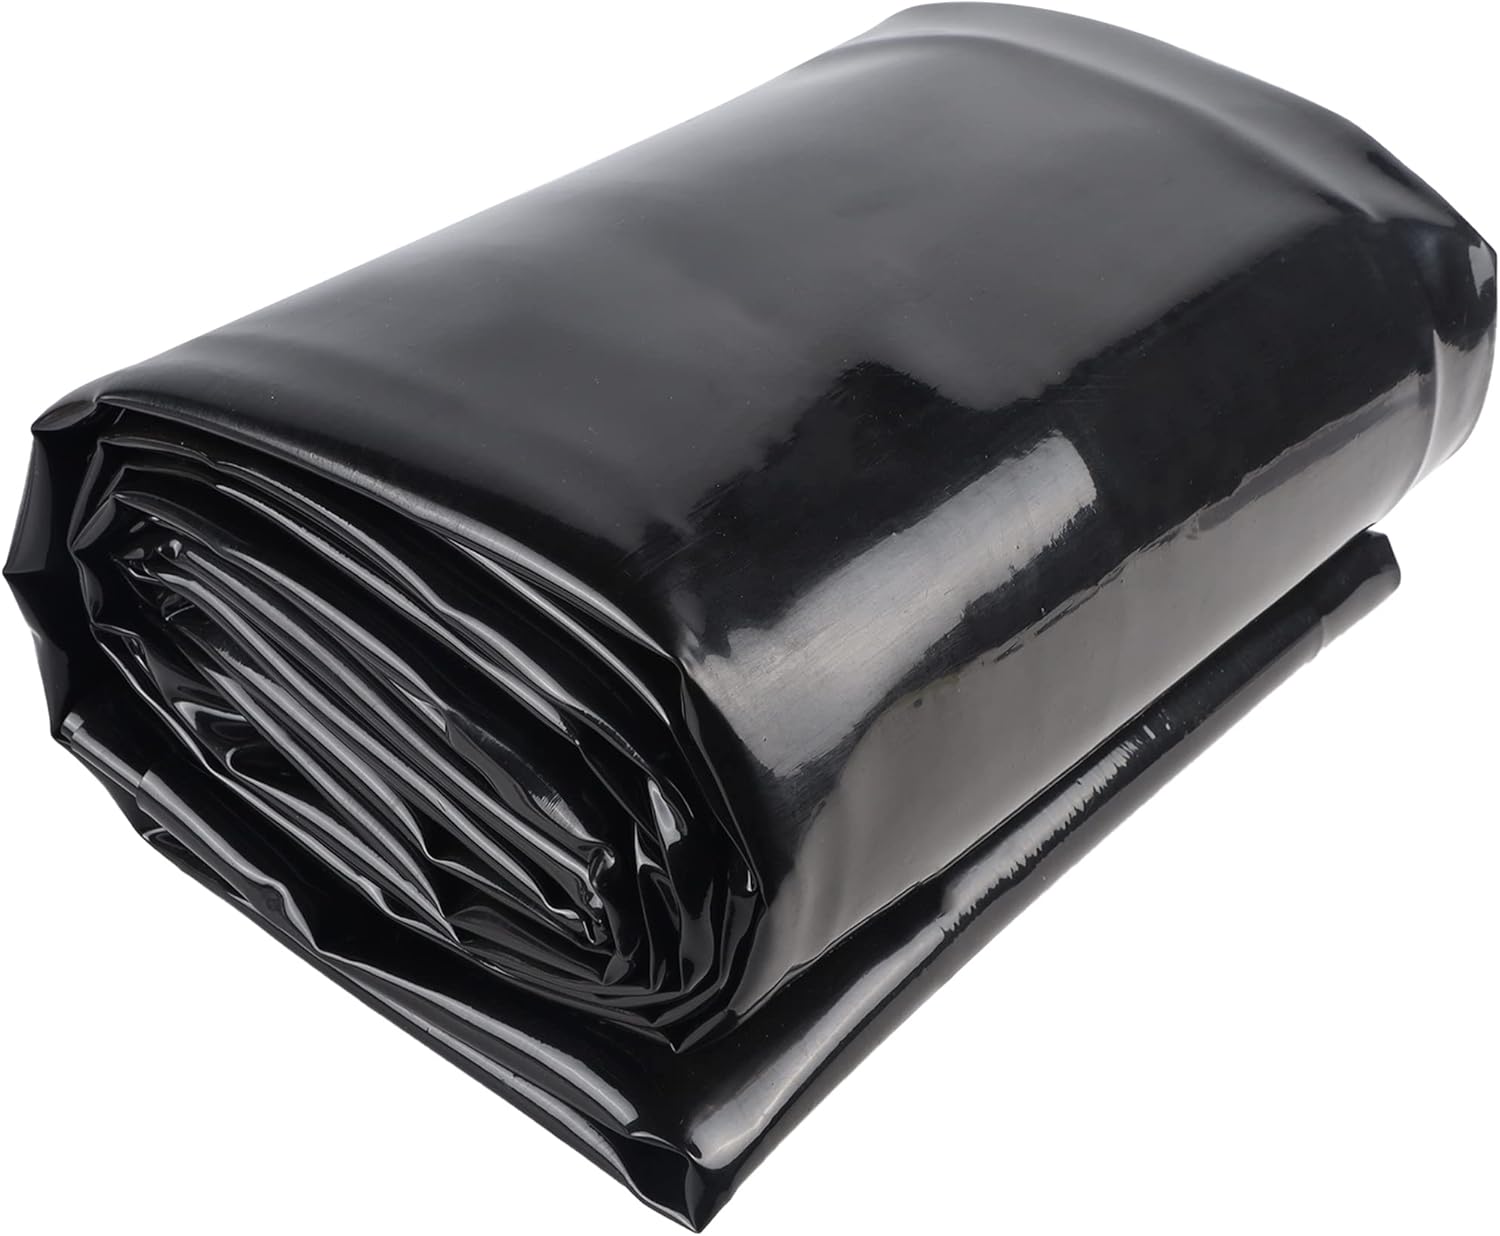
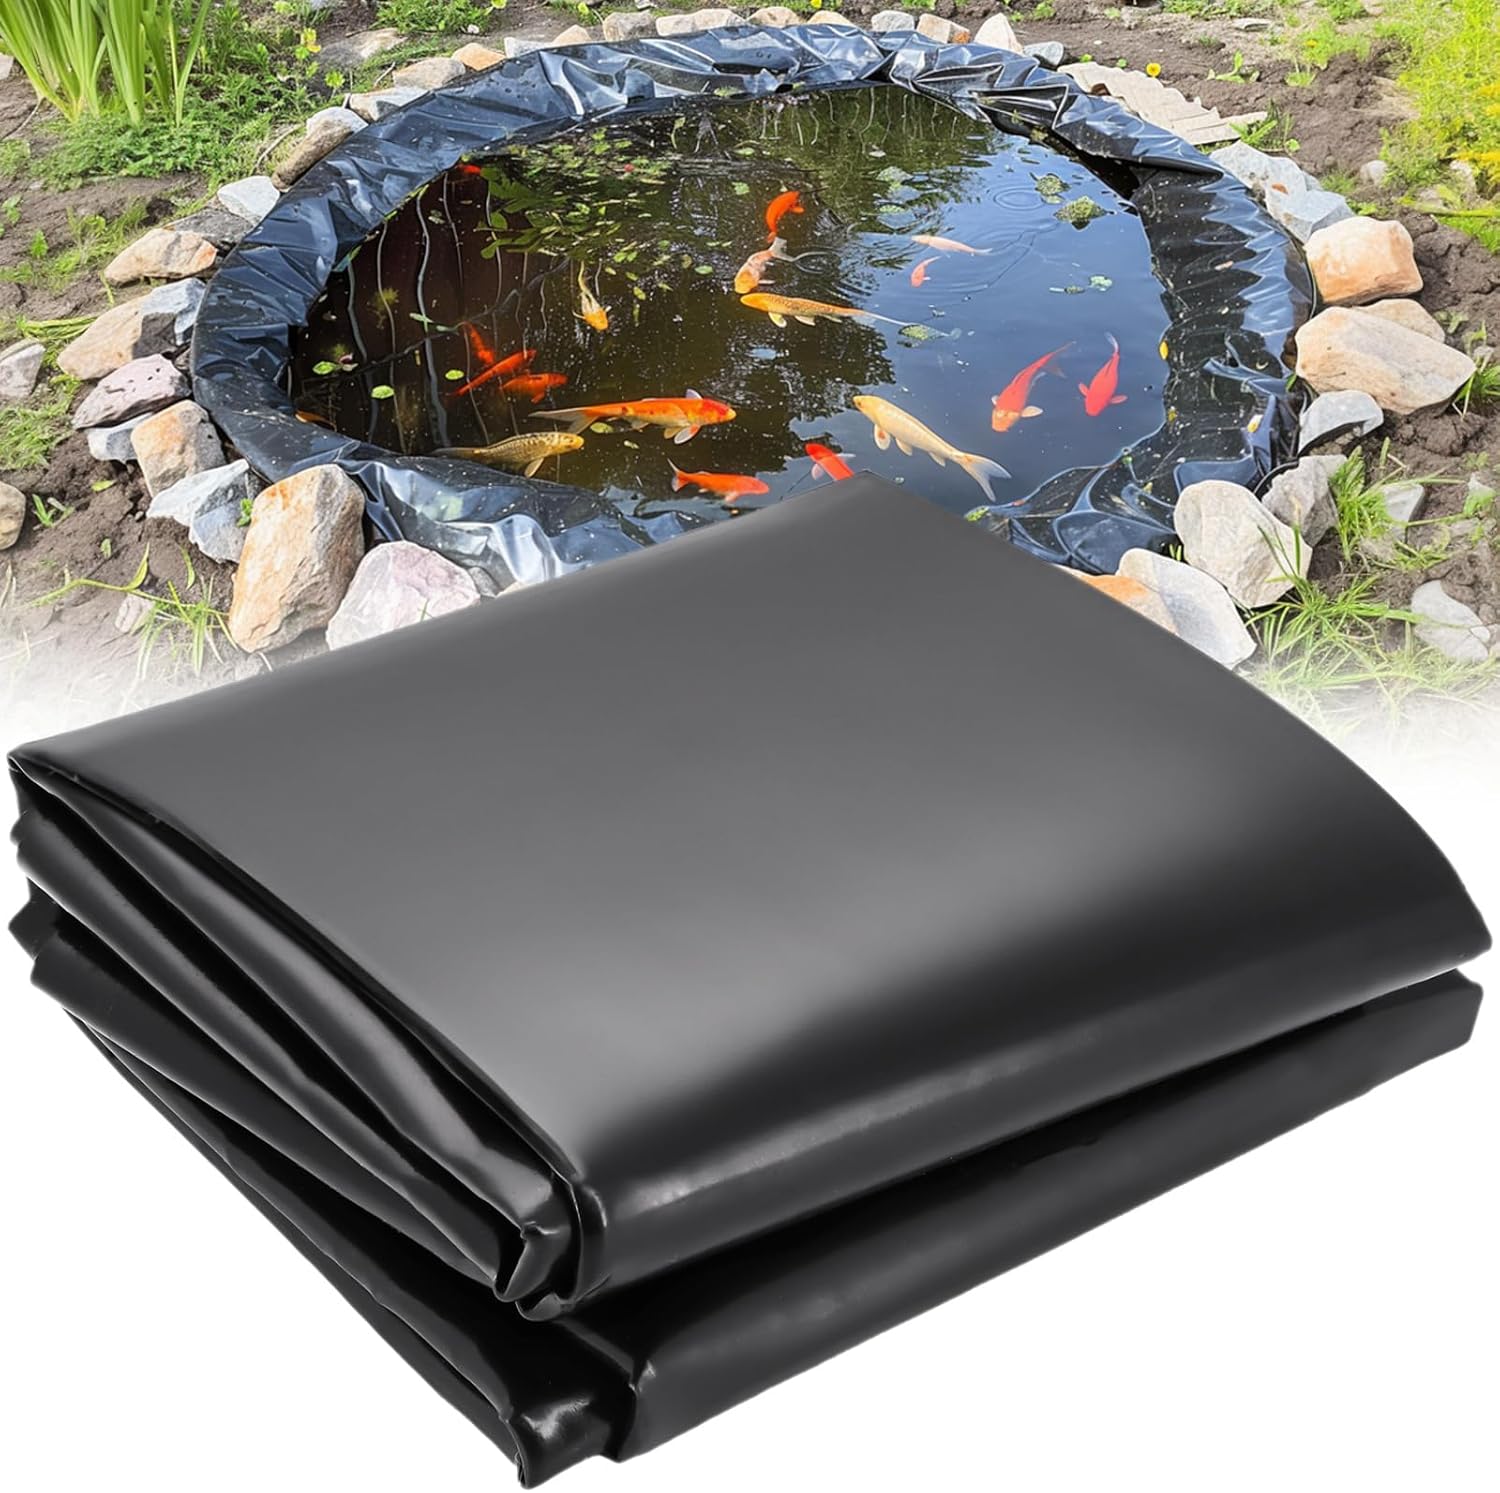
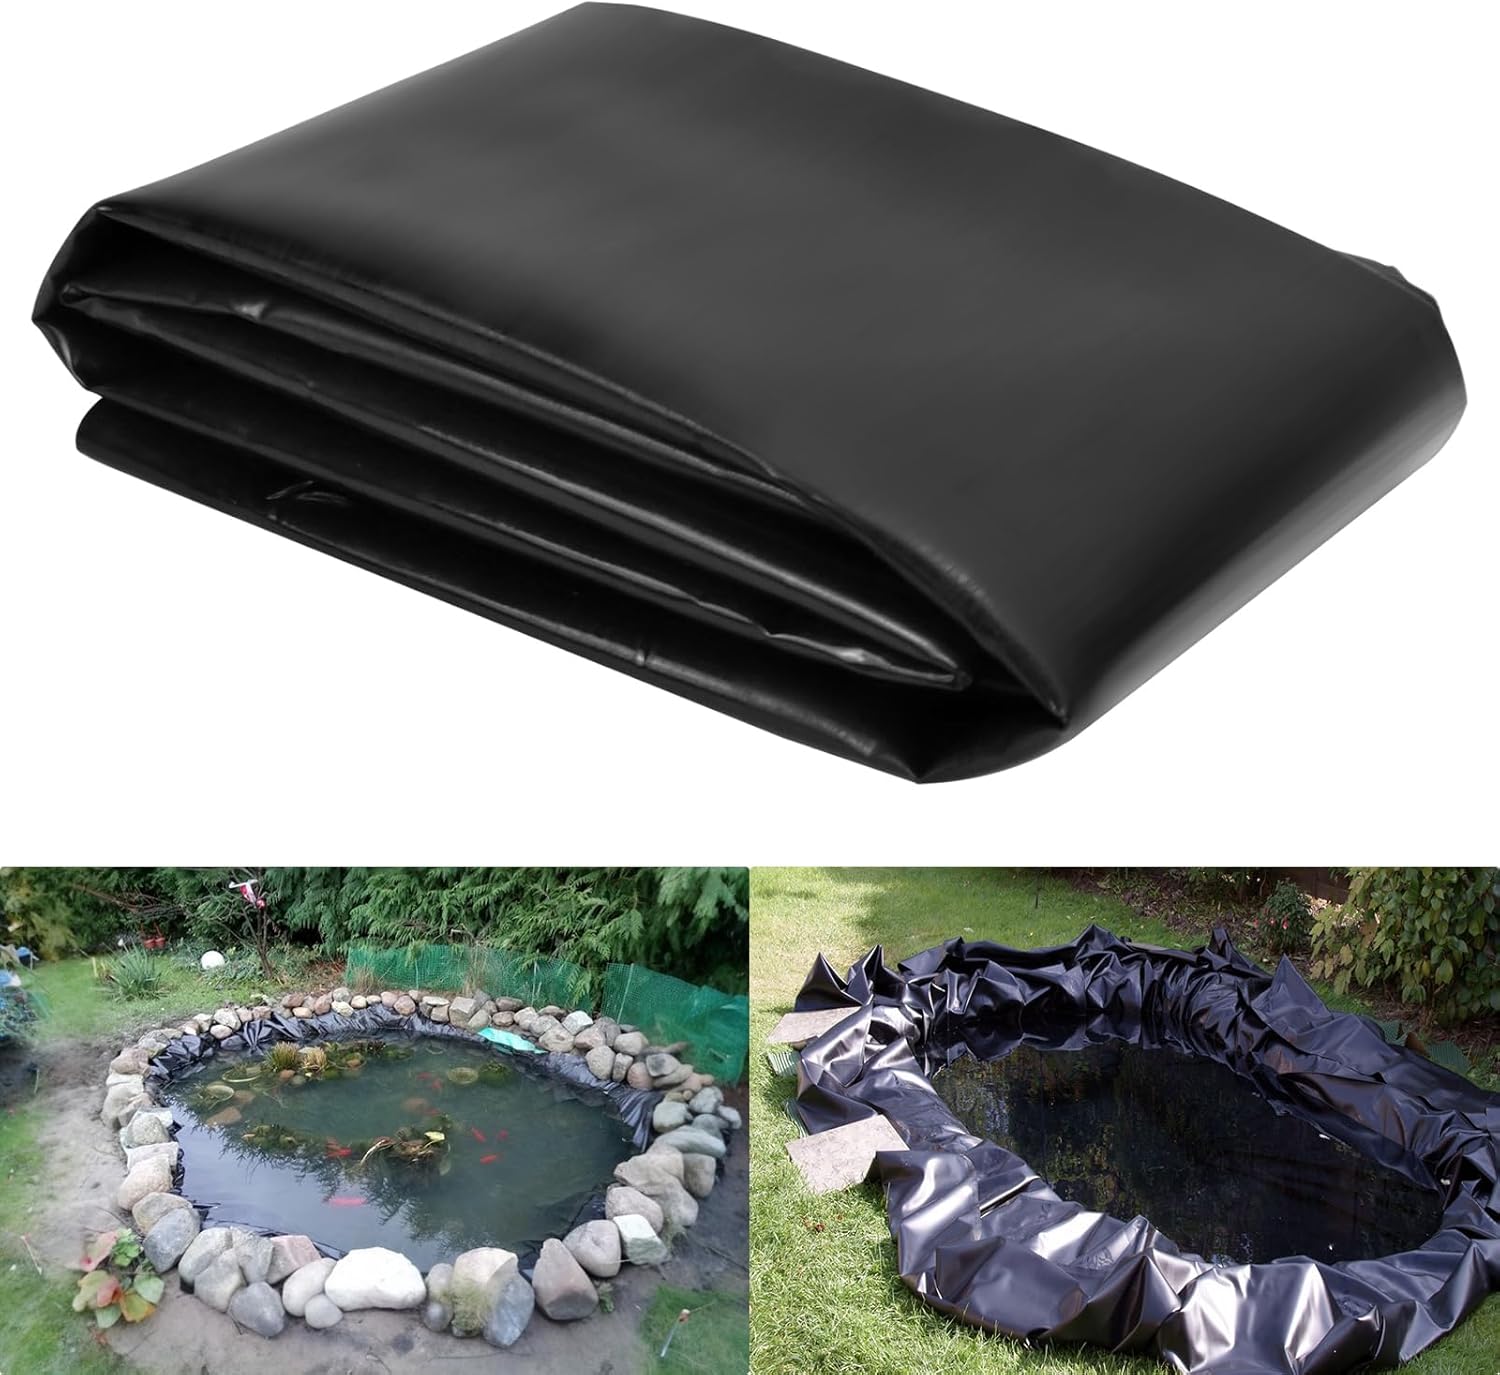
5 Best Durable Pond Liners For Outdoor Ponds, Garden Fountain, And Waterfall
Step 1: Planning Your Turtle Pond
Before you start digging, it’s important to plan your outdoor turtle pond carefully. Consider the size of your yard, the type of turtles you have, and the amount of maintenance you are willing to commit to. Decide on the location of the pond, ensuring it receives a good balance of sunlight and shade throughout the day.
Step 2: Digging the Pond
Once you have a solid plan in place, it’s time to start digging. Choose an area that is level and free from rocks and roots. Dig the pond to your desired depth, keeping in mind that turtles need both deep and shallow areas to swim and bask. Create a gradual slope on one side to make it easier for turtles to enter and exit the water.
Step 3: Installing a Pond Liner
After the hole is dug, line the pond with a durable pond liner to prevent water seepage. Make sure the liner is securely in place and that there are no wrinkles or folds that could cause leaks. Trim any excess liner and secure it around the edges of the pond.
Step 4: Adding a Filtration System
For a healthy and clean turtle pond, you’ll need to install a filtration system. There are various options available, such as biological filters, mechanical filters, and UV sterilizers. Choose a filtration system that is suitable for the size of your pond and the number of turtles you have.
Step 5: Adding Rocks and Plants
Enhance the aesthetic appeal of your turtle pond by adding rocks, gravel, and aquatic plants. Rocks provide basking spots for your turtles, while plants offer shelter and help maintain water quality. Make sure to choose turtle-safe plants that are non-toxic and won’t harm your aquatic friends.
Step 6: Filling the Pond with Water
Once you have completed the landscaping, fill the pond with dechlorinated water. Use a dechlorinator to remove any harmful chemicals that could be present in tap water. Monitor the water quality regularly and perform water changes as needed to keep the pond clean and healthy.
Step 7: Introducing Your Turtles
After the pond is fully set up and the water parameters are stable, it’s time to introduce your turtles to their new home. Gently place them in the pond and observe their behavior to ensure they are comfortable and adjusting well. Provide floating platforms and basking spots for them to rest and soak up the sun.

Credit: www.youtube.com

Credit: www.reddit.com
Step 8: Maintaining Your Turtle Pond
Regular maintenance is key to keeping your outdoor turtle pond in top condition. Clean the pond regularly by removing debris, trimming plants, and checking the filtration system. Monitor the water temperature, pH levels, and ammonia levels to ensure the water quality is optimal for your turtles.
Step 9: Enjoying Your Turtle Pond
Once your outdoor turtle pond is up and running, sit back and enjoy watching your turtles swim, bask, and explore their new habitat. Create a relaxing outdoor space around the pond where you can spend time observing and interacting with your shelled companions.
Building an outdoor turtle pond is a fulfilling project that provides a natural and enriching environment for your turtles. Follow these steps and tips to create a safe and inviting pond that your turtles will love to call home!


