Are you looking to enhance your outdoor space with a beautiful and serene water feature? Building an above ground pond can be a fantastic addition to your garden or backyard. Not only does it add a touch of nature and tranquility to your outdoor area, but it also provides a habitat for aquatic plants and fish. In this guide, we will walk you through the steps on how to build your own above ground pond.
Step 1: Choose the Location
The first step in building an above ground pond is to choose the right location. Select a spot in your yard that receives a good amount of sunlight but also has some shade to prevent excessive algae growth. Make sure the area is relatively level to ensure that the pond sits evenly and doesn’t overflow.
Step 2: Gather Materials
Before you start digging, gather all the necessary materials and tools. You will need a pond liner, rocks or bricks for edging, a pump and filter system, aquatic plants, and, if desired, fish. Make sure to choose high-quality materials to ensure the longevity of your pond.
Step 3: Mark the Pond Area
Use a garden hose or spray paint to outline the shape and size of your pond. Consider the desired depth and shape of the pond while marking the area. You can choose from various shapes such as circular, oval, or kidney-shaped depending on your preference and available space.
Step 4: Dig the Hole
Once you have marked the pond area, it’s time to start digging. Dig the hole according to the shape and size you outlined earlier. Make sure to dig to the desired depth, keeping in mind the needs of the aquatic plants and fish you plan to include in your pond.

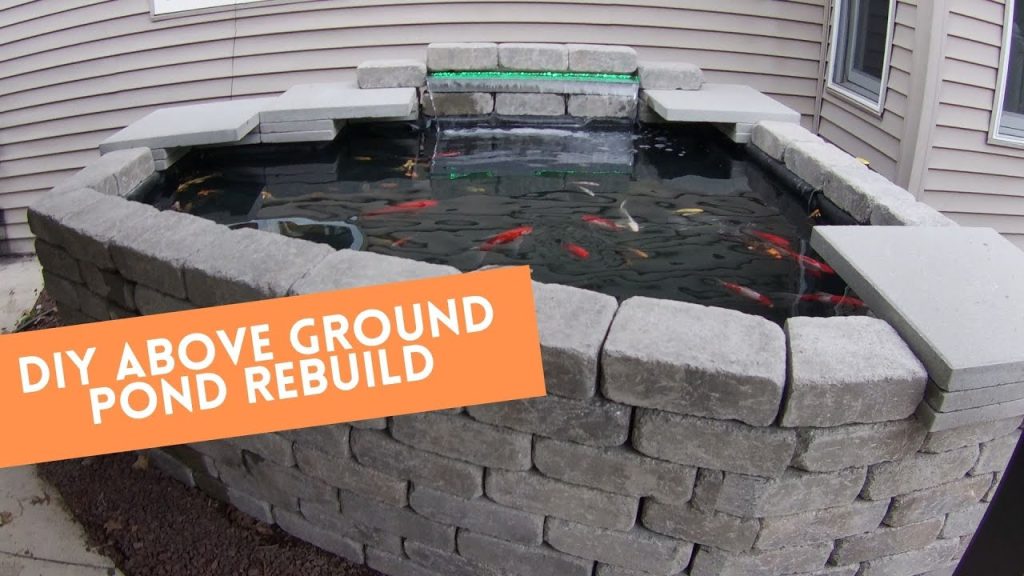
Credit: m.youtube.com

Credit: plantpostings.blogspot.com
Step 5: Install the Pond Liner
After digging the hole, it’s time to install the pond liner. Place the liner carefully in the hole, ensuring that it covers the entire area and has no wrinkles or folds. Use rocks or bricks to secure the liner in place and create a visually appealing edge around the pond.
Step 6: Add Water and Decorations
Fill the pond with water and add a dechlorinator to make the water safe for plants and fish. Once the pond is filled, you can add decorative elements such as rocks, pebbles, or aquatic plants to enhance the aesthetic appeal of your pond.
Step 7: Install Pump and Filter System
For a healthy and clean pond environment, it’s essential to install a pump and filter system. This will help circulate the water, oxygenate it, and remove debris and waste. Choose a pump and filter system that is suitable for the size of your pond.
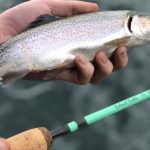
Step 8: Add Aquatic Plants and Fish
Now that your pond is set up, it’s time to add aquatic plants and fish. Plants not only add beauty to your pond but also help maintain water quality by absorbing excess nutrients. When adding fish, make sure to choose species that are compatible with your pond size and climate.
Step 9: Maintain Your Pond
Regular maintenance is key to keeping your above ground pond healthy and thriving. Clean the filter regularly, remove debris, and monitor water quality. Trim aquatic plants as needed and feed fish appropriately. With proper care, your pond will become a focal point of your outdoor space.
Conclusion
Building an above ground pond can be a rewarding DIY project that adds beauty and tranquility to your outdoor space. By following the steps outlined in this guide and giving your pond the care it needs, you can create a stunning water feature that you can enjoy for years to come.