Are you looking to enhance the beauty and tranquility of your backyard pond? One way to achieve this is by adding a stunning waterfall. A waterfall not only adds a visual appeal to your pond but also provides the soothing sound of running water. In this guide, we will walk you through the steps of building a waterfall for your pond.
Step 1: Planning and Design
Before you start building your waterfall, it is essential to plan and design the layout. Consider the size and shape of your pond, the location of the waterfall, and the materials you will need. Think about the height and width of the waterfall to ensure it complements the overall look of your pond.
Step 2: Gather Materials
Once you have a clear plan in mind, gather all the necessary materials and tools. You will need items such as rocks of various sizes, a pond pump, tubing, a liner, and a shovel. Make sure to choose high-quality materials that are durable and suitable for outdoor use.
Step 3: Mark the Area
Mark the area where you want to build the waterfall. Use spray paint or stakes to outline the shape of the waterfall. This will give you a visual guide as you start digging and arranging the rocks.
Step 4: Dig the Foundation
Start by digging a shallow foundation for the waterfall. This will create a stable base for the rocks and help the water flow smoothly. Make sure the foundation is level and compacted to prevent shifting over time.
Step 5: Install the Liner
Place the pond liner over the foundation, ensuring it covers the entire area where the waterfall will be. The liner will help prevent water leakage and protect the soil underneath. Trim any excess liner to fit the shape of the waterfall.
Step 6: Arrange the Rocks
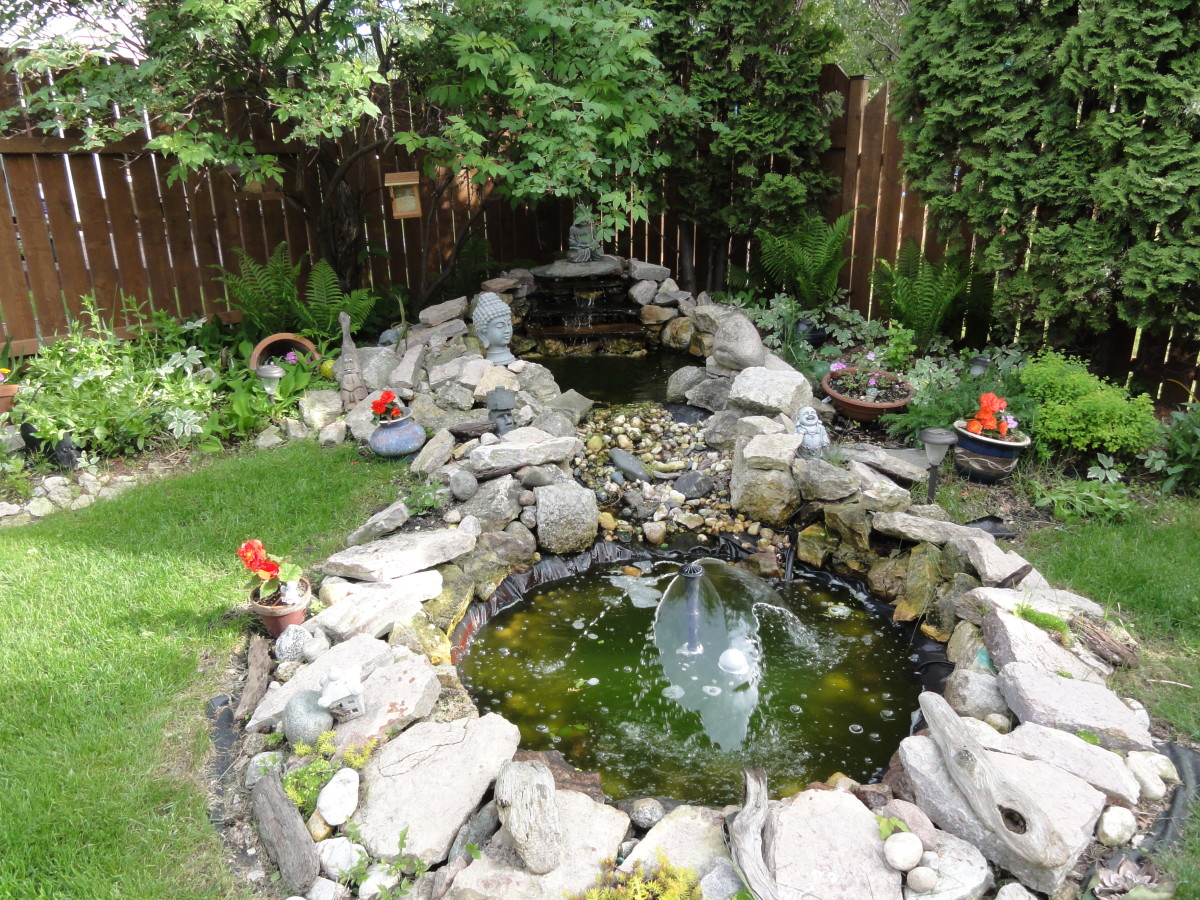
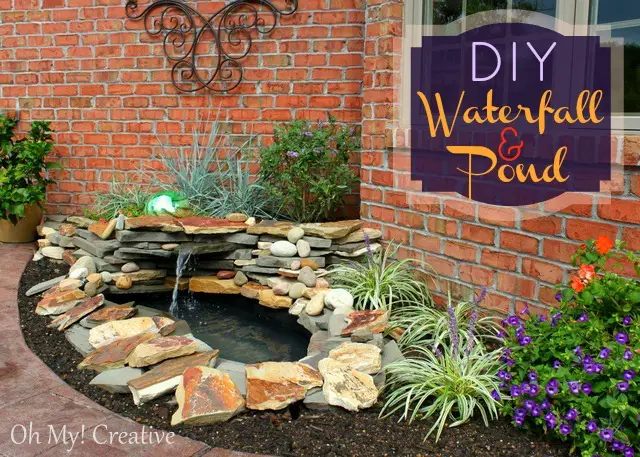
Now comes the fun part – arranging the rocks to create the waterfall. Start with larger rocks at the base and gradually build up to smaller rocks near the top. Leave gaps between the rocks for water to flow through and create a natural-looking waterfall.

Credit: dengarden.com

Credit: www.youtube.com
Step 7: Install the Pond Pump
Connect the pond pump to the tubing and place it at the bottom of the waterfall. The pump will circulate the water from the pond to the top of the waterfall, creating a continuous flow of water. Make sure the tubing is hidden behind the rocks for a seamless look.
Step 8: Test the Waterfall
Before completing the construction, test the waterfall to ensure everything is working correctly. Turn on the pond pump and check the water flow and sound of the waterfall. Make any necessary adjustments to the rocks or pump to achieve the desired effect.
Step 9: Add Finishing Touches
Once you are satisfied with the waterfall, add any finishing touches to enhance its appearance. You can plant aquatic plants around the waterfall, add lighting for a dramatic effect at night, or incorporate decorative elements to personalize the design.
Step 10: Maintenance and Care
After completing the waterfall, it is essential to maintain it regularly to ensure its longevity. Clean the pump and tubing periodically, remove debris from the rocks, and check for any leaks in the liner. Proper maintenance will keep your waterfall looking beautiful for years to come.
Conclusion
Building a waterfall for your pond is a rewarding project that can transform your outdoor space into a peaceful oasis. By following these steps and putting in the effort, you can create a stunning waterfall that will bring joy and relaxation to your backyard. So, grab your tools and get started on building your very own waterfall today!


