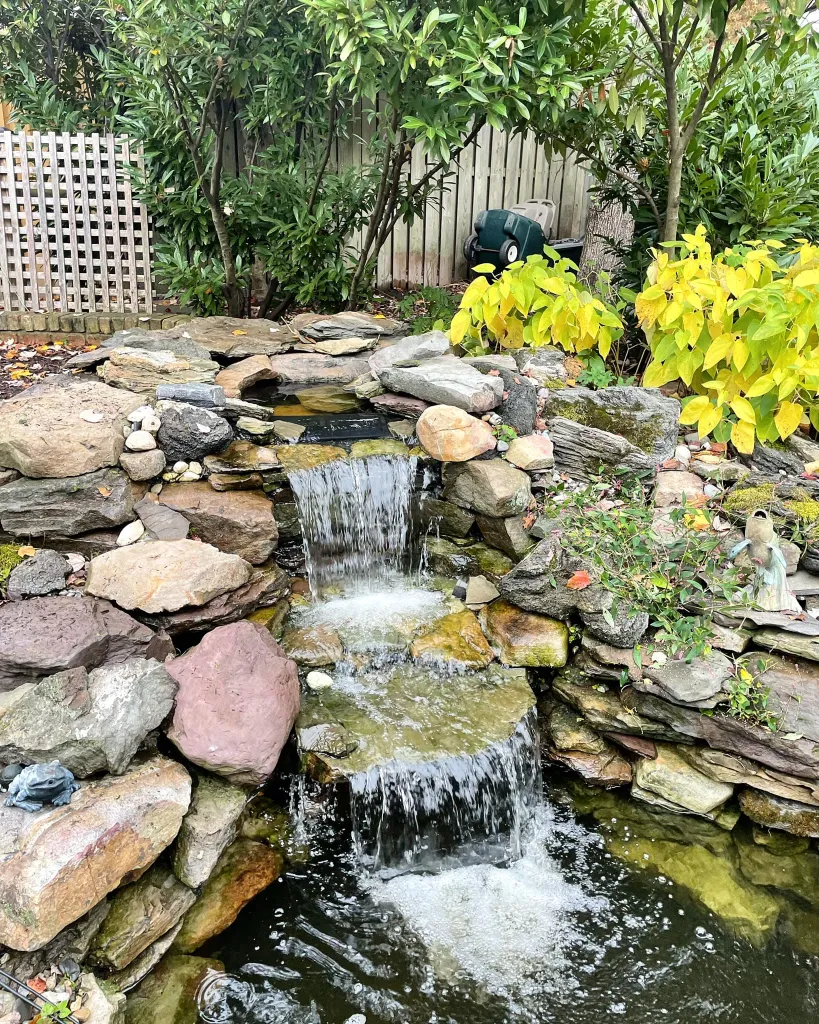
Welcome to our guide on how to build a stunning waterfall for your pond! Adding a waterfall to your pond can enhance its beauty and create a peaceful and relaxing atmosphere in your outdoor space. Not only does a waterfall add visual appeal, but the sound of flowing water can also have a calming effect on your mind and body. Follow these steps to create your own picturesque waterfall feature.
Materials You Will Need
Before you start building your waterfall, gather all the necessary materials. Here’s a list of items you will need:
- Shovel
- Pond liner
- Rocks of various sizes
- Pump and tubing
- Waterfall spillway
- Level
- Marker spray paint
- Gravel
- Plumbing supplies
- Waterproof sealant

Credit: www.yardfocus.com

Credit: www.youtube.com
Step-by-Step Guide
1. Plan Your Waterfall
Decide on the location and size of your waterfall. Consider the natural slope of your landscape and choose a spot that will allow the water to flow smoothly from the top of the waterfall to the pond below. Mark the outline of the waterfall using marker spray paint.
2. Dig The Waterfall Area
Use a shovel to dig out the area where your waterfall will be located. Create a shallow pool at the top of the waterfall to collect and recirculate the water. Dig a trench from the pond to the top of the waterfall to lay the tubing for the water flow.
3. Install the Pond LinerPlace the pond liner in the excavated area, making sure it reaches all corners and edges. The liner will prevent water from seeping into the ground and help maintain the water level in your pond and waterfall feature.
4. Position The Waterfall Spillway
Set up the waterfall spillway at the top of the waterfall area. This spillway will create a smooth water flow and prevent erosion. Make sure it is level and securely in place.
5. Arrange The Rocks
Start placing rocks of various sizes around the spillway and along the waterfall area. Larger rocks can be used at the base of the waterfall, while smaller rocks can be stacked to create the cascading effect. Be creative with the arrangement to achieve a natural look.
6. Connect The Pump And Tubing
Connect the pump to the tubing and place it in the pond. Run the tubing from the pump up to the waterfall spillway. Ensure the tubing is hidden among the rocks to maintain the natural appearance of the waterfall.
7. Test The Water Flow
Fill the shallow pool at the top of the waterfall with water and turn on the pump. Check the water flow and make adjustments as needed to achieve the desired cascading effect. Ensure the water is flowing smoothly into the pond below.
8. Add Finishing Touches
Once you are satisfied with the water flow and appearance of your waterfall, add gravel around the edges of the pond and waterfall area to create a polished look. Use waterproof sealant to secure any loose rocks and ensure the durability of your waterfall feature.
Maintaining Your Waterfall
Regular maintenance is essential to keep your waterfall running smoothly and looking its best. Here are some tips for maintaining your waterfall:
- Clean the pump and tubing regularly to prevent clogs and ensure proper water flow.
- Remove debris such as leaves and twigs from the waterfall area to prevent blockages.
- Check the water level in the pond and top up as needed to maintain the water flow.
- Inspect the rocks for any signs of shifting or erosion and make adjustments as necessary.
- Monitor the pump for any signs of damage or wear and replace parts as needed.
By following these steps and tips, you can create a beautiful waterfall for your pond that will enhance the aesthetic appeal of your outdoor space and provide a soothing ambiance for you to enjoy. Get started on your waterfall project today and transform your pond into a tranquil oasis.


