Water garden ponds add a touch of tranquility and beauty to any outdoor space. Whether you want to create a serene oasis or attract wildlife to your garden, building a water garden pond is a rewarding project that can be enjoyed for years to come. In this step-by-step guide, we will walk you through the process of building your own water garden pond.

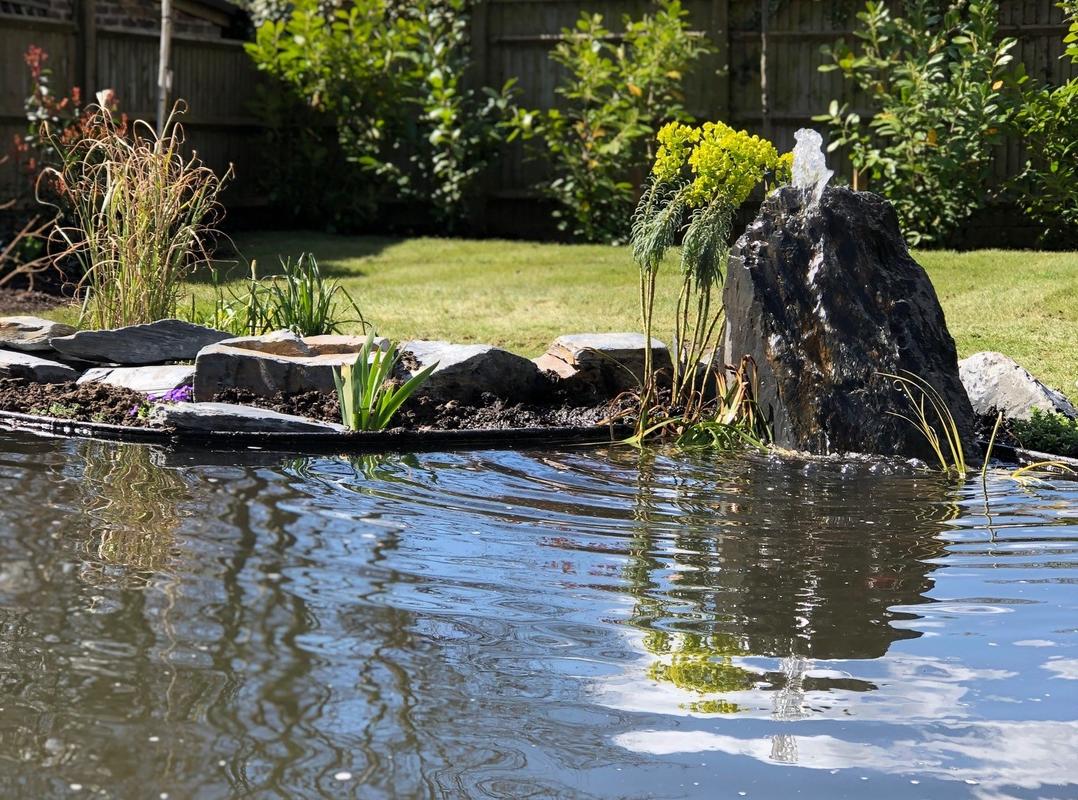
Credit: www.youtube.com

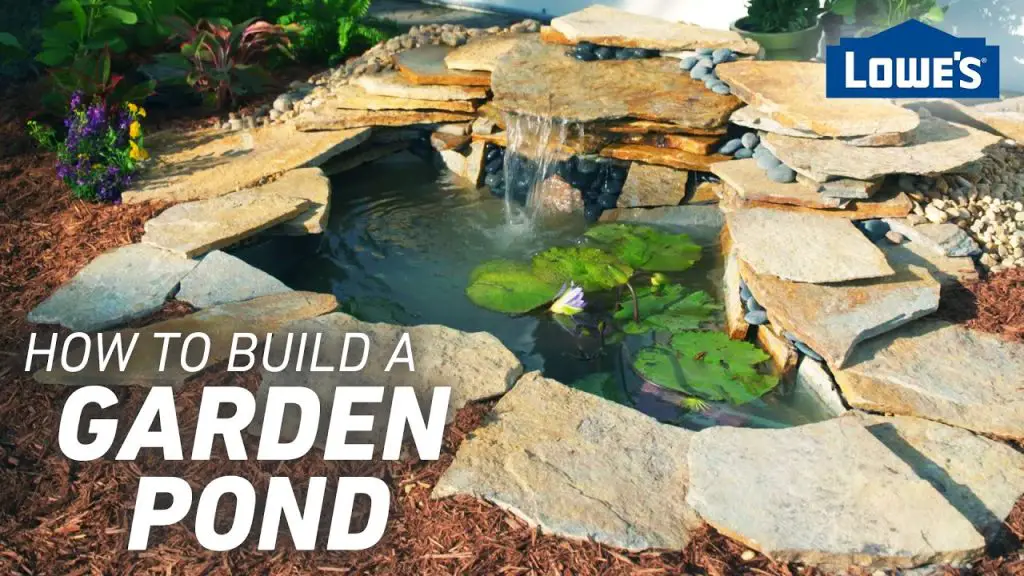
Credit: decorativeaggregates.com
Step 1: Planning Your Water Garden Pond
Before you start digging, take some time to plan out your water garden pond. Consider the size and shape of the pond, the location in your yard, and the type of plants and fish you want to include. Make sure to check with local authorities for any permits or regulations that may be required.
Step 2: Choosing The Right Location
Choose a location for your water garden pond that receives at least 6 hours of sunlight a day. Avoid areas with overhanging trees or roots that could puncture the pond liner. Make sure the ground is level and free of rocks and debris.
Step 3: Digging the Pond
Using a rope or hose, outline the shape of your pond on the ground. Start digging from the center and work your way out, creating shelves for plants and fish. The depth of the pond will depend on the plants and fish you plan to include, but a depth of 18-24 inches is a good starting point.
Step 4: Installing the Pond Liner
Once you have dug the pond to the desired depth and shape, it’s time to install the pond liner. Choose a high-quality pond liner that is durable and puncture-resistant. Place the liner in the hole and smooth out any wrinkles or folds. Make sure to leave some excess liner around the edges to secure it in place.
Step 5: Adding Rocks and Gravel
To create a natural look and provide hiding places for fish, add rocks and gravel to the bottom and edges of the pond. Make sure to wash the rocks and gravel thoroughly to remove any dirt or debris before adding them to the pond.
Once the liner is in place and the rocks and gravel are added, it’s time to fill the pond with water. Use a garden hose to slowly fill the pond, allowing the water to settle and the liner to conform to the shape of the pond. Check for any leaks or tears in the liner as the pond fills up.
Now that your pond is filled with water, it’s time to add plants and fish. Choose a variety of aquatic plants to oxygenate the water and provide shelter for fish. When adding fish, make sure to acclimate them to the water temperature before releasing them into the pond.
Once your water garden pond is up and running, it’s important to maintain it regularly. Remove debris, trim plants, and check the water quality regularly to ensure a healthy ecosystem. Consider adding a pump or filter to help keep the water clean and clear.
Building a water garden pond is a rewarding and enjoyable project that can enhance the beauty of your outdoor space. By following these step-by-step instructions and taking the time to plan and maintain your pond, you can create a peaceful oasis that will be enjoyed for years to come.


