Welcome to our comprehensive guide on how to build a turtle pond! If you are a turtle enthusiast looking to create a safe and comfortable habitat for your shelled friends, you’ve come to the right place. Building a turtle pond can be a rewarding and fun project that will provide a natural and enriching environment for your turtles to thrive. Follow our step-by-step instructions to create the perfect turtle pond.
Step 1: Choose the Right Location
The first step in building a turtle pond is to choose the right location. Turtles need a balance of sun and shade, so select a spot in your yard that receives both sunlight and shade throughout the day. Make sure the area is away from any trees that could drop leaves into the pond and create debris.
Step 2: Determine the Size of the Pond
Next, decide on the size of the pond based on the number and size of turtles you plan to house. A good rule of thumb is to provide at least 10 gallons of water per inch of turtle shell. For example, if you have a turtle with a 6-inch shell, you would need a pond that holds at least 60 gallons of water.
Step 3: Dig the Pond
Now it’s time to dig the pond. Use a shovel to dig out the shape of the pond, making sure to create shallow areas for basking and deeper areas for swimming. You can create different levels in the pond using rocks or bricks to provide variety for your turtles.
Step 4: Install a Pond Liner
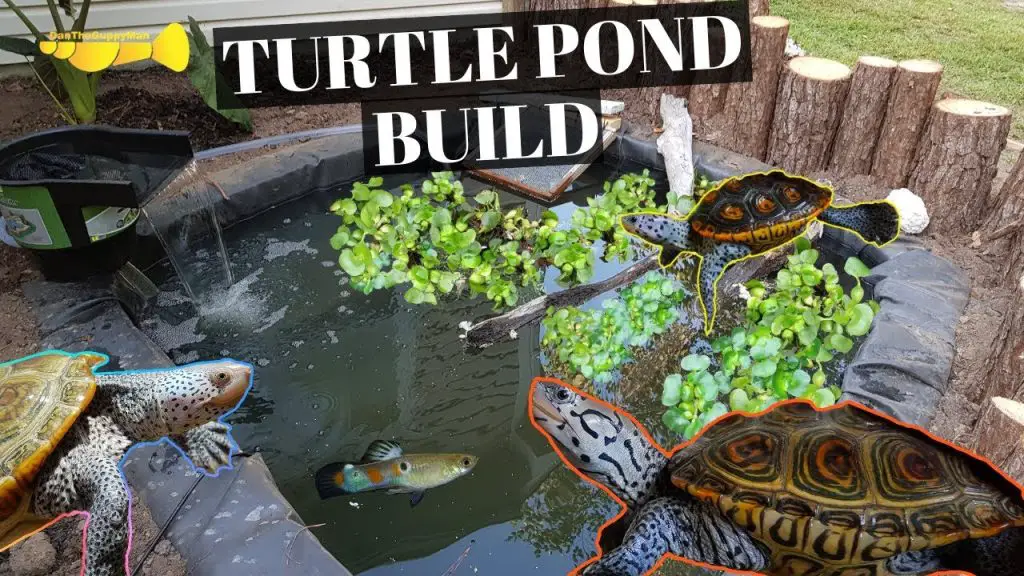
Once the pond is dug to the desired shape and depth, it’s time to install a pond liner to prevent water from seeping into the soil. Choose a durable pond liner that is large enough to cover the entire pond area with some overlap on the edges. Secure the liner in place with rocks or bricks.

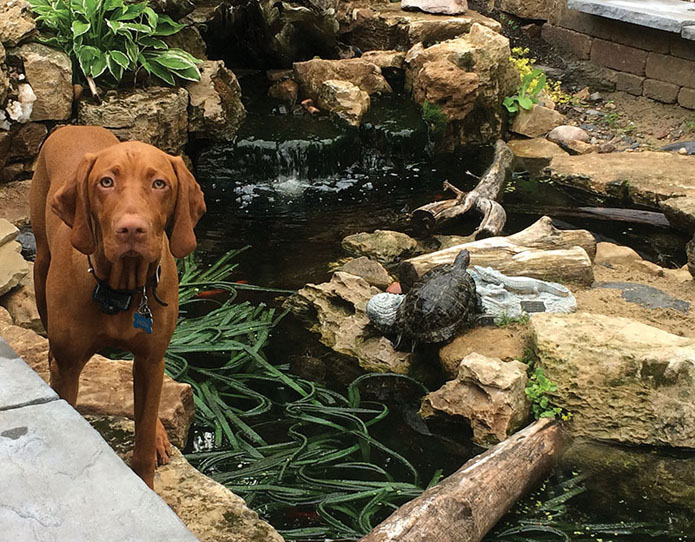
Credit: www.pondtrademag.com
Step 5: Add Water and Filtration System
Fill the pond with clean, dechlorinated water. Ensure that the water level is appropriate for your turtles to swim comfortably. Install a filtration system to keep the water clean and healthy for your turtles. A good filtration system will help maintain water quality and reduce the need for frequent water changes.
Step 6: Add Plants and Decorations
Enhance the aesthetics and functionality of your turtle pond by adding aquatic plants and decorations. Plants like water lilies and duckweed provide shade and hiding spots for your turtles. Rocks, logs, and driftwood can create basking areas and add natural elements to the pond.
Step 7: Create Basking Areas
Turtles need a dry area to bask and soak up the sun. Create basking areas in your pond using rocks, logs, or floating platforms. Make sure the basking areas are easily accessible for your turtles to climb onto and dry off after swimming.
Step 8: Monitor Water Quality
Regularly monitor the water quality in your turtle pond to ensure a healthy environment for your turtles. Test the water for pH, ammonia, nitrite, and nitrate levels using a water testing kit. Make adjustments as needed to maintain optimal water conditions.
Step 9: Feed and Care for Your Turtles
Provide a balanced diet for your turtles consisting of commercial turtle pellets, live or frozen insects, leafy greens, and occasional fruits. Monitor your turtles’ health and behavior regularly and consult a veterinarian if you notice any signs of illness or distress.

Credit: www.youtube.com
Step 10: Enjoy Your Turtle Pond
Congratulations! You have successfully built a turtle pond for your shelled companions to enjoy. Sit back, relax, and watch your turtles swim, bask, and explore their new habitat. Remember to maintain the pond regularly and provide proper care for your turtles to ensure their health and well-being.
Building a turtle pond is a fun and fulfilling project that can provide endless hours of enjoyment for both you and your turtles. Follow our guide to create a safe, comfortable, and natural habitat that your turtles will love to call home.


