Creating a tiny pond in your garden or backyard can add a touch of tranquility and natural beauty to your outdoor space. Whether you want to attract wildlife, incorporate a water feature into your landscape, or simply enjoy the soothing sound of running water, building a tiny pond can be a rewarding and relatively simple project. In this guide, we’ll explore the step-by-step process of building a tiny pond, including planning, excavation, installation, and maintenance.
Planning Your Tiny Pond
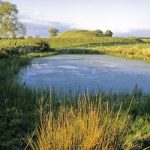
Before you begin digging, it’s essential to plan your tiny pond carefully. Consider the size and location of your pond, ensuring that it complements your existing landscape and receives adequate sunlight. Additionally, research local regulations or restrictions regarding pond construction and make sure you won’t encounter any underground utility lines while excavating.
When planning the size of your pond, remember that larger ponds require more maintenance and may not be suitable for smaller spaces. A tiny pond can be as small as a few square feet, making it an ideal choice for compact gardens or urban outdoor areas.

Credit: littleterracedhouse.com
Excavating the Pond Area
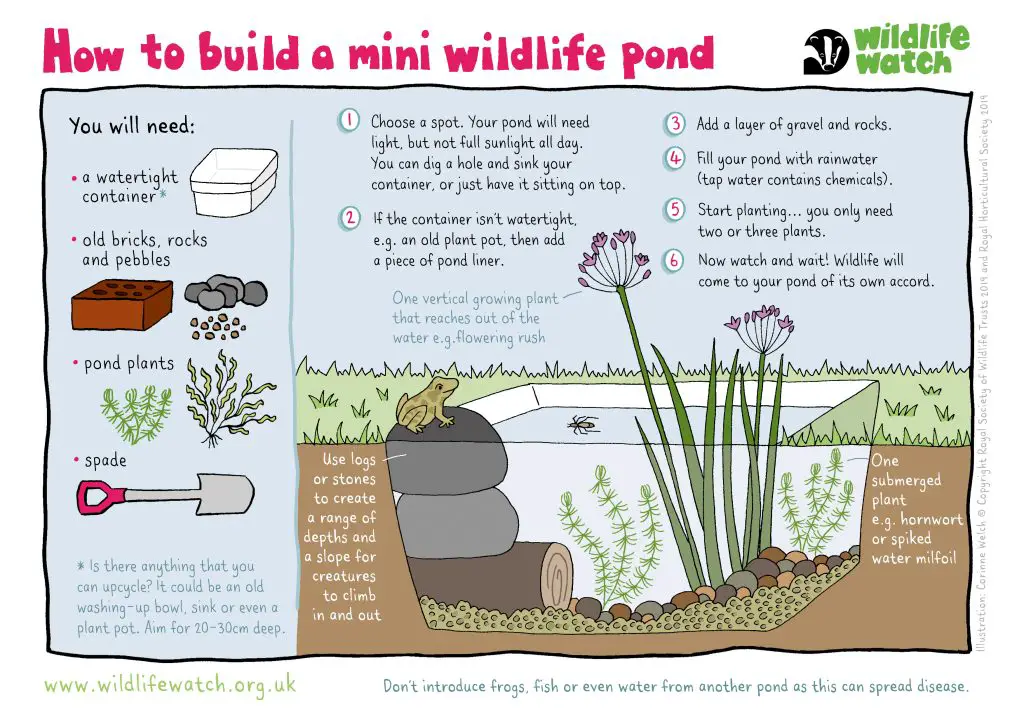
Once you’ve finalized your pond’s location and size, it’s time to start digging. Use a garden hose or spray paint to outline the shape of your pond on the ground. Then, carefully excavate the area, creating a shallow basin with gently sloping sides. The depth of your pond will depend on the types of plants and wildlife you plan to include, but a depth of 18-24 inches is generally suitable for most tiny ponds.
As you dig, be mindful of the soil you’re removing. You can repurpose it elsewhere in your garden or use it to create mounds or raised beds around the pond, adding visual interest to the area and minimizing waste.
Installing the Pond Liner
Once you’ve completed the excavation, it’s time to install the pond liner. Choose a high-quality, fish-safe liner that is durable and resistant to punctures. Carefully lay the liner in the hole, ensuring that it extends up and over the excavated area with some excess around the edges to allow for adjustments.
Smooth out any wrinkles or folds in the liner, and use rocks or bricks around the edges to hold it in place. Trim away any excess liner, leaving a few inches of overlap to secure the edges and prevent water from seeping out of the pond.
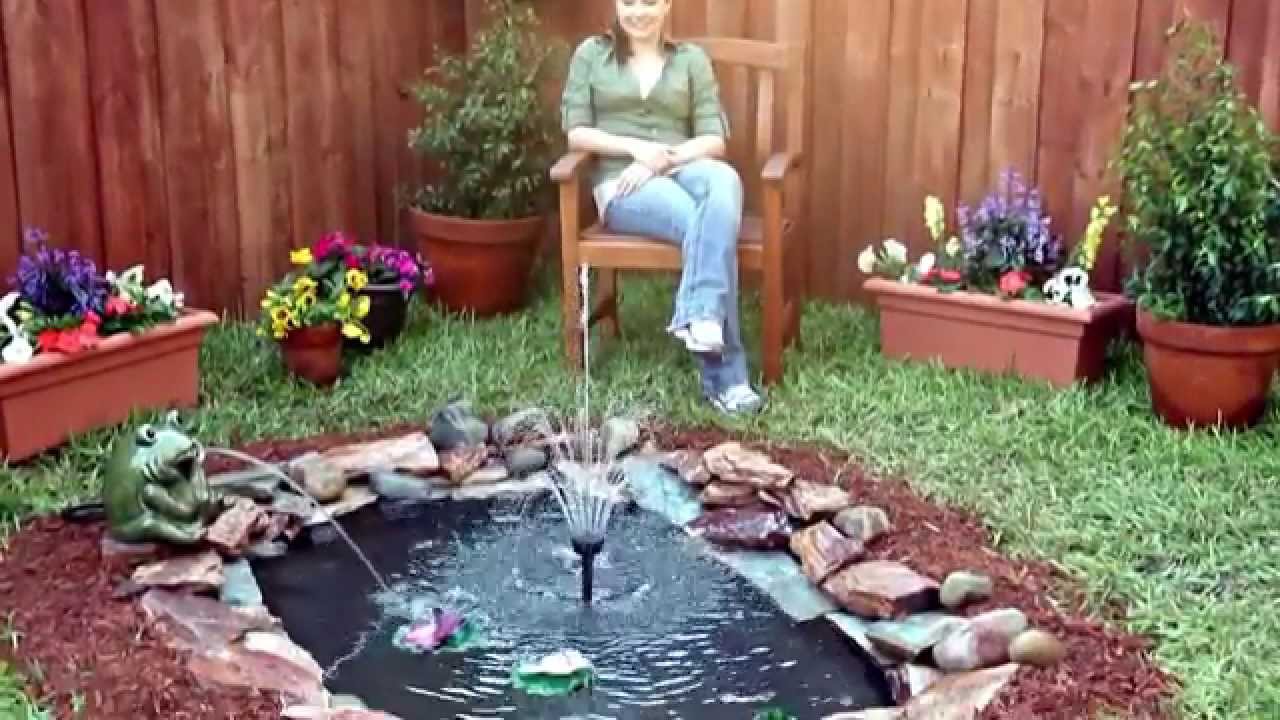
Credit: m.youtube.com
Adding Water and Rocks
With the liner in place, you can begin filling the pond with water. Use a garden hose to slowly fill the pond, allowing the water to settle and the liner to conform to the shape of the hole. As the pond fills, add rocks of various sizes around the edges and on the bottom to create a naturalistic appearance and provide habitat for plants and wildlife.
Consider incorporating a small waterfall or fountain to enhance the visual and auditory appeal of your tiny pond. There are various DIY options available for creating a gentle water feature using a submersible pump and some strategically placed rocks or driftwood.
Choosing Plants and Wildlife
Once your pond is filled and the rocks are in place, it’s time to consider the plants and wildlife you’d like to introduce. Select a variety of aquatic plants, such as water lilies, lotus, and water hyacinth, to add color and texture to the pond while providing shelter for fish and other aquatic creatures.
When it comes to wildlife, consider adding small fish, such as goldfish or minnows, to help control algae and mosquito larvae. Additionally, native frogs, toads, and insects may naturally populate the pond, contributing to the overall ecosystem and providing entertainment and educational opportunities for you and your family.
Maintaining Your Tiny Pond
After completing the construction of your tiny pond, it’s important to establish a regular maintenance routine to keep it healthy and thriving. Remove any debris, such as leaves and twigs, from the surface of the water regularly, and monitor the water quality to ensure it remains clear and balanced.
During the warmer months, be mindful of algae growth and consider using a biological or mechanical filter to maintain water clarity. Additionally, trim and prune aquatic plants as needed to prevent overgrowth and maintain a balanced ecosystem within the pond.
Throughout the year, observe and enjoy the wildlife that visits and inhabits your tiny pond. With proper maintenance and care, your pond will become a vibrant and dynamic feature of your outdoor space, attracting birds, butterflies, and other creatures while providing a serene and natural focal point for relaxation and contemplation.
Conclusion
Building a tiny pond is a fulfilling and creative endeavor that allows you to connect with nature and enhance the beauty of your outdoor environment. By following the steps outlined in this guide and dedicating time and attention to planning, construction, and maintenance, you can create a charming and sustainable pond that brings joy and tranquility to your home for years to come.
Remember, the process of building a tiny pond is an opportunity for self-expression and exploration, so don’t be afraid to personalize your pond with unique features, plants, and decorative elements that reflect your individual style and vision for your outdoor space.
Whether you’re a seasoned gardener or a novice enthusiast, the experience of building and nurturing a tiny pond is sure to inspire creativity, foster a deeper appreciation for the natural world, and provide a peaceful retreat within the comfort of your own backyard.