Adding a small pond waterfall to your backyard can create a serene and peaceful atmosphere, while also enhancing the beauty of your outdoor space. The sight and sound of flowing water can bring a sense of tranquility and relaxation, making it a wonderful addition to any garden or landscape. If you’re considering building a small pond waterfall with rocks, this guide will walk you through the process, step by step.
Step 1: Planning and Design
Before you start digging or gathering materials, it’s important to have a clear plan and design for your small pond waterfall. Consider the size of the pond, the desired height and width of the waterfall, and the overall layout of your backyard. Take into account the natural slope of the land and any existing features that you want to work around. Sketch out a rough design or use a digital landscape design tool to visualize the placement and proportions of your waterfall.

Credit: www.youtube.com
Step 2: Selecting the Location
Choosing the right location for your small pond waterfall is crucial. Look for a spot that is visible from your outdoor living area and provides a natural focal point. Consider the proximity to power sources if you plan to incorporate a pump for the waterfall. Additionally, assess the amount of sunlight the area receives, as this can impact the growth of aquatic plants and algae in the pond.
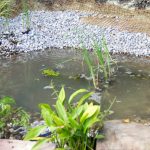
Step 3: Digging the Pond
Once you’ve identified the location, it’s time to start digging the pond. Use a rope or garden hose to outline the shape of the pond, and then use a shovel or a small excavator to dig out the area. The depth of the pond will depend on the size of the waterfall and the intended depth of the water. Create shelves or ledges within the pond to accommodate different types of aquatic plants and provide varying depths for wildlife.
Step 4: Installing the Pond Liner
After the pond is dug, it’s important to line the bottom and sides with a durable pond liner. This will prevent water from seeping into the surrounding soil and help maintain the water level. Ensure that the liner extends beyond the edges of the pond to provide a secure barrier. Trim off any excess liner and secure the edges with heavy rocks or landscaping stones to keep it in place.
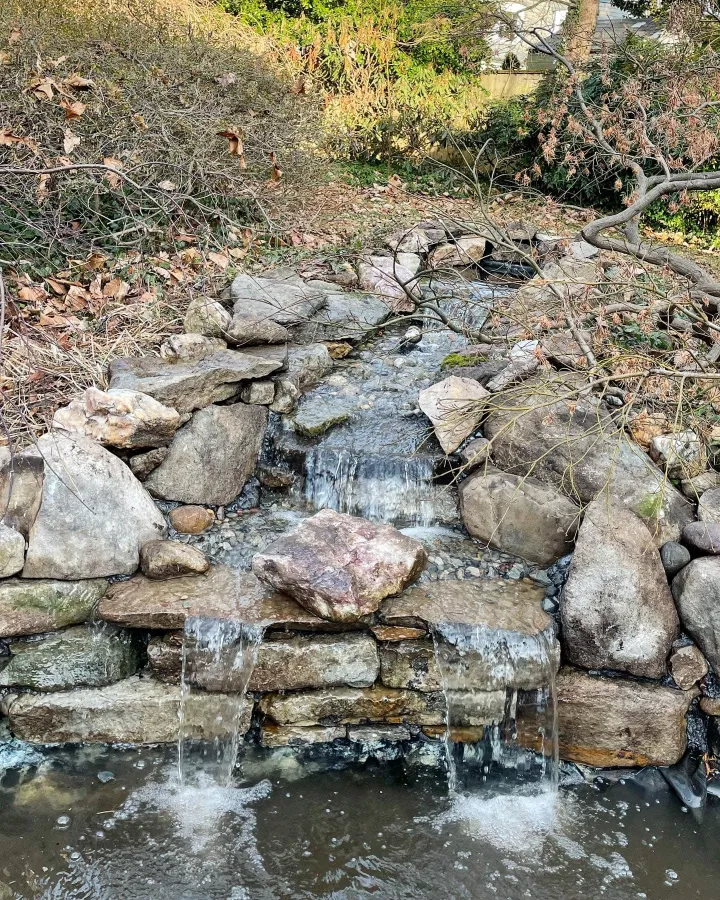
Step 5: Adding Rocks and Boulders
Now comes the fun part – adding rocks and boulders to create the foundation of your small pond waterfall. Start by placing larger rocks around the edge of the pond to create a natural border. Then, strategically position larger boulders to form the structure of the waterfall. Consider the natural flow of water and create tiers or steps for the water to cascade down, using rocks to build up the elevation as needed.
Step 6: Creating the Waterfall
With the rocks in place, it’s time to connect the water source and create the flowing waterfall. Depending on your preference, you can use a submersible pump or a recirculating system to pump water from the pond to the top of the waterfall. Ensure that the tubing is hidden among the rocks and boulders for a natural look. Test the flow of water to adjust the positioning of the rocks and make any necessary modifications to the pump and tubing.
Credit: premierpond.com
Step 7: Adding Aquatic Plants and Fish
Once the waterfall is flowing smoothly, consider adding aquatic plants and fish to your small pond. Water lilies, lotus, and water hyacinth are popular choices for adding beauty and natural filtration to the pond. Introduce fish such as koi or goldfish to help maintain a balanced ecosystem and control algae growth. Be mindful of the specific needs of the plants and fish, and provide appropriate shelter and water conditions for their health and well-being.
Step 8: Maintenance and Care
After completing the construction of your small pond waterfall, regular maintenance is essential to keep it looking beautiful and functioning properly. Remove any debris that may accumulate in the pond or waterfall, and periodically check the pump and tubing for any clogs or malfunctions. Monitor the water quality and balance to ensure a healthy environment for the aquatic life, and trim back any overgrowth of plants as needed.
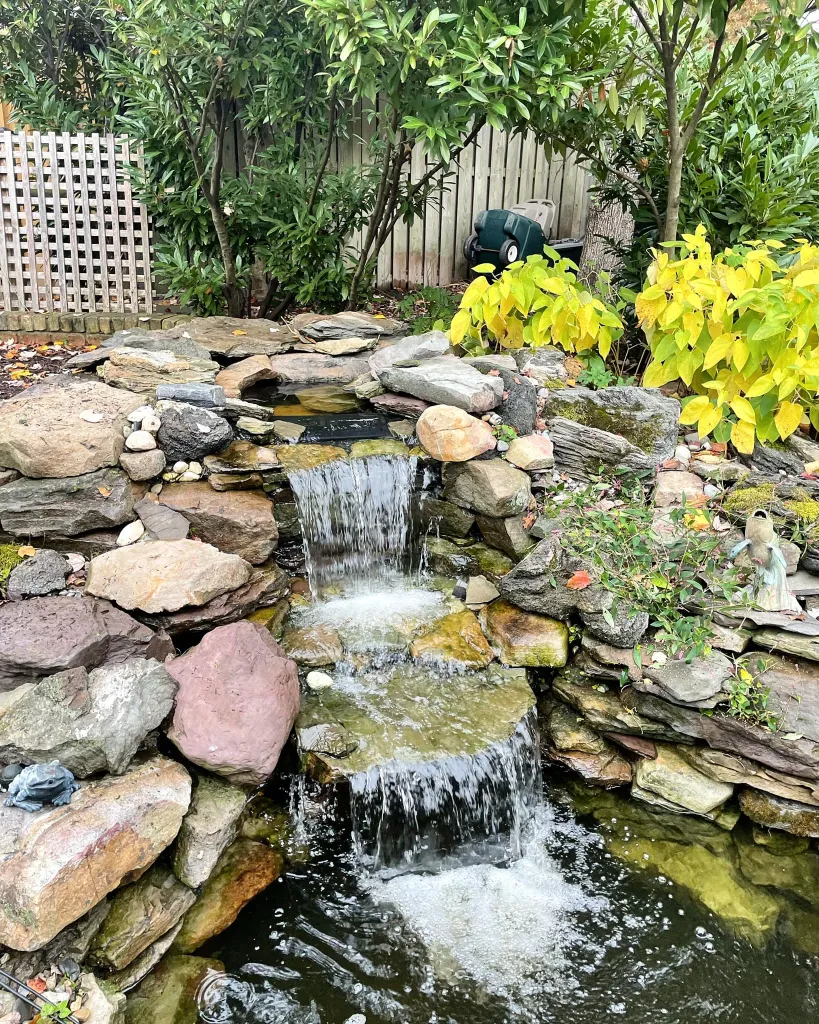
Step 9: Enjoying Your Small Pond Waterfall
With your small pond waterfall complete, take the time to sit back, relax, and enjoy the tranquil beauty of your creation. Whether you’re unwinding after a long day or hosting a gathering with friends and family, the soothing sounds of the waterfall and the natural charm of the pond will provide a delightful backdrop to your outdoor activities. Consider adding seating or a small patio area near the waterfall to fully immerse yourself in the peaceful ambiance.
Conclusion
Building a small pond waterfall with rocks can be a rewarding and fulfilling project that brings a touch of nature and serenity to your backyard. By carefully planning and implementing each step, you can create a stunning focal point that enhances the overall appeal of your outdoor space. Whether you’re a seasoned DIY enthusiast or a novice gardener, the process of building a small pond waterfall can be an enjoyable and creative endeavor that yields long-lasting enjoyment and beauty.
Remember to consider the natural surroundings and the specific needs of the plants and wildlife that will inhabit your small pond waterfall. With proper care and attention, your waterfall can become a thriving ecosystem and a captivating feature that enriches your outdoor living experience.
So, roll up your sleeves, gather your materials, and get ready to embark on the journey of building a small pond waterfall with rocks. The end result will be a picturesque oasis that brings joy and tranquility to your outdoor haven.