Creating a rock pond waterfall in your backyard can add a touch of natural beauty and tranquility to your outdoor space. The sound of flowing water and the visual appeal of a cascading waterfall can transform your garden into a peaceful oasis. In this guide, we will walk you through the step-by-step process of building your own rock pond waterfall.
1. Planning and Design
The first step in building a rock pond waterfall is to carefully plan and design the layout of your water feature. Consider the size and shape of the pond, the height and width of the waterfall, and the placement of rocks and plants. Take into account the natural slope of your yard and the existing landscaping to ensure that the waterfall looks like a natural part of the environment.
Sketch out a rough design of your waterfall and pond, taking into consideration the flow of water and the overall aesthetics. Consider using a mix of large and small rocks to create a natural-looking waterfall, and plan for the placement of aquatic plants to enhance the visual appeal of the pond.
2. Excavation and Pond Installation
Once you have finalized your design, it’s time to start the excavation process. Use a shovel or a small excavator to dig out the area where the pond will be located. Be sure to create a shallow area for plants and a deeper section for fish, if desired.
Next, install a pond liner to prevent water from seeping into the soil. Choose a high-quality, durable liner that will withstand the elements and provide a long-lasting foundation for your pond. Carefully smooth out the liner and secure it in place, making sure to leave some excess material around the edges to allow for adjustments during the rock placement process.
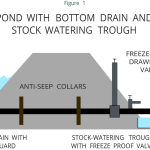
Credit: premierpond.com
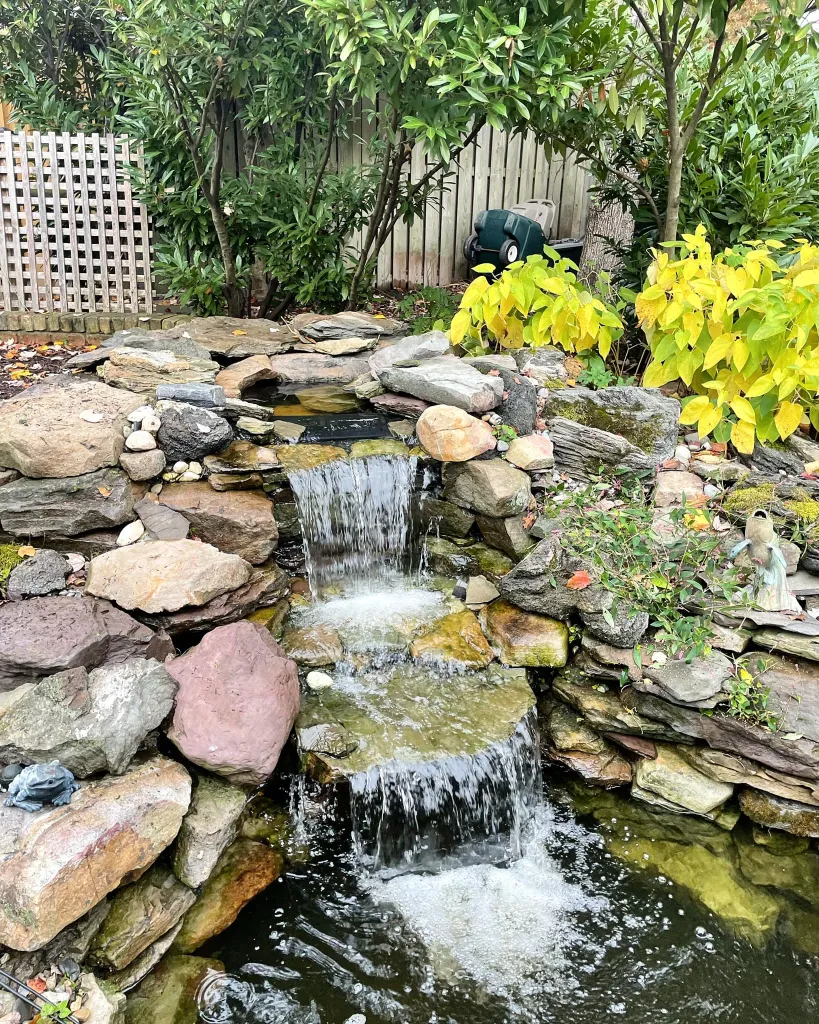
3. Adding Rocks and Creating the Waterfall
Now comes the fun part – adding rocks and creating the waterfall! Start by placing larger rocks around the edges of the pond to create a natural border. Then, carefully stack rocks of various sizes and shapes to form the waterfall. Be mindful of the natural flow of water and create cascading tiers to mimic the look of a real waterfall.
As you place the rocks, make sure to leave spaces for water to flow through, creating a natural, cascading effect. Consider using a mix of larger boulders and smaller stones to add texture and visual interest to the waterfall. Take your time with this step, as the placement of rocks will determine the overall look and feel of your waterfall.
4. Installing a Pump and Water Circulation System
To create a flowing waterfall, you will need to install a pump and water circulation system. Choose a high-quality pump that is suitable for the size of your pond and waterfall. Position the pump at the base of the waterfall and connect it to a water supply. Be sure to carefully follow the manufacturer’s instructions for installation and maintenance.
Once the pump is in place, test the water flow to ensure that the waterfall is functioning as intended. Adjust the flow and positioning of the rocks as needed to achieve the desired visual and auditory effect. Consider adding underwater lighting to highlight the beauty of the waterfall, especially in the evening hours.
5. Adding Aquatic Plants and Fish
With the rock pond waterfall in place, it’s time to add the finishing touches. Consider adding a variety of aquatic plants around the edges of the pond and within the waterfall to enhance the natural look of the feature. Choose plants with different textures and colors to create a visually appealing and diverse landscape.
If you plan to include fish in your pond, carefully introduce them to their new environment and ensure that the water is well-balanced and properly filtered. Adding fish can bring life and movement to your pond, further enhancing the tranquil ambiance of the waterfall feature.
6. Maintenance and Care
Once your rock pond waterfall is complete, it’s important to establish a regular maintenance routine to keep it looking its best. Monitor the water quality and perform regular water tests to ensure that the pH levels and oxygen levels are suitable for aquatic life.
Keep the pond and waterfall free from debris and algae by regularly cleaning the water and removing any excess plant matter. Consider adding a biological filter to help maintain water clarity and balance the ecosystem within the pond.
During the winter months, be sure to winterize your pond by removing any sensitive plants and protecting the water from freezing temperatures. Consider adding a pond heater to maintain a suitable water temperature for fish and plants during the colder months.

Credit: www.pinterest.com
Conclusion
Building a rock pond waterfall is a rewarding and creative project that can enhance the beauty and tranquility of your outdoor space. By carefully planning and designing your waterfall, selecting high-quality materials, and maintaining the feature with care, you can enjoy the soothing sounds and visual appeal of a natural waterfall in your own backyard.
Whether you’re a seasoned DIY enthusiast or a first-time pond builder, creating a rock pond waterfall can be a fulfilling and enjoyable experience that adds a touch of natural elegance to your home. So, roll up your sleeves, gather your materials, and get ready to embark on the journey of building your very own rock pond waterfall!