How to Build a Retaining Wall around a Pond
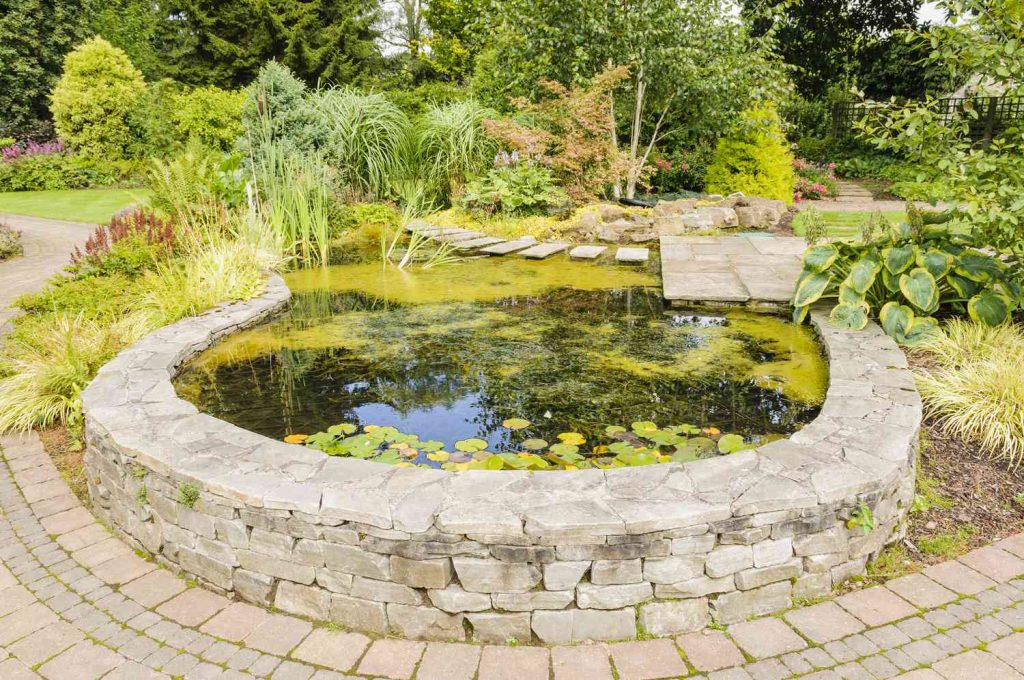
Retaining walls serve as an essential aspect of landscaping, particularly when it comes to creating a beautiful and functional space around a pond. Building a retaining wall around a pond not only adds aesthetic appeal but also helps in preventing soil erosion, controlling water flow, and providing a sturdy boundary for the pond area. In this comprehensive guide, we will explore the step-by-step process of building a retaining wall around a pond, including the materials needed, important considerations, and tips for a successful construction project.
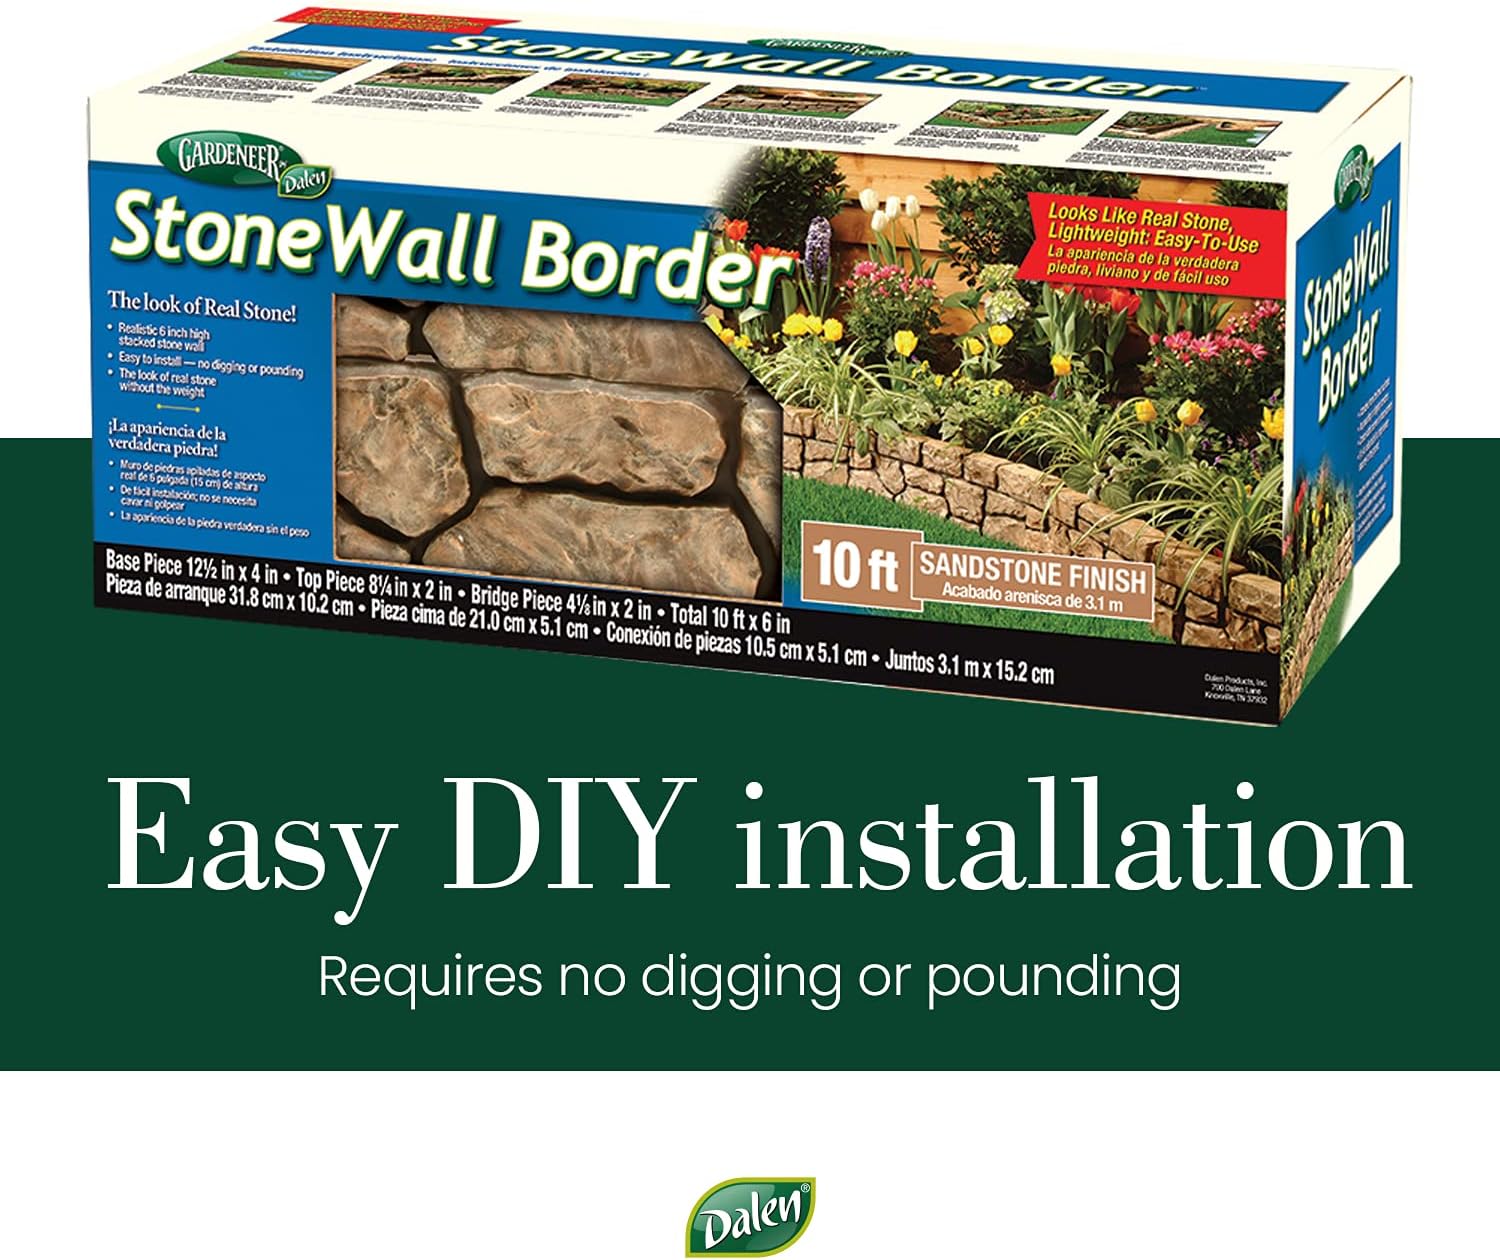
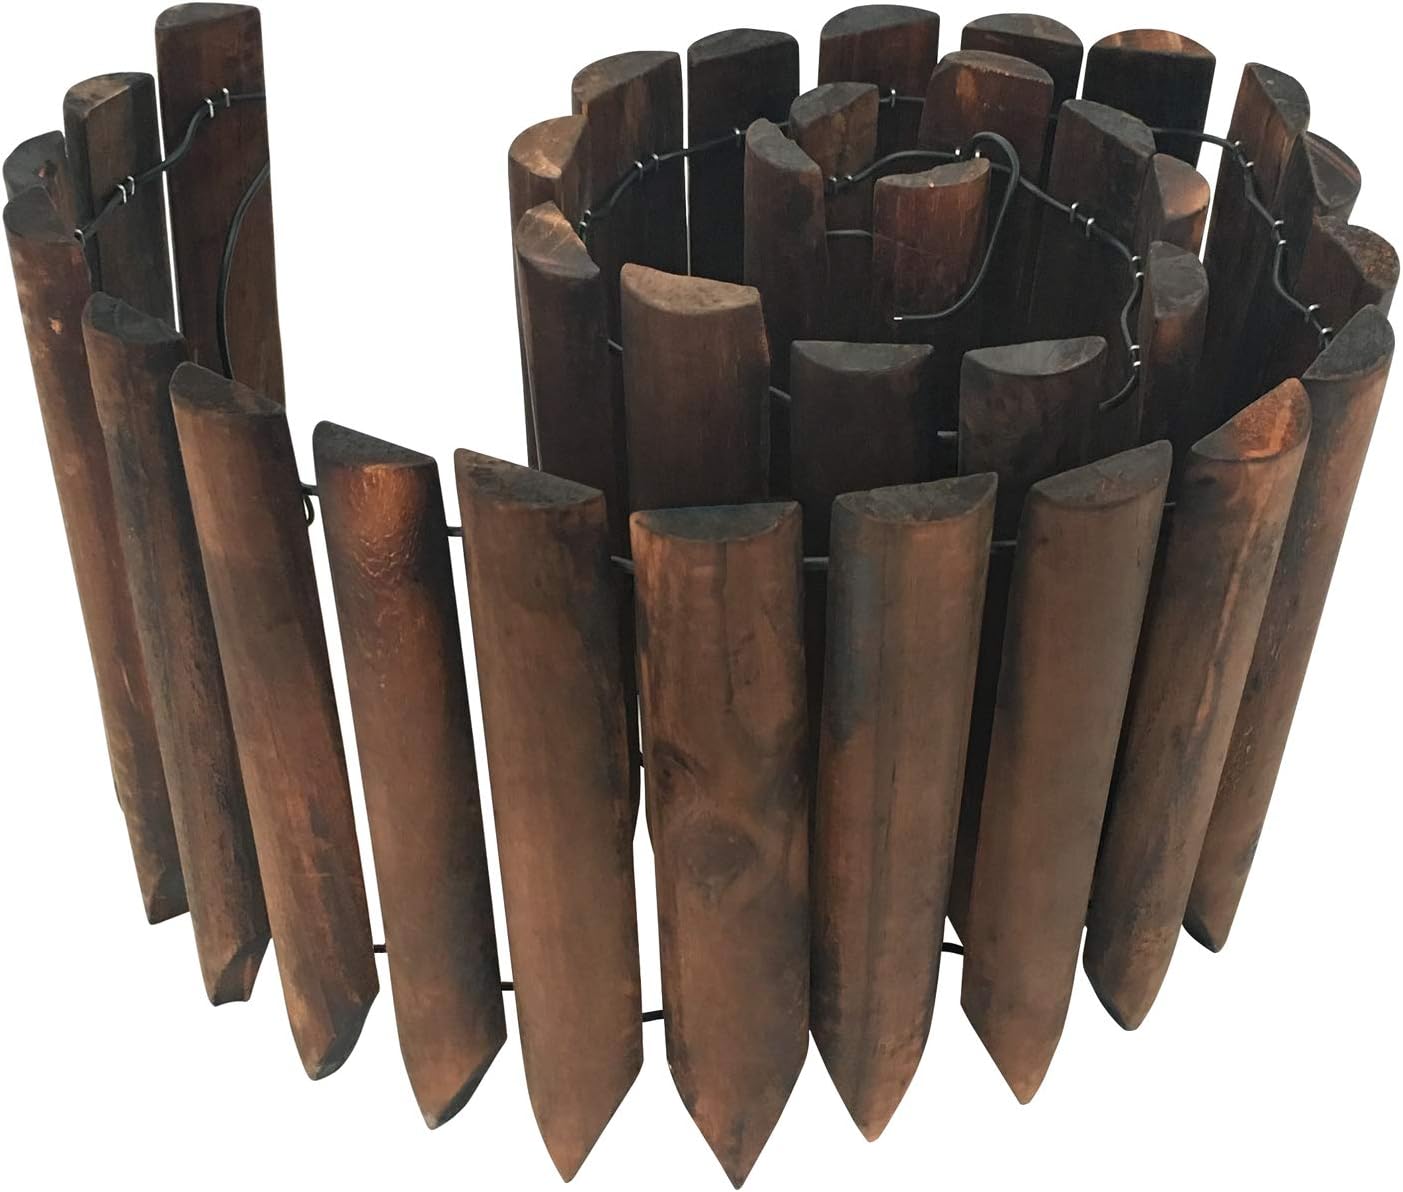
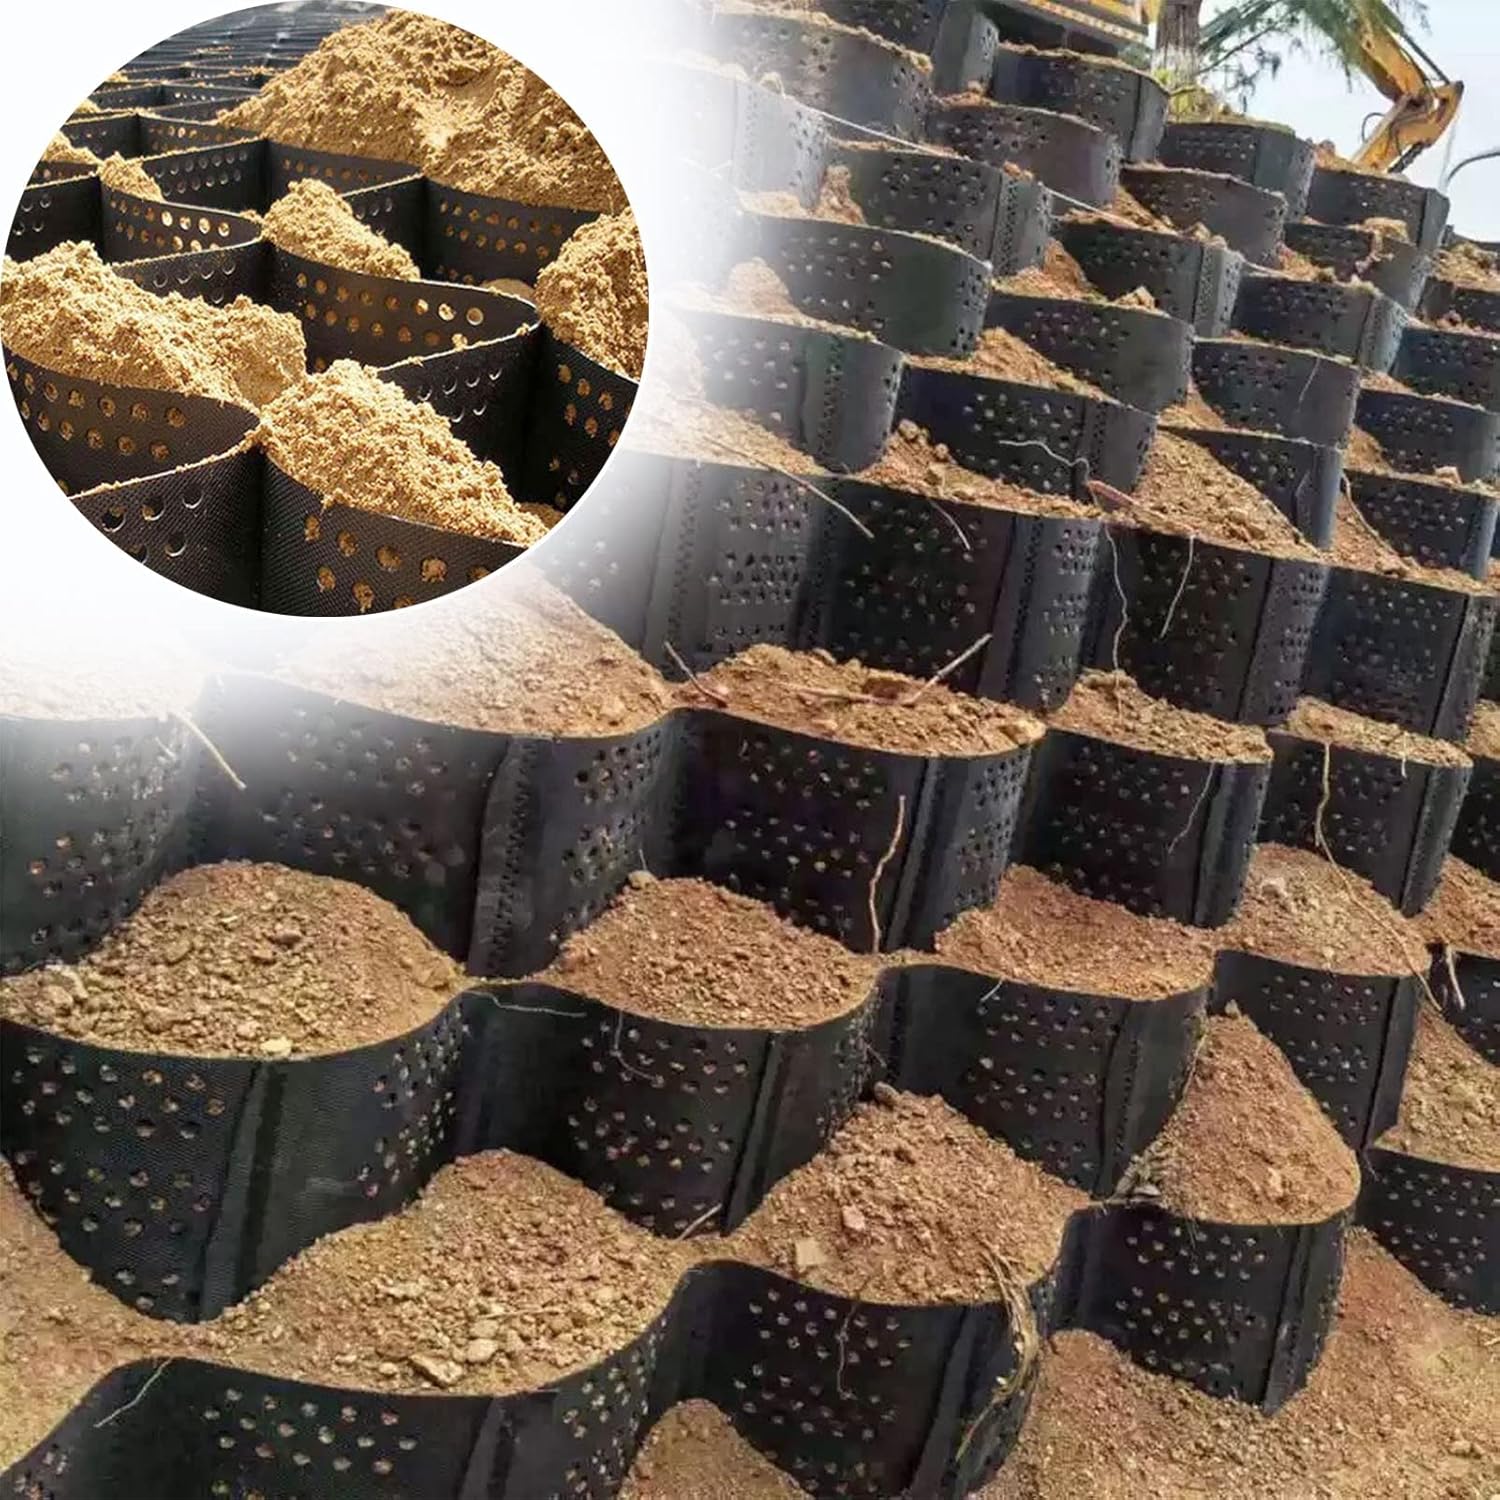
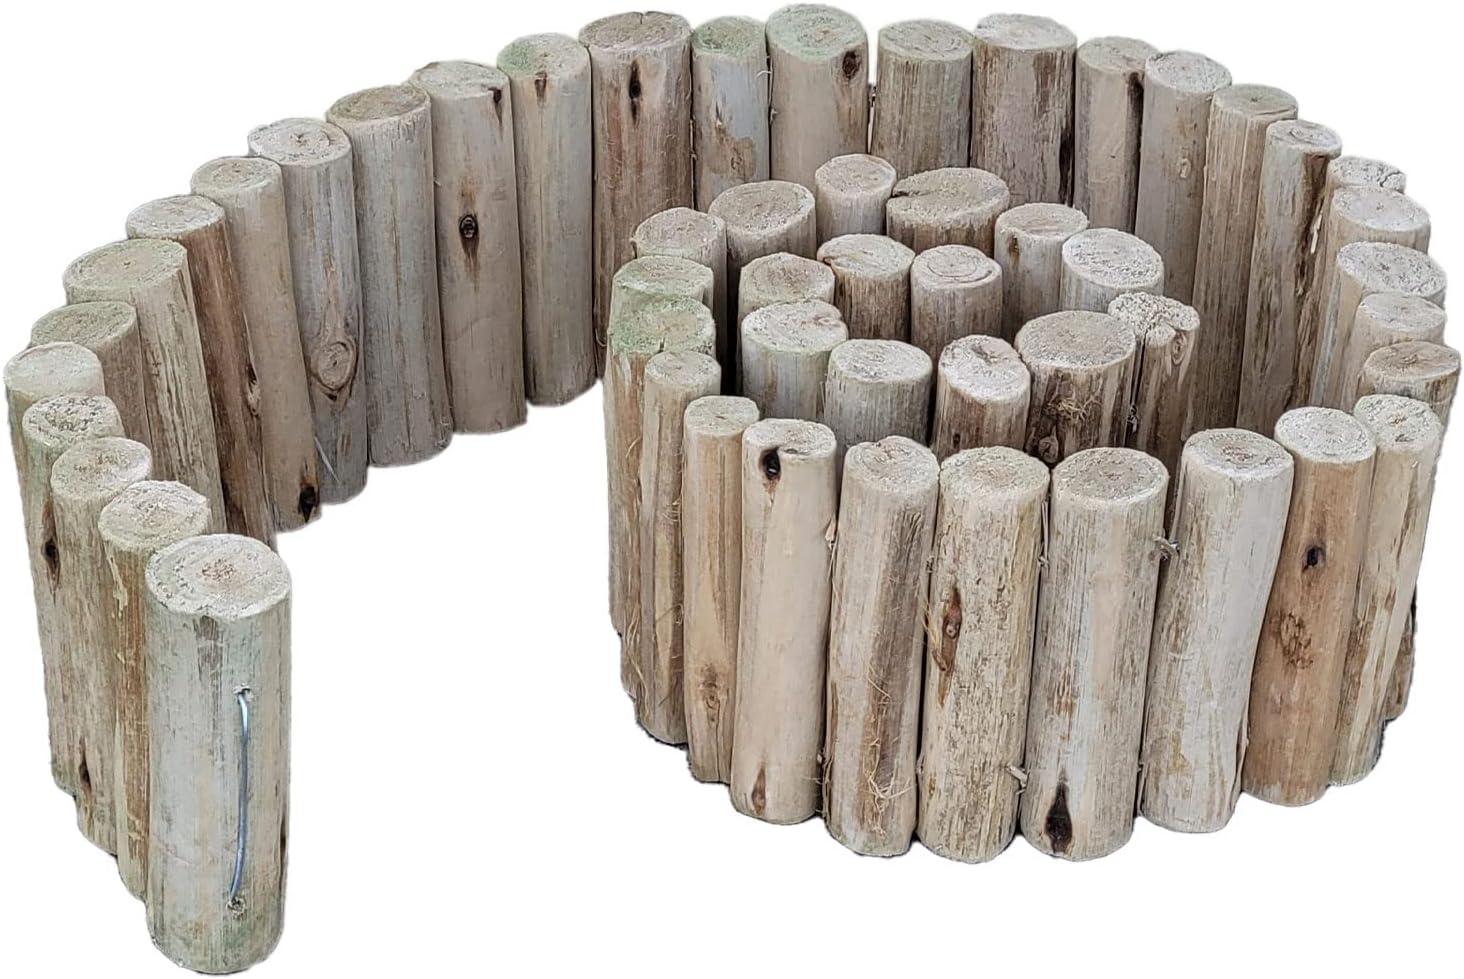
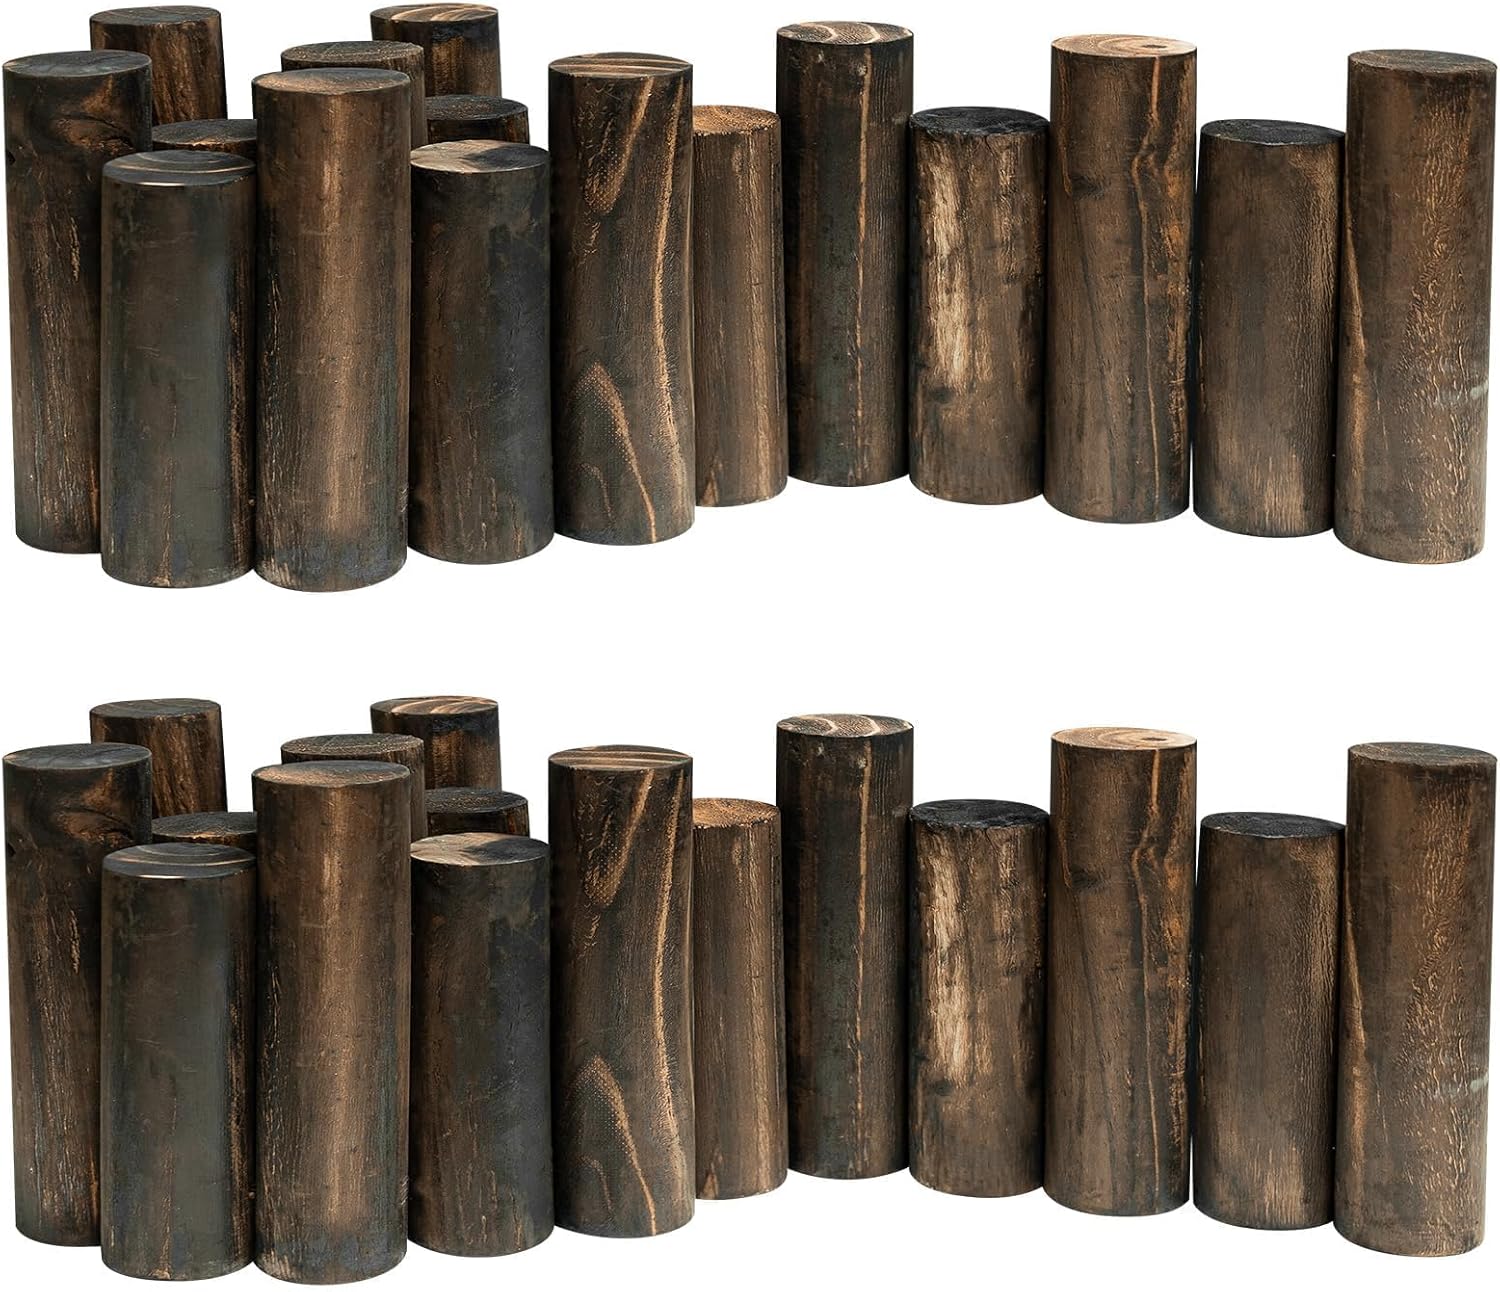
There Are Ready Made Retaining Wall for a Pond
Materials Needed
Before embarking on the construction of a retaining wall around a pond, it is crucial to gather all the necessary materials. The specific materials required may vary based on the design and size of the retaining wall, but the basic materials typically include:
1. Blocks or Stones: Choose durable and visually appealing blocks or stones that are suitable for retaining wall construction. Options include natural stone, concrete blocks, or interlocking wall blocks.
2. Gravel: Use gravel for backfilling and ensuring proper drainage behind the retaining wall.
3. Geotextile Fabric: This fabric helps in preventing soil erosion and provides stability for the retaining wall.
4. Leveling Sand: Leveling sand is essential for creating a stable and even base for the retaining wall.
5. Concrete: Depending on the design and construction method, concrete may be needed for securing the base course of the retaining wall.
6. Tools: Common tools required for building a retaining wall include a shovel, wheelbarrow, tape measure, level, rubber mallet, and a compactor for compacting the base and backfill materials.
7. Safety Gear: It is important to prioritize safety by using appropriate safety gear such as gloves, safety glasses, and sturdy footwear.
Step-by-Step Guide
1. Planning and Preparation
Before commencing the construction of the retaining wall, it is essential to carefully plan and prepare the area around the pond. Start by determining the desired location and dimensions of the retaining wall. Consider factors such as the slope of the land, water flow, and the overall design aesthetic. Additionally, check local building codes and regulations to ensure compliance with any necessary permits or restrictions.
2. Excavation and Base Preparation
Once the planning phase is complete, the next step involves excavating the area and preparing the base for the retaining wall. Use a shovel and a level to excavate the area where the retaining wall will be constructed. Ensure that the base is level and compact the soil using a compactor to create a stable foundation for the wall.
3. Installing the Base Course
The base course serves as the foundation of the retaining wall. Depending on the design, it may be necessary to use concrete to secure the base course in place. Carefully place the first row of blocks or stones, ensuring that they are level and securely positioned. Use a rubber mallet and a level to make any necessary adjustments during this phase.
4. Building the Retaining Wall
With the base course in place, continue building the retaining wall by adding subsequent layers of blocks or stones. Be mindful of the design and ensure that each layer is level and properly aligned with the previous one. Consider incorporating drainage pipes or weep holes to facilitate proper water drainage behind the retaining wall.
5. Backfilling and Compacting
Once the retaining wall is constructed, it is important to backfill the area behind the wall with gravel. This helps in providing adequate drainage and stability for the wall. Additionally, use geotextile fabric to prevent soil erosion and ensure that the backfill material is properly compacted to avoid settling over time.
6. Finishing Touches
After completing the construction of the retaining wall, add the finishing touches to enhance the overall appearance and functionality. Consider adding decorative elements, such as plants, lighting, or seating, to create an inviting and visually appealing space around the pond.
Important Considerations
When building a retaining wall around a pond, there are several important considerations to keep in mind to ensure a successful and long-lasting construction project:
– Drainage: Proper drainage is crucial for the stability of the retaining wall and the surrounding landscape. Incorporate drainage solutions such as gravel backfill, weep holes, or drainage pipes to prevent water buildup behind the wall.
– Materials Selection: Choose high-quality and durable materials that are suitable for outdoor use and can withstand exposure to water and varying weather conditions.
– Design Aesthetics: Consider the overall design and aesthetics of the retaining wall to complement the surrounding landscape and enhance the visual appeal of the pond area.
– Safety: Prioritize safety throughout the construction process by using appropriate safety gear and following best practices for working with heavy materials and tools.
– Professional Assistance: For complex or large-scale projects, consider consulting with a professional landscaper or retaining wall contractor to ensure that the construction meets structural and safety requirements.
Conclusion
Building a retaining wall around a pond is a rewarding landscaping project that can significantly enhance the beauty and functionality of the outdoor space. By following the step-by-step guide and considering important factors such as materials, drainage, and design aesthetics, you can create a stunning and durable retaining wall that adds value to your property. Whether you are a seasoned DIY enthusiast or a homeowner looking to embark on a new landscaping project, constructing a retaining wall around a pond provides an opportunity to transform your outdoor space into a captivating and functional oasis.


