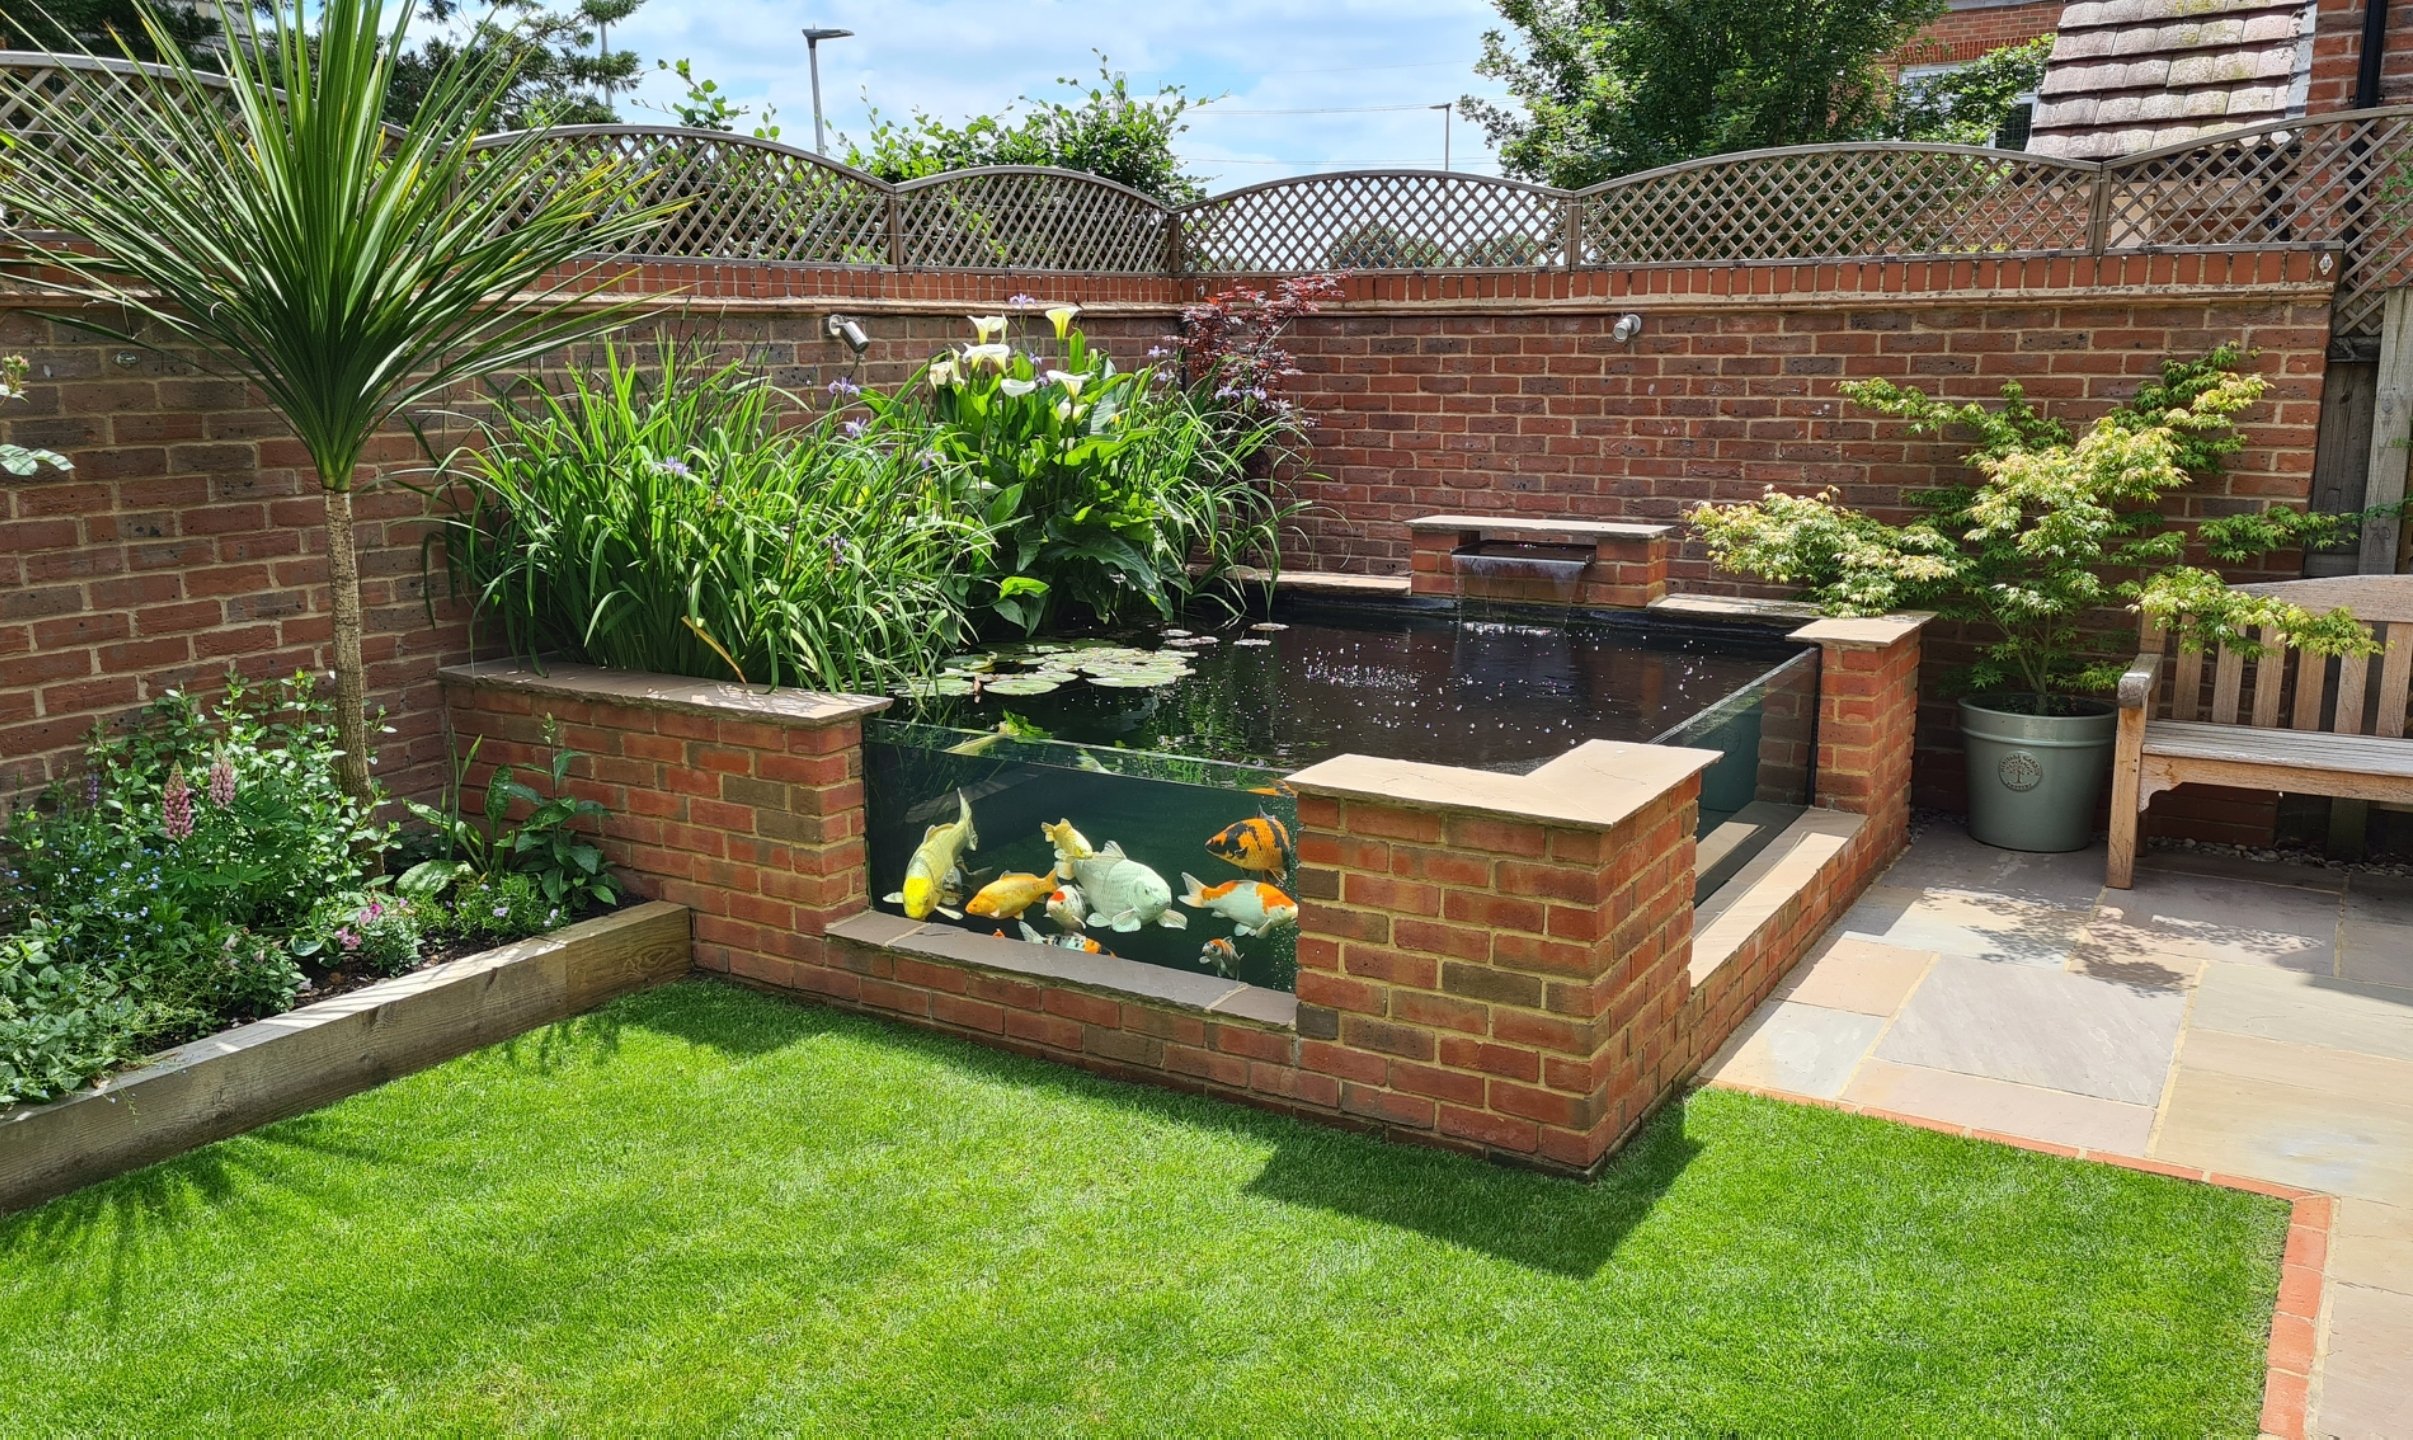
Building a pond in your backyard can be a rewarding and enjoyable project. Not only does it add beauty and tranquility to your outdoor space, but it also provides a habitat for aquatic plants and animals. One cost-effective and durable way to construct a pond is by using concrete blocks. In this guide, we will walk you through the step-by-step process of building a pond with concrete blocks.
Step 1: Planning and Design
Before you start building your pond, it’s essential to carefully plan and design the layout. Consider the size and shape of the pond, as well as its depth and location in your yard. You’ll also need to decide whether you want a formal or natural-looking pond, which will influence the design and placement of the concrete blocks.
Step 2: Gather Materials and Tools
Once you have a clear plan in place, it’s time to gather the necessary materials and tools. For building a pond with concrete blocks, you will need:
- Concrete blocks
- Rebar or metal rods
- Cement mix
- Shovel
- Trowel
- Level
- Waterproof pond liner
- Pond pump and filter
- Aquatic plants and decorative stones (optional)

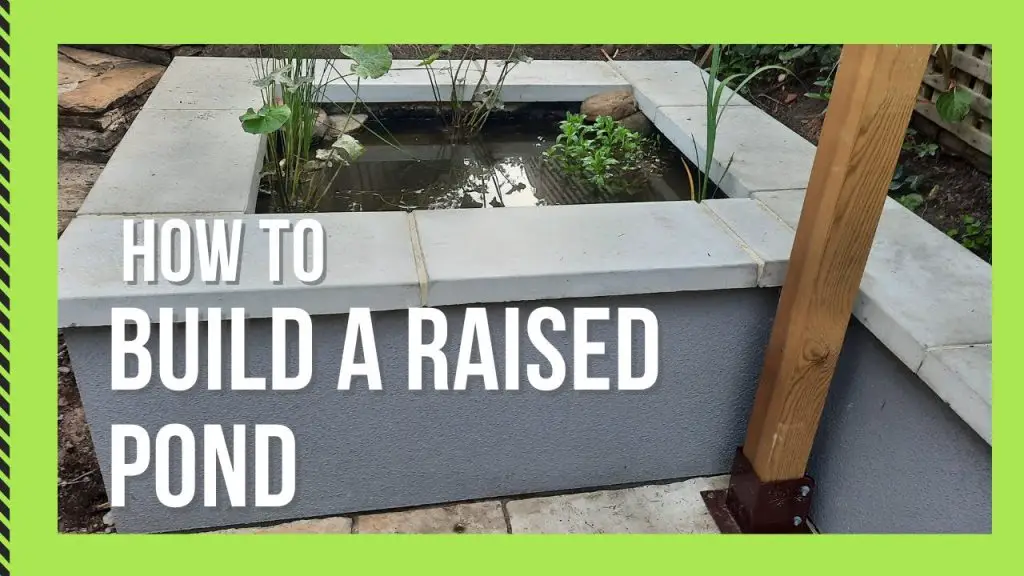
Credit: www.youtube.com
Step 3: Excavation and Foundation
Start by marking the outline of the pond on the ground using spray paint or a garden hose. Then, excavate the area to the desired depth, making sure to create a level base for the foundation. Once the excavation is complete, lay a layer of sand or gravel to provide a stable base for the concrete blocks.
Step 4: Building the Walls
Using concrete blocks and cement mix, begin building the walls of the pond. Place the blocks tightly together, using rebar or metal rods to reinforce the structure. As you stack the blocks, periodically check for level and adjust as needed to ensure a uniform height and straight walls.
Step 5: Creating the Pond Floor
After the walls are in place, it’s time to create the pond’s floor. Pour a layer of cement mix over the excavated area inside the walls, using a trowel to smooth and level the surface. Allow the cement to cure according to the manufacturer’s instructions before proceeding to the next step.
Step 6: Installing the Pond Liner
To ensure that your pond is watertight, it’s essential to install a high-quality pond liner. Carefully lay the liner inside the pond, smoothing out any wrinkles or folds as you go. Trim off any excess liner, leaving a few inches of overhang around the edges to secure in place later.
Step 7: Finishing Touches
Once the liner is in place, you can add the finishing touches to your pond. Use decorative stones or rocks to conceal the edges of the liner and create a natural-looking border. You can also incorporate aquatic plants to enhance the beauty and ecological balance of the pond.
Step 8: Filling and Maintenance
After completing the construction of your concrete block pond, it’s time to fill it with water. Use a garden hose to slowly fill the pond, allowing the water to settle and the liner to conform to the shape of the pond. Once filled, install a pond pump and filter to maintain water circulation and quality.
Regular maintenance is crucial for keeping your pond healthy and attractive. This may include removing debris, controlling algae growth, and ensuring proper water chemistry. With proper care, your concrete block pond can provide years of enjoyment and natural beauty in your backyard.

Credit: www.thatpondguy.co.uk
Conclusion
Building a pond with concrete blocks is a cost-effective and durable way to enhance your outdoor space. By following the steps outlined in this guide and paying attention to design and maintenance, you can create a beautiful and thriving aquatic habitat in your own backyard. Whether you’re a seasoned DIY enthusiast or a novice gardener, building a concrete block pond can be a satisfying and rewarding project that brings enjoyment for years to come.


