Welcome to our comprehensive guide on how to build a pond with a liner. Whether you’re looking to enhance the beauty of your garden or create a habitat for aquatic plants and wildlife, building a pond can be a rewarding project. Using a liner is a popular method for creating a pond as it provides a flexible and durable barrier that holds the water in place. Follow our step-by-step instructions to create your own stunning pond with a liner.
Step 1: Planning Your Pond
Before you start digging, it’s essential to plan out your pond. Consider the size and shape of the pond, the depth, and the location in your garden. Take into account factors such as sunlight exposure, proximity to trees (which can shed leaves into the pond), and accessibility for maintenance.
Use a garden hose or spray paint to outline the shape of your pond on the ground. This will give you a visual guide as you start digging.
Step 2: Digging the Pond
Once you have your pond shape outlined, it’s time to start digging. Use a shovel or a small excavator to remove the soil within the outlined area. The depth of your pond will depend on the types of plants and wildlife you want to accommodate. A depth of at least 18 inches is recommended for most ponds.
As you dig, create shelves at different depths around the edge of the pond. These shelves will provide areas for aquatic plants to thrive and give wildlife places to hide and rest.
Step 3: Installing the Underlayment
Before laying down the pond liner, it’s important to install an underlayment to protect the liner from sharp objects in the soil. A geotextile underlayment or old carpet can be used for this purpose. Smooth out the underlayment and trim any excess material.

Credit: www.svarttorpet.se
Step 4: Placing the Pond Liner
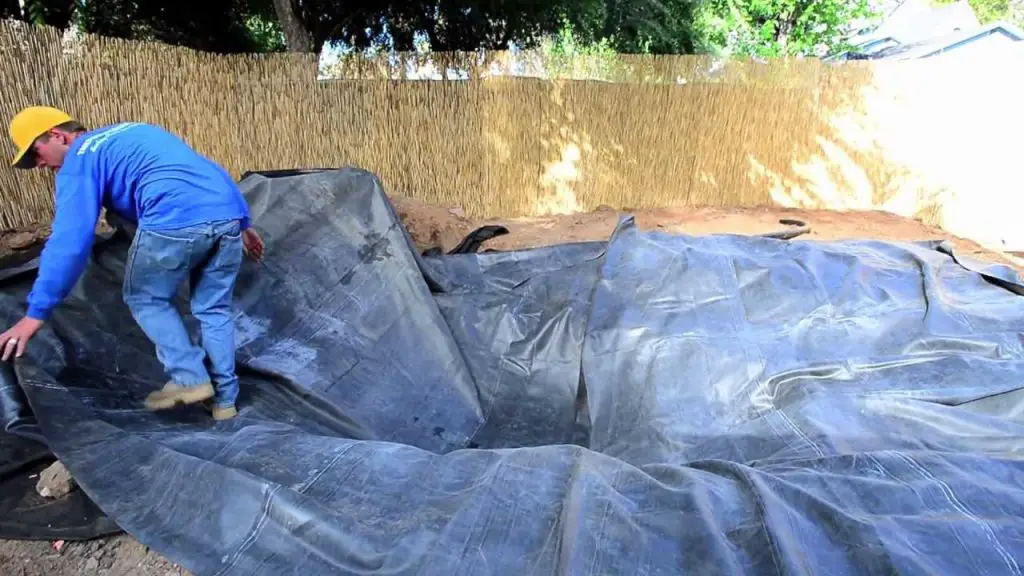
Now it’s time to place the pond liner into the hole you’ve dug. Unfold the liner and carefully position it so that it covers the entire pond area with some overlap at the edges. Smooth out any wrinkles or folds in the liner to ensure a tight fit.
It’s essential to ensure that the liner is sitting flat on the bottom of the pond and up the sides without any air pockets underneath. You can use rocks or bricks around the edge of the pond to hold the liner in place temporarily.
Step 5: Filling the Pond
Once the liner is in place, it’s time to start filling the pond with water. Use a garden hose to slowly fill the pond, allowing the liner to settle and conform to the shape of the pond. As the water level rises, adjust the liner to eliminate any wrinkles or folds.
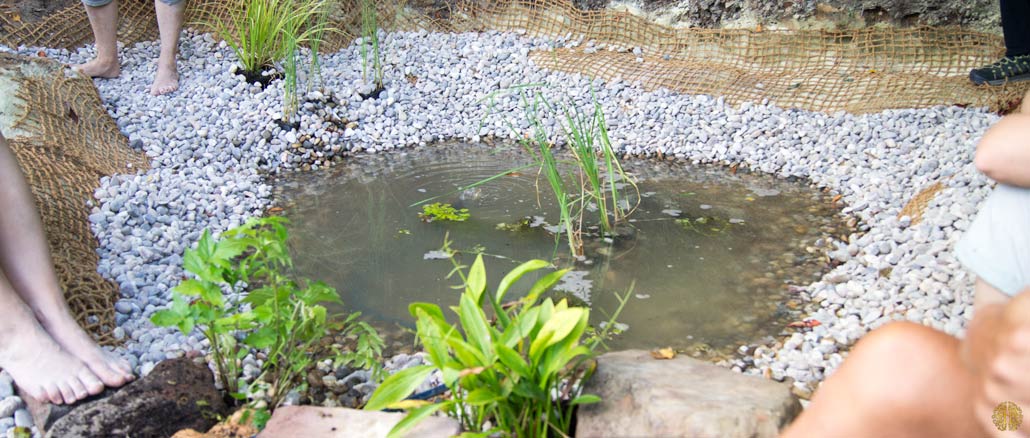
As the pond fills, add any rocks, stones, or other decorative elements around the edge to create a natural look. You can also add aquatic plants at this stage, placing them on the shelves you created earlier.
Step 6: Finishing Touches
Once the pond is filled with water, take the time to add any final touches to enhance its aesthetic appeal. Consider adding a fountain or waterfall feature for the soothing sound of running water. You can also add fish or other aquatic wildlife to bring your pond to life.
Regular maintenance, such as removing debris and algae, checking the water quality, and trimming plants, will help keep your pond looking its best.

Credit: www.youtube.com
Conclusion
Building a pond with a liner is a fantastic way to add a beautiful and tranquil element to your garden. By following our step-by-step guide, you can create a stunning pond that will provide enjoyment for years to come. Remember to plan carefully, use quality materials, and pay attention to detail to ensure the success of your pond-building project.
Enjoy the process of creating your own oasis and take pride in the natural beauty you have brought to your outdoor space!


