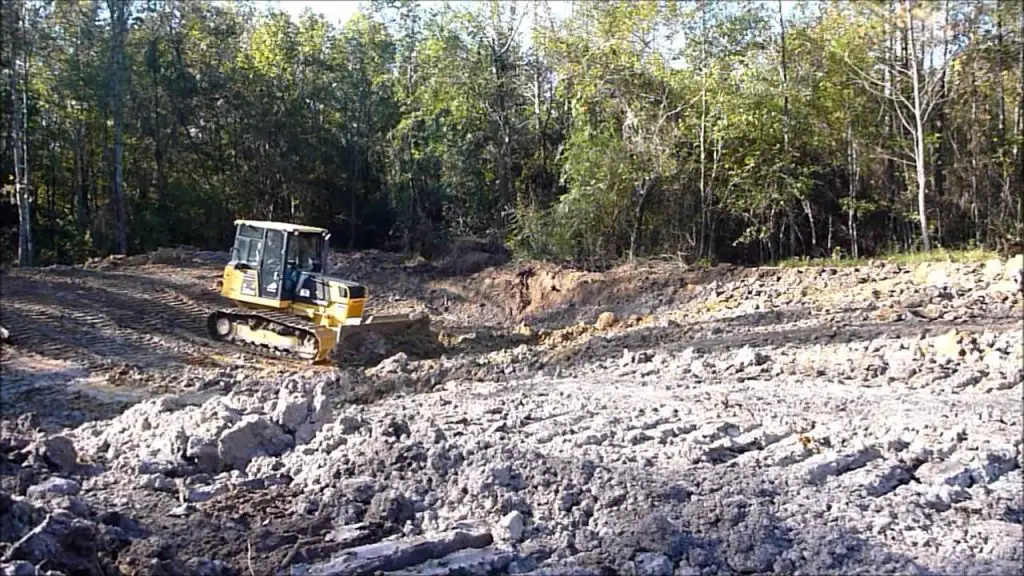
Creating a pond on your property can be a rewarding project that adds beauty and functionality to your land. If you have a dozer or access to one, you have a powerful tool at your disposal to help you efficiently build a pond. In this guide, we will walk you through the steps to build a pond using a dozer, from planning and site preparation to excavation and finishing touches.
1. Planning Your Pond
Before you start digging with your dozer, it’s essential to carefully plan your pond. Consider the size and shape of the pond, its depth, and its location on your property. Think about the purpose of the pond – whether it’s for irrigation, livestock, fishing, or simply aesthetic reasons. Make sure to check local regulations and obtain any necessary permits before starting the project.
2. Site Preparation
Once you have a plan in place, it’s time to prepare the site for excavation. Clear the area of any vegetation, rocks, or debris that could interfere with the dozer’s work. Mark the perimeter of the pond using stakes and string to guide the dozer operator during excavation.
3. Excavation
With the site prepared, it’s time to start digging. The dozer is a powerful machine that can quickly and efficiently remove soil to create the pond basin. Work methodically, starting from the center of the pond and moving outward. Pay attention to the depth of the pond, making sure it meets your specifications.

Credit: kowalskimountain.com
4. Shaping the Pond
As you excavate the pond, you can use the dozer to shape the banks and create a smooth transition from the pond bottom to the surrounding land. This will not only enhance the appearance of the pond but also improve its functionality. Consider creating a shallow shelf around the edge of the pond to provide habitat for aquatic plants and wildlife.

Credit: www.youtube.com
5. Installing a Liner
Depending on the soil conditions and the intended use of the pond, you may need to install a liner to prevent water from seeping into the ground. There are various types of pond liners available, including PVC, EPDM, and bentonite. Consult with a pond construction expert to determine the best liner for your pond.
6. Filling the Pond
Once the pond is excavated and shaped to your satisfaction, it’s time to fill it with water. Depending on the water source, you may need to install a pipe or other infrastructure to bring water into the pond. Allow the pond to fill naturally or use a pump to speed up the process.
7. Landscaping and Maintenance
With the pond in place, you can now focus on landscaping the surrounding area to enhance its beauty. Plant native vegetation around the pond, install a dock or seating area, and consider adding fish or other aquatic life to the pond. Regular maintenance, such as removing debris and controlling algae growth, will help keep your pond healthy and attractive.
8. Safety Considerations
When building a pond with a dozer, safety should always be a top priority. Make sure the dozer operator is experienced and follows all safety guidelines. Keep bystanders at a safe distance from the work area, and use caution when working near water or on sloped terrain.
Conclusion
Building a pond with a dozer can be a challenging but rewarding project. By carefully planning the pond, preparing the site, and using the dozer efficiently, you can create a beautiful and functional water feature on your property. Remember to follow all safety guidelines and consult with experts if needed to ensure the success of your pond-building project.


