Building a pond from a creek is a fantastic way to create a serene and beautiful water feature on your property. It can provide a habitat for wildlife, serve as a source of irrigation, and enhance the overall aesthetics of your landscape. In this guide, we will walk you through the step-by-step process of building a pond from a creek.
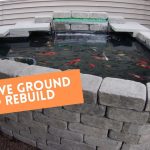
Credit: premierpond.com
1. Assess the Site
Before you begin construction, it is crucial to assess the site where you plan to build your pond. Make sure to check the flow of the creek, the soil composition, and the surrounding vegetation. Ensure that the area is suitable for creating a pond and that it meets any local regulations.
2. Plan the Design
Once you have identified the site, it’s time to plan the design of your pond. Consider factors such as the size, shape, and depth of the pond. Think about how you want to integrate the pond into your landscape and what purpose it will serve. Sketch out a rough design to guide you during construction.
3. Obtain Necessary Permits
Depending on your location, you may need to obtain permits before you can start building a pond. Check with your local authorities to determine if any permits are required for your project. Make sure to comply with all regulations to avoid any legal issues in the future.
4. Redirect the Creek
To build a pond from a creek, you will need to redirect the flow of the creek into the area where you plan to create the pond. This can be done using a diversion channel or a temporary dam. Ensure that the water is directed efficiently to the designated area.
5. Excavate the Pond
Once the creek has been redirected, it’s time to start excavating the pond. Use heavy machinery or dig by hand to create the desired shape and depth of the pond. Make sure to remove any rocks, roots, or debris from the excavation site.
6. Install a Liner
After excavating the pond, it is essential to install a liner to prevent seepage and maintain water levels. Choose a high-quality pond liner that is durable and resistant to punctures. Ensure that the liner is properly secured and covers the entire bottom and sides of the pond.
7. Create a Water Inlet and Outlet
For proper water circulation, you will need to create a water inlet and outlet in your pond. This can be achieved using pipes or culverts to control the flow of water. Position the inlet and outlet strategically to maintain the desired water levels in the pond.

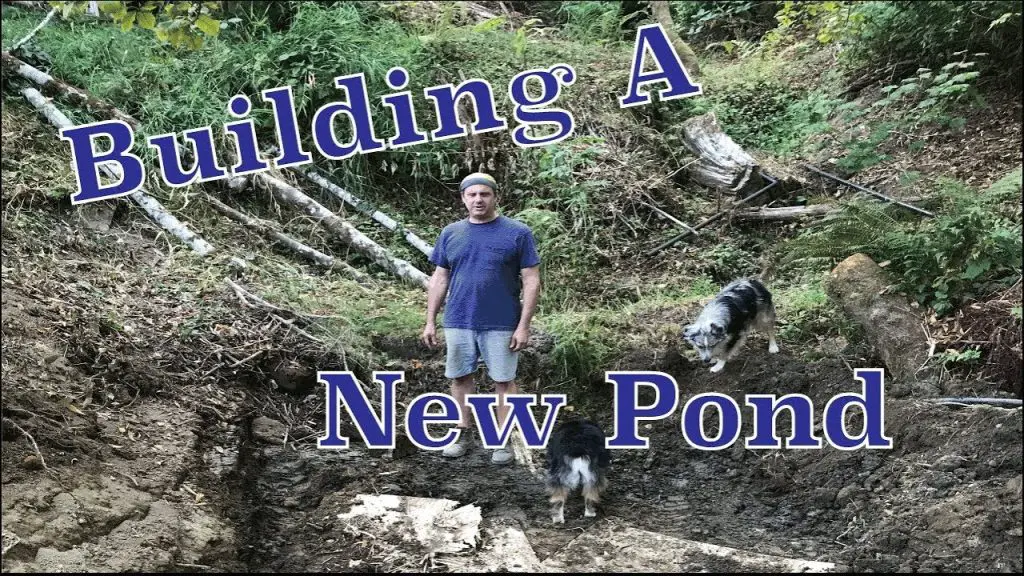
Credit: www.youtube.com
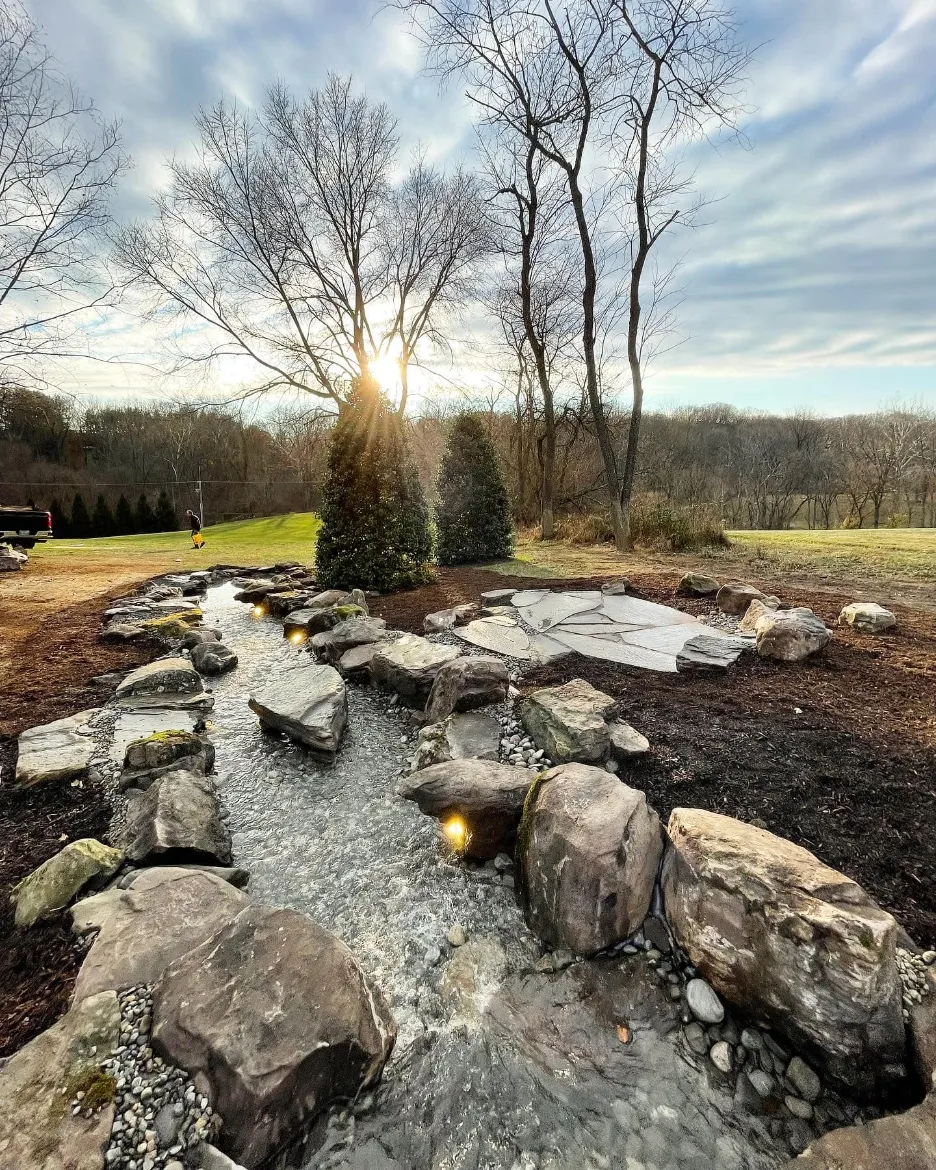
8. Landscaping and Planting
Once the basic structure of the pond is in place, it’s time to focus on landscaping and planting. Add aquatic plants around the edges of the pond to enhance its natural beauty and provide shelter for wildlife. Consider adding rocks, boulders, and other features to create a more visually appealing pond.
9. Maintain the Pond
After completing the construction of your pond, it is important to establish a regular maintenance routine. Keep the water clean by removing debris and controlling algae growth. Monitor the water quality and make any necessary adjustments to ensure the health of the pond ecosystem.
Conclusion
Building a pond from a creek can be a rewarding project that adds value to your property and enhances the natural landscape. By following the steps outlined in this guide, you can create a beautiful and functional pond that will provide enjoyment for years to come. Remember to plan carefully, obtain any necessary permits, and maintain your pond regularly to ensure its long-term success.