Building a pond and waterfall in your backyard can transform your outdoor space into a serene and beautiful oasis. The sound of cascading water, the sight of colorful fish swimming, and the lush greenery surrounding the pond can create a peaceful and relaxing atmosphere. In this step-by-step guide, we will walk you through the process of building your own pond and waterfall.

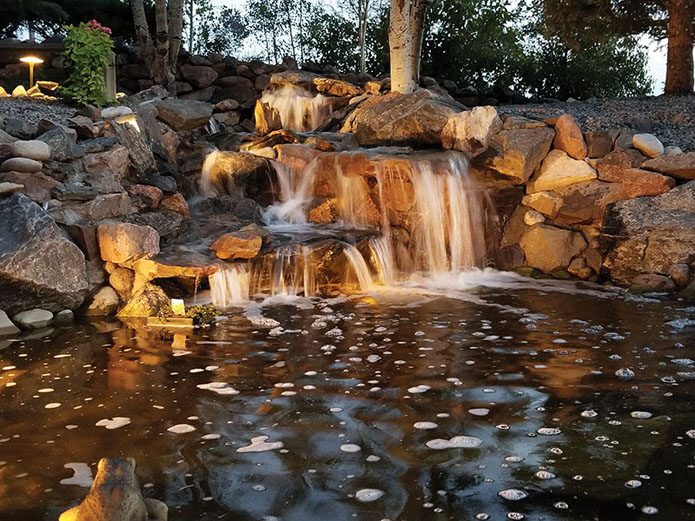
Credit: www.pondtrademag.com
Step 1: Planning and Design
The first step in building a pond and waterfall is to plan and design your desired layout. Consider the size and shape of your yard, as well as any existing structures or landscaping elements. Determine the location of the pond and waterfall, ensuring that it is easily accessible and visible from your desired vantage points.
Make a rough sketch of your design, including the dimensions of the pond and the desired height and length of the waterfall. Consider incorporating rocks, plants, and other natural elements to enhance the aesthetics of your pond and waterfall.
Step 2: Excavation
Once you have finalized your design, it’s time to start excavating the area for your pond and waterfall. Mark the outline of the pond and waterfall using stakes and string. Start digging the pond, making sure to create shelves or varying depths to accommodate different types of aquatic plants and fish.
For the waterfall, dig a trench that slopes towards the pond. This will serve as the channel for the water to flow from the top of the waterfall to the pond. Create a larger hole at the bottom of the trench to act as a reservoir for the water.
Step 3: Installing the Pond Liner
Once the excavation is complete, it’s time to install the pond liner. Choose a high-quality pond liner that is durable and resistant to punctures. Spread the liner over the excavated area, ensuring that it covers the entire pond and waterfall. Smooth out any wrinkles or folds in the liner, making sure it fits snugly into the contours of the excavation.

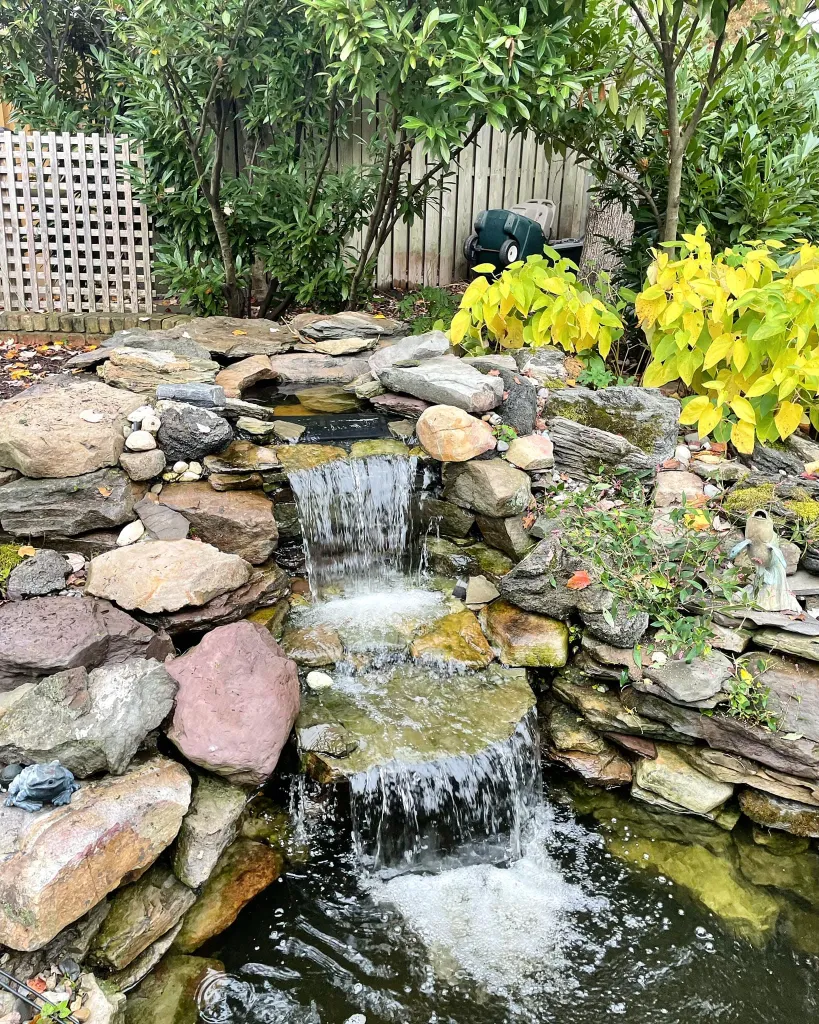
Credit: www.yardfocus.com
Step 4: Adding the Waterfall Feature
Now it’s time to add the waterfall feature to your pond. Place large rocks and boulders along the trench, gradually increasing in size towards the top of the waterfall. Ensure that the rocks are securely positioned to prevent shifting or collapsing once the water is flowing.
Connect a submersible pump to the reservoir hole at the bottom of the trench. Attach a flexible hose to the pump and position it at the top of the waterfall. This will allow the water to flow from the pond to the top of the waterfall and create a cascading effect.
Step 5: Filling and Finishing Touches
Fill the pond with water, ensuring that it reaches the desired depth. As the water starts flowing through the waterfall, check for any leaks or issues with the water flow. Adjust the rocks and boulders as necessary to create the desired visual and auditory effect.
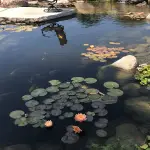
Add aquatic plants, such as water lilies or floating plants, to enhance the natural beauty of the pond. Introduce fish, such as koi or goldfish, to add movement and liveliness to the water. Finally, consider adding lighting elements to showcase your pond and waterfall during the evening hours.
Conclusion
Building a pond and waterfall in your backyard can be a rewarding and enjoyable project. By following these step-by-step instructions, you can create a tranquil and aesthetically pleasing water feature that will enhance your outdoor living space. So, grab your tools and get started on building your very own pond and waterfall today!


