How to Build a Pond Aerator: A Step-by-Step Guide
A pond aerator is an essential tool for maintaining a healthy and thriving aquatic ecosystem in your pond. Proper aeration helps to circulate the water, increase oxygen levels, and prevent the buildup of harmful gases. While there are many commercially available pond aerators on the market, building your own can be a cost-effective and rewarding DIY project. In this guide, we will walk you through the steps to build your own pond aerator using readily available materials and tools.
Step 1: Gather Your Materials
Before you begin, it’s important to gather all the necessary materials and tools for the project. Here’s what you’ll need:
Materials:
– PVC pipe (2-inch diameter)
– Air pump
– Air stones or diffusers
– Flexible airline tubing
– Silicone sealant
– Hose clamps
– T-fittings and elbow fittings
– Waterproof electrical connectors
– Stainless steel screws
Tools:
– Hacksaw or PVC pipe cutter
– Drill with bits
– Screwdriver
– Measuring tape
– Marker
Once you have all the materials and tools ready, you can move on to the next step.
Step 2: Design Your Aeration System
The first step in building a pond aerator is to design your aeration system. Consider the size and depth of your pond, as well as the desired location for the aerator. Determine the layout of the aeration system, including the placement of the air pump, air stones, and tubing.
Step 3: Assemble the Aeration Pipes
Using the PVC pipe, T-fittings, and elbow fittings, assemble the aeration pipes according to your design. Cut the PVC pipe to the desired lengths using a hacksaw or PVC pipe cutter. Use the T-fittings to create branches in the pipe where the air stones will be attached. Secure the fittings with PVC cement to ensure a watertight seal.
Step 4: Install the Air Pump
Next, install the air pump in a suitable location near the pond. Make sure the pump is protected from the elements and positioned above the water level to prevent water from entering the pump. Use waterproof electrical connectors to connect the pump to a power source.
Step 5: Connect the Airline Tubing
Once the air pump is in place, connect the flexible airline tubing to the pump’s outlet. Run the tubing from the pump to the aeration pipes in the pond, using hose clamps to secure the tubing in place. Cut the tubing to the appropriate lengths, ensuring a snug fit at each connection point.
Step 6: Attach the Air Stones
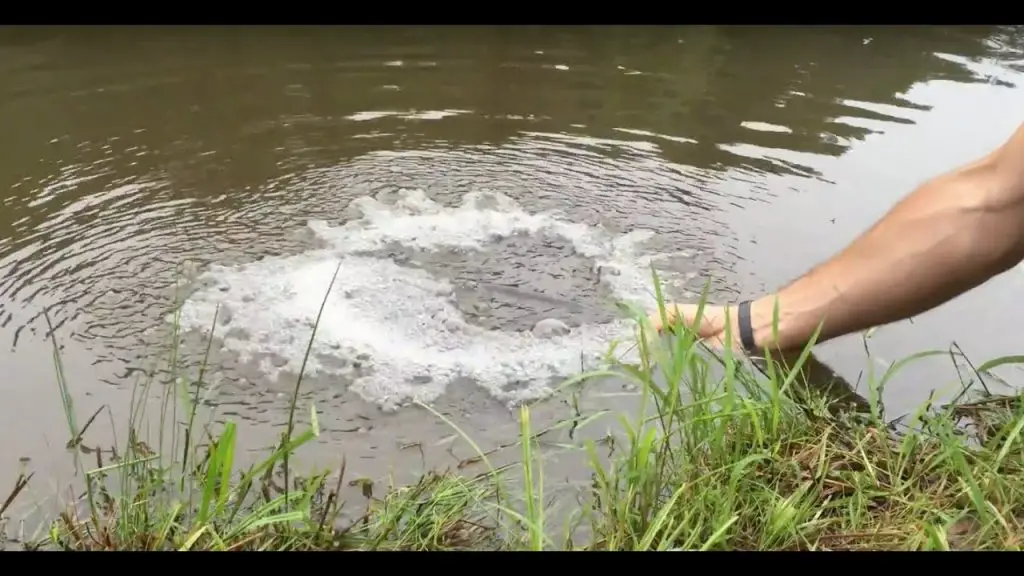
Attach the air stones or diffusers to the ends of the airline tubing inside the pond. These stones will release the compressed air from the pump into the water, creating a stream of fine bubbles that will aerate the pond. Secure the stones in place using stainless steel screws to prevent them from floating to the surface.
Step 7: Test the Aeration System
Before fully securing all the components, it’s important to test the aeration system to ensure everything is functioning properly. Turn on the air pump and observe the distribution of bubbles from the air stones. Make any necessary adjustments to the tubing and stone placement to optimize the aeration effect.
Step 8: Seal the Connections
Once the aeration system is working effectively, use silicone sealant to seal all the connections and fittings. This will prevent any air or water leaks and ensure the system operates efficiently. Allow the sealant to dry completely before submerging the components in water.
Step 9: Install the Aeration System
With the connections sealed and the system tested, it’s time to install the aeration system in the pond. Carefully place the aeration pipes and air stones in the desired locations, ensuring they are evenly distributed throughout the pond to achieve maximum aeration.
Step 10: Monitor and Maintain
After the pond aerator is installed, it’s important to monitor its performance and conduct regular maintenance. Check the system for any signs of damage or wear, and clean the air stones periodically to prevent clogging. Keep an eye on the air pump to ensure it continues to operate efficiently.
In conclusion, building your own pond aerator can be a rewarding and cost-effective way to improve the health and vitality of your pond. By following these steps and using readily available materials, you can create an effective aeration system that will benefit your pond’s ecosystem for years to come. Whether you’re a seasoned DIY enthusiast or a beginner looking for a fun and practical project, building a pond aerator is a great way to enhance your outdoor space and promote the well-being of your aquatic environment.


