Building a pier in a pond can be a great way to enhance the beauty and functionality of your outdoor space. Whether you want a spot for fishing, relaxing, or simply enjoying the view, a well-built pier can provide all that and more. In this article, we will guide you through the steps to successfully build a pier in your pond.
Step 1: Obtain Necessary Permits
Before starting any construction, it is crucial to check with your local authorities to obtain the necessary permits for building a pier in your pond. Make sure to comply with all regulations and guidelines to avoid any legal issues in the future.
Step 2: Plan Your Design
Decide on the size, shape, and location of your pier. Consider factors such as the depth of the water, the surrounding landscape, and your intended use for the pier. Sketch out a rough design to help you visualize the final result.
Step 3: Gather Materials and Tools
Once you have a design in place, gather all the materials and tools you will need for the construction. This may include lumber, galvanized screws, nails, a hammer, a saw, a level, and a measuring tape.
Step 4: Prepare the Site
Clear the area where the pier will be built. Remove any rocks, debris, or vegetation that may obstruct the construction process. Ensure that the ground is level and stable to support the weight of the pier.
Step 5: Install Support Posts
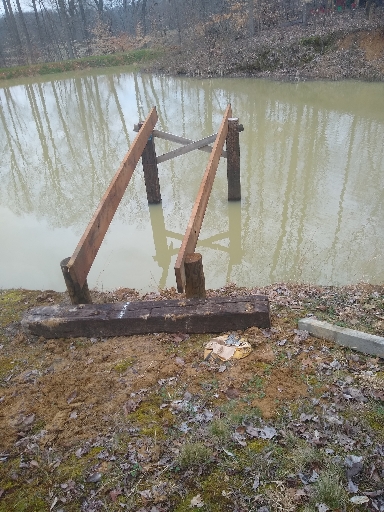
Begin by installing the support posts for the pier. Dig holes at regular intervals along the perimeter of the pier. Place the posts in the holes and secure them with concrete to ensure stability.
Step 6: Build the Frame
Construct the frame of the pier using the lumber you have selected. Cut the boards to the desired lengths and attach them to the support posts using galvanized screws or nails. Make sure the frame is sturdy and level.
Step 7: Add Decking
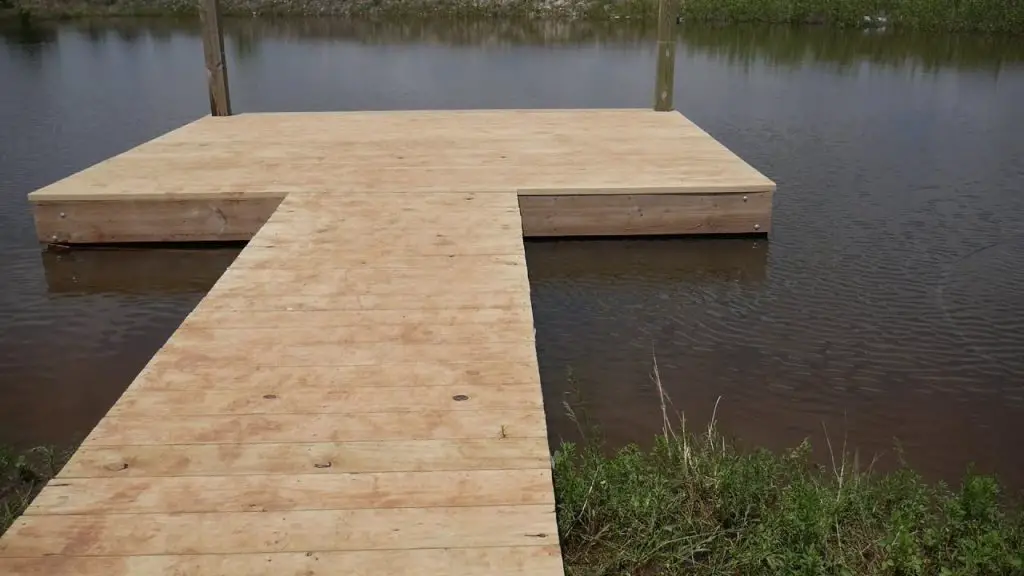
Once the frame is in place, it is time to add the decking to the pier. Lay the decking boards across the frame, ensuring they are evenly spaced and secured properly. Use a level to check for any unevenness.

Credit: deerhunterforum.com

Credit: www.wikihow.com
Step 8: Install Railing
For safety purposes, install a railing around the perimeter of the pier. This will help prevent accidents and provide a barrier for children or pets. Make sure the railing is securely attached to the frame.
Step 9: Apply a Finish
To protect the wood from the elements and enhance its appearance, consider applying a finish to the pier. You can choose from various options such as paint, stain, or sealant. Follow the manufacturer’s instructions for best results.
Step 10: Enjoy Your New Pier
Once the construction is complete and the finish has dried, your new pier is ready to be enjoyed. Whether you use it for fishing, relaxing, or simply soaking in the beauty of your pond, your new pier will surely become a favorite spot in your outdoor space.
Building a pier in a pond can be a rewarding project that adds both aesthetic value and functionality to your property. By following these steps and putting in the necessary effort, you can create a beautiful and sturdy pier that will bring joy for years to come.


