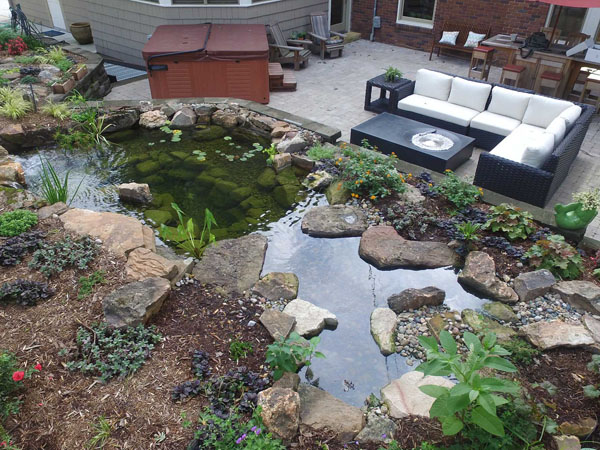
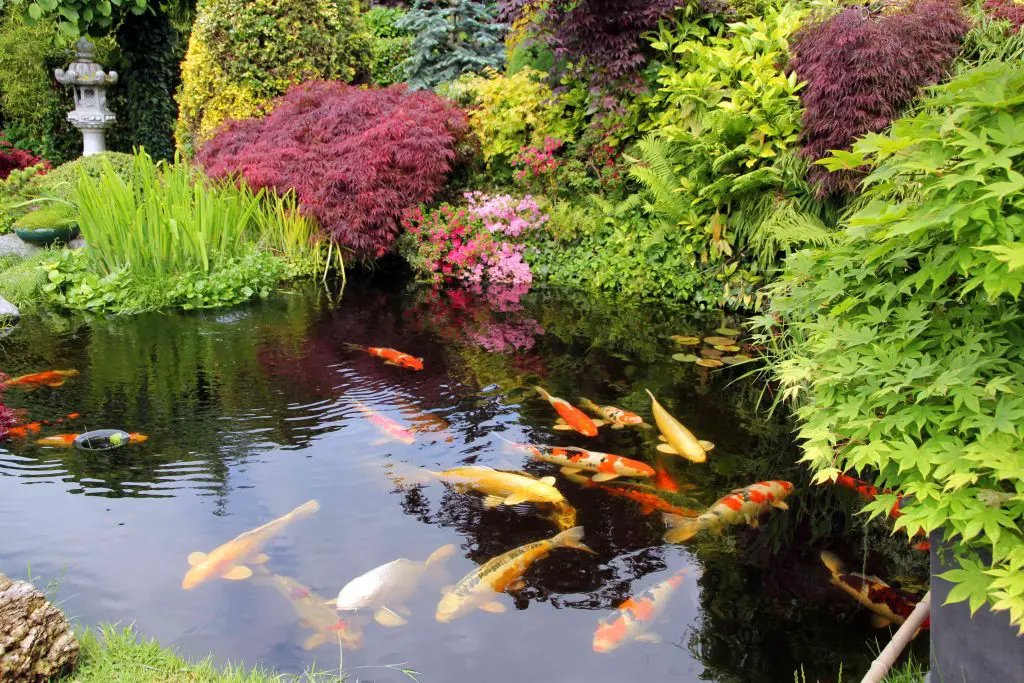
Building a natural koi pond in your backyard can transform your outdoor space into a tranquil oasis that not only enhances the beauty of your landscape but also provides a peaceful retreat for relaxation. Koi ponds are not only aesthetically pleasing but also offer a unique way to connect with nature right in your own backyard.
Planning Your Koi Pond
Before you start digging, it’s essential to carefully plan your koi pond to ensure its success. Consider the following factors:
- Location: Choose a spot in your yard that receives a good amount of sunlight but also has some shade to prevent overheating of the water.
- Size: Determine the size of your pond based on the number of koi you plan to keep. A general guideline is to allow 250 gallons of water per koi fish.
- Depth: Koi ponds should be at least 3 feet deep to provide ample space for the fish to swim and to protect them from predators.
- Filtration: Invest in a quality filtration system to maintain water quality and keep your koi healthy.
Excavation and Shaping
Once you have planned your koi pond, it’s time to start digging. Here are the steps to follow:
- Mark the outline of your pond using spray paint or a garden hose.
- Excavate the pond, making sure to create shelves at different depths to provide varying habitats for your koi.
- Shape the pond with gentle slopes to allow easy access for maintenance and cleaning.
- Remove any sharp objects or rocks from the bottom of the pond to prevent injuries to your koi.
Adding a Liner and Water
After excavating and shaping your pond, it’s time to add a liner and fill it with water:
- Choose a high-quality pond liner that is durable and puncture-resistant.
- Place the liner in the pond, making sure to smooth out any wrinkles or folds.
- Fill the pond with water, using a dechlorinator to remove harmful chemicals from tap water.
- Allow the water to sit for a few days to reach the ideal temperature for koi fish.
Landscaping and Planting
Enhance the beauty of your koi pond by adding landscaping elements and aquatic plants:
- Plant water lilies, lotus, and other aquatic plants around the edges of the pond to provide shade and shelter for your koi.
- Add rocks, driftwood, and other natural elements to create a more naturalistic look.
- Consider adding a waterfall or fountain to improve water circulation and aeration.

Credit: www.greatlakespondscapes.com
Introducing Your Koi
Now that your koi pond is complete, it’s time to introduce your koi fish:
- Acclimate your koi fish to the water temperature by floating the bag they came in on the surface of the pond for about 15-20 minutes.
- Release the fish into the pond, allowing them to swim out on their own.
- Monitor your koi closely in the first few days to ensure they are adjusting well to their new environment.

Credit: iowawaterscapes.com
Maintaining Your Koi Pond
Keeping your koi pond in top condition requires regular maintenance:
- Monitor water quality regularly and test for pH, ammonia, and nitrate levels.
- Perform regular water changes to keep the pond clean and prevent the buildup of harmful substances.
- Clean filters and skimmers as needed to maintain proper filtration.
- Remove debris and fallen leaves from the pond to prevent water contamination.
Conclusion
Building a natural koi pond is a rewarding project that can bring beauty and serenity to your outdoor space. By following these steps and guidelines, you can create a thriving ecosystem for your koi fish while enhancing the overall aesthetics of your backyard. With proper planning and maintenance, your koi pond will provide years of enjoyment and relaxation for you and your family.


