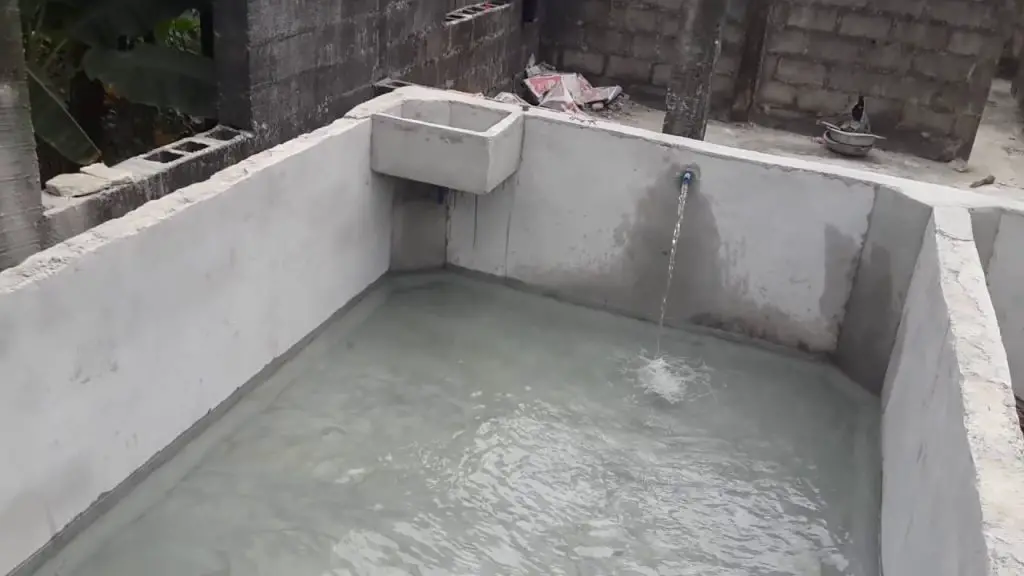
Welcome to our comprehensive guide on building a concrete fish pond! Fish ponds can add a touch of tranquility and beauty to any outdoor space. A concrete fish pond is a durable and versatile option that can provide a safe and healthy environment for your aquatic pets. Let’s dive into the step-by-step process of creating your own concrete fish pond.
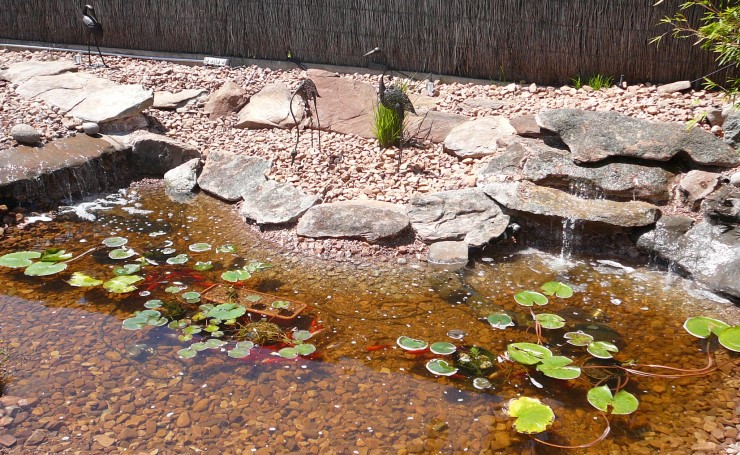
Credit: www.visuallandscapingadelaide.com.au
Materials Needed:
- Concrete mix
- Reinforcing mesh
- Shovel
- Trowel
- Level
- Pond liner
- Pond pump
- Water plants
- Decorative rocks
- Fish
Step 1: Planning and Design
Before you start digging, it’s important to plan out the size and shape of your fish pond. Consider the location, sunlight exposure, and any nearby trees that could shed leaves into the pond. Sketch out your design and determine the depth of the pond based on the types of fish you plan to keep.
Step 2: Excavation
Using a shovel, start digging the hole for your fish pond according to the design you created. Make sure the edges are sloped to prevent collapse. Dig to the desired depth, keeping in mind the depth requirements of the fish you intend to house.
Step 3: Adding the Reinforcing Mesh
Place a layer of reinforcing mesh at the bottom of the excavated hole. This will help strengthen the concrete and prevent cracking over time. Ensure the mesh is securely positioned and covers the entire surface area of the pond.

Credit: www.wikihow.com
Step 4: Mixing and Pouring the Concrete
Prepare the concrete mix according to the manufacturer’s instructions. Once the mix is ready, start pouring it into the hole, covering the reinforcing mesh completely. Use a trowel to smooth out the surface and ensure an even layer of concrete throughout the pond.
Step 5: Curing the Concrete
Allow the concrete to cure for the recommended time as per the product instructions. This process is crucial for the strength and durability of the pond. Keep the concrete moist during the curing process to prevent cracking.
Step 6: Installing the Pond Liner
Once the concrete has cured, install a pond liner to prevent water from seeping into the ground. Ensure the liner is properly fitted and secure. Trim any excess liner around the edges of the pond for a neat finish.
Step 7: Adding Water and Accessories
Fill the pond with water and add a pond pump to keep the water circulating and oxygenated for your fish. Introduce water plants and decorative rocks to create a natural and visually appealing habitat for your aquatic pets.
Step 8: Introducing Fish
Once the pond is set up and the water parameters are suitable, introduce fish to their new home. Research the specific requirements of the fish species you choose to ensure they thrive in their environment.
Maintaining Your Concrete Fish Pond
Regular maintenance is essential to keep your concrete fish pond in top condition. Here are some tips to help you care for your pond:
- Clean the pond regularly to remove debris and algae buildup.
- Monitor water quality and perform water changes as needed.
- Trim and maintain water plants to prevent overgrowth.
- Check the pond pump and filter regularly to ensure proper functioning.
- Protect your fish from predators and extreme weather conditions.
Conclusion
Building a concrete fish pond can be a rewarding project that enhances the beauty of your outdoor space while providing a safe and comfortable habitat for your fish. With proper planning, construction, and maintenance, you can enjoy a thriving aquatic ecosystem in your own backyard. Follow the steps outlined in this guide to create a stunning concrete fish pond that you can enjoy for years to come!