Adding a skimmer to your above ground pool is essential for maintaining clean and clear water. A skimmer helps to remove debris and leaves from the surface of the water, preventing them from sinking to the bottom and causing issues. In this guide, we will walk you through the process of adding a skimmer to your above ground pool.
Materials Needed:
- Above ground pool skimmer kit
- Phillips screwdriver
- Adjustable wrench
- Teflon tape
- Measuring tape
- Marker
- Silicone sealant
- Pool vacuum hose
Here Are Top-Rated Above Ground Pool Skimmers
Step 1: Choose the Right Skimmer Kit
Before you begin, make sure you have the correct skimmer kit for your above ground pool. Measure the width of your pool wall to ensure the skimmer will fit properly. Skimmer kits are available in various sizes, so choose one that is suitable for your pool.
Step 2: Mark the Skimmer Placement
Decide where you want to install the skimmer on the pool wall. Typically, it should be placed near the center of the pool for optimal performance. Use a marker to outline the area where the skimmer will be installed.

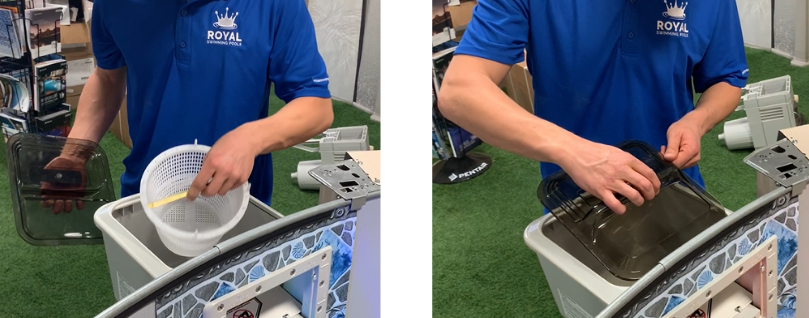
Credit: blog.royalswimmingpools.com
Step 3: Cut an Opening in the Pool Wall
Using a jigsaw or a suitable cutting tool, carefully cut out the marked area on the pool wall to create an opening for the skimmer. Be sure to follow the manufacturer’s instructions for the specific dimensions required for the skimmer installation.

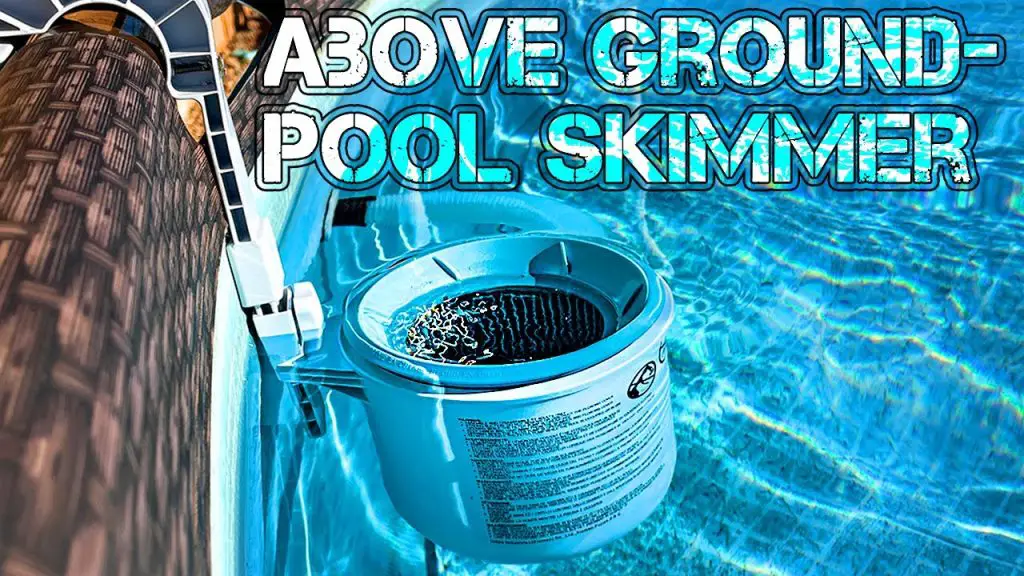
Credit: www.youtube.com
Step 4: Install the Skimmer Faceplate
Attach the skimmer faceplate to the pool wall using the provided screws. Make sure the faceplate is securely fastened to create a watertight seal. Apply Teflon tape to the screws to prevent leaks.
Step 5: Connect the Skimmer to the Pool Pump
Locate the suction port on your pool pump where the skimmer will be connected. Use a pool vacuum hose to connect the skimmer to the pump. Secure the connection with hose clamps to ensure a tight fit.
Step 6: Apply Silicone Sealant
Apply a bead of silicone sealant around the edge of the skimmer faceplate on the inside of the pool. This will help to create a waterproof seal and prevent leaks. Allow the sealant to dry completely before filling the pool with water.
Step 7: Test the Skimmer
Once the skimmer is installed and the sealant is dry, fill the pool with water and turn on the pump to test the skimmer. Check for any leaks around the skimmer faceplate and connections. Adjust as needed to ensure a proper seal.
Step 8: Maintain the Skimmer
Regularly clean the skimmer basket to remove debris and leaves that have been collected. This will ensure that the skimmer continues to function efficiently and keep your pool water clean. Check the skimmer and pump regularly for any signs of damage or wear.
Conclusion
Adding a skimmer to your above ground pool is a simple yet crucial step in maintaining clean and healthy pool water. By following the steps outlined in this guide, you can easily install a skimmer and enjoy a sparkling pool all season long. Remember to regularly maintain and clean the skimmer to ensure optimal performance.


