Creating a drawing of a pond can be a fun and relaxing activity, allowing you to express your creativity and imagination. In this step-by-step guide, we will walk you through the process of drawing a beautiful pond scene. So, grab your drawing supplies and let’s get started!
Materials Needed:
- Pencil
- Eraser
- Drawing paper
- Colored pencils or markers (optional)
Step 1: Sketch the Outline
Start by lightly sketching the outline of the pond on your drawing paper using a pencil. You can draw a curved shape to represent the water body. Add some irregular lines on the sides to represent the bank of the pond.

Credit: helloartsy.com
Step 2: Add Details
Next, add details to your pond drawing. Sketch some aquatic plants such as water lilies or cattails along the edges of the pond. You can also add some rocks or pebbles to the bottom of the pond for added realism.
Step 3: Draw the Water
To create the illusion of water, shade the pond area with light, gentle strokes of your pencil. Leave some areas lighter to represent reflections of the sky and surrounding objects on the water surface. You can also add ripples and waves to make the water look more realistic.
Step 4: Add Flora and Fauna
Enhance your pond drawing by adding some flora and fauna. Draw some colorful fish swimming in the pond or birds drinking water at the edge. You can also include dragonflies hovering above the water or frogs sitting on lily pads.
Step 5: Detail the Surroundings
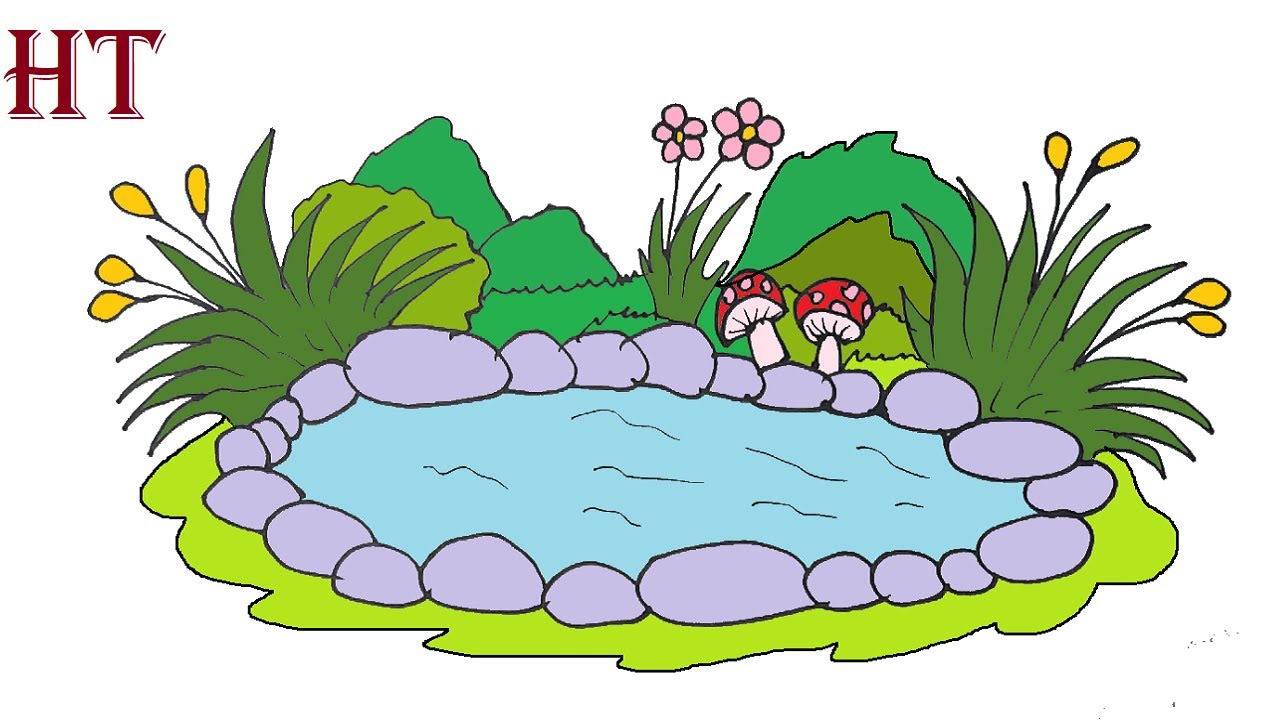
Complete your pond scene by adding details to the surrounding landscape. Draw trees, bushes, or flowers around the pond to create a natural setting. You can also include a beautiful sky with fluffy clouds to enhance the overall look of your drawing.
Step 6: Add Color (Optional)
If you wish to add color to your pond drawing, use colored pencils or markers to bring your artwork to life. Choose natural shades of blue and green for the water and vibrant colors for the flora and fauna. Be creative and have fun with your coloring!
Credit: m.youtube.com
Step 7: Final Touches
Once you have added all the details and colors, step back and evaluate your pond drawing. Make any necessary adjustments or additions to enhance the overall composition. Add final touches such as highlights and shadows to make your artwork pop.
Tips for Drawing a Pond:
- Use light, gentle strokes when shading the water to create a realistic effect.
- Experiment with different textures and patterns to add depth to your pond drawing.
- Observe real ponds or reference images to get inspiration for your artwork.
- Don’t be afraid to make mistakes – drawing is all about practice and learning.
- Have fun and let your imagination run wild as you create your pond masterpiece!
Now that you have followed our step-by-step guide on how to draw a pond, you should have a beautiful artwork that captures the tranquility and beauty of a natural water body. Drawing ponds can be a therapeutic and rewarding experience, allowing you to escape into a peaceful and serene world of your creation.
So, next time you feel like getting creative, grab your drawing supplies and immerse yourself in the process of drawing a stunning pond scene. Remember to enjoy the journey and embrace the artistic freedom that drawing provides. Happy drawing!