Are you looking to enhance the beauty and tranquility of your pond? A waterfall can be a stunning addition that not only adds aesthetic appeal but also helps to aerate the water and create a soothing ambiance. In this comprehensive guide, we will walk you through the step-by-step process of building a waterfall for your pond. Let’s get started!
Materials You Will Need:
Before you begin construction, gather the following materials:
- Pond liner
- Pump
- Rocks and boulders
- Flexible tubing
- Shovel
- Level
- Marker
- Filter
Step 1: Plan and Design
Start by planning the location and design of your waterfall. Consider the natural slope of your landscape and determine the best placement for the waterfall. Use a marker to outline the shape and size of the waterfall.

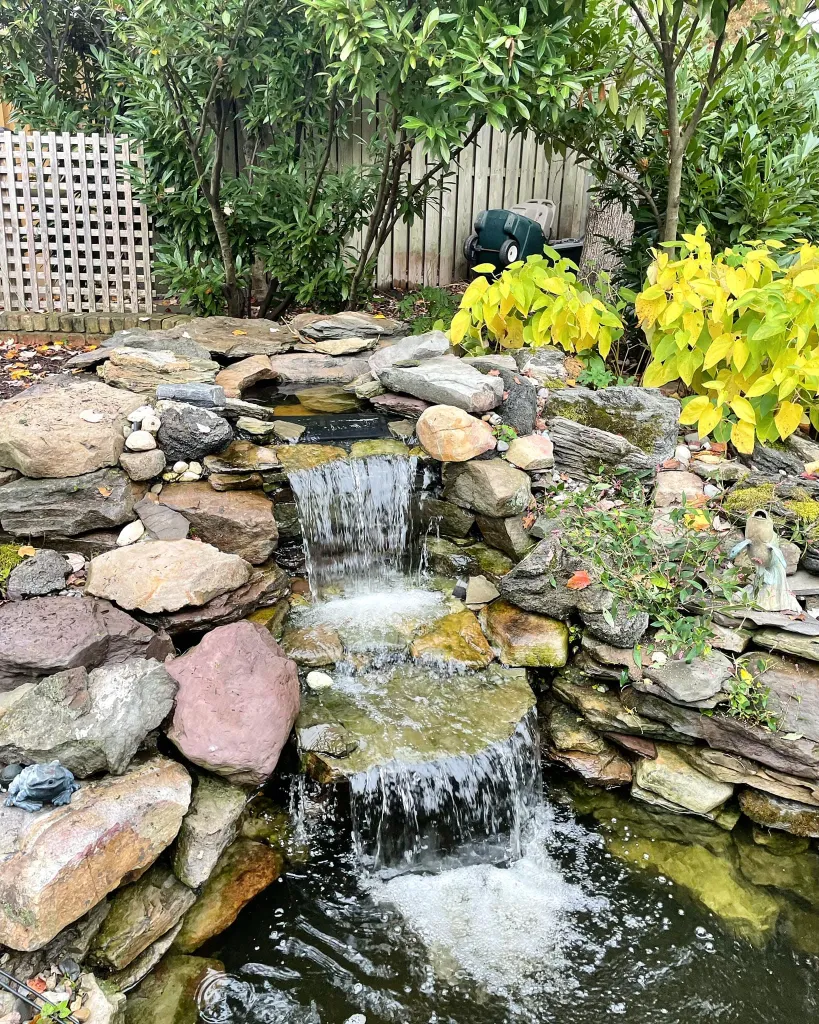
Credit: www.yardfocus.com
Step 2: Dig the Pond Area
Use a shovel to dig out the area where the waterfall will be located. Create a shallow basin at the top of the waterfall for the water to collect before cascading down. Make sure the pond area is level to ensure proper water flow.
Step 3: Install the Pond Liner
Place the pond liner in the excavated area, ensuring it is securely in place and free of wrinkles. The liner will help to retain water and prevent leakage. Trim any excess liner around the edges.
Step 4: Add the Pump and Tubing
Install the pump at the bottom of the waterfall area and connect it to the flexible tubing. The pump will circulate the water from the pond to the top of the waterfall, creating a continuous flow.
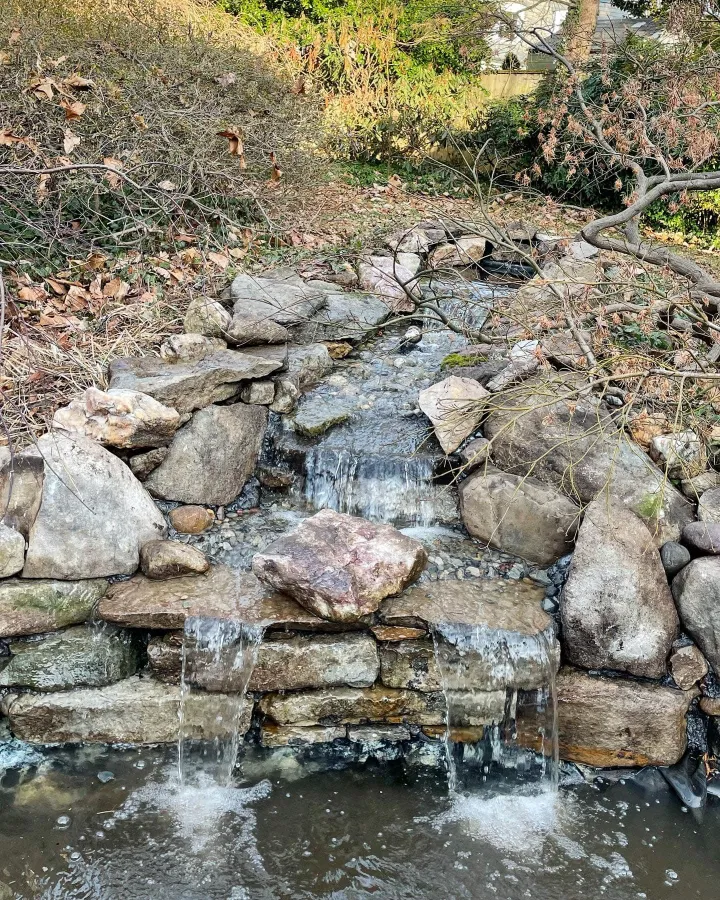
Credit: premierpond.com
Step 5: Arrange the Rocks
Now it’s time to get creative! Arrange rocks and boulders of varying sizes along the waterfall area. Start from the top and work your way down, ensuring the rocks are securely in place to withstand the water flow.
Step 6: Test the Waterfall
Fill the pond with water and turn on the pump to test the waterfall. Check for any leaks or issues with the water flow. Make any necessary adjustments to ensure the waterfall is functioning properly.
Step 7: Add Finishing Touches
Once you are satisfied with the functionality of the waterfall, add any finishing touches such as plants, lighting, or additional decorative elements to enhance the overall look of your pond.
Step 8: Maintenance
To keep your waterfall running smoothly, perform regular maintenance such as cleaning the filter, removing debris, and checking the pump for any clogs. Proper maintenance will ensure your waterfall remains a focal point of your pond for years to come.
Conclusion
Building a waterfall for your pond can be a rewarding and enjoyable project that adds value to your outdoor space. By following these steps and investing time and effort into the construction process, you can create a beautiful and functional waterfall that will enhance the ambiance of your pond. Get started on your waterfall project today and enjoy the soothing sights and sounds of flowing water in your own backyard oasis!