Building a small outdoor pond can be a rewarding and relaxing project that adds a touch of nature to your backyard. Whether you want to create a peaceful oasis or a thriving ecosystem for aquatic plants and fish, constructing a pond is a fun and creative endeavor. In this guide, we will walk you through the step-by-step process of building your own small outdoor pond.
Step 1: Planning and Design
Before you start digging, it’s essential to plan and design your small outdoor pond. Consider the size and shape of the pond, the location in your yard, and the overall aesthetic you want to achieve. Take into account factors like sunlight exposure, proximity to trees, and access to electricity for pumps and filters.
Key Considerations For Planning:
- Size and Shape of the Pond
- Location and Sunlight Exposure
- Access to Electricity for Pumps
- Proximity to Trees and Roots

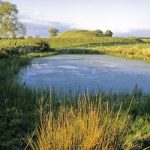
Credit: www.apieceofrainbow.com
Step 2: Digging the Pond
Once you have finalized your design, it’s time to start digging. Use a shovel or a small excavator to dig out the shape of your pond. Remember to create varying depths to accommodate different aquatic plants and fish. Make sure to create shelves for plants and wildlife to thrive.
Step 3: Installing the Pond Liner
After digging the pond, it’s crucial to install a pond liner to prevent water from seeping into the surrounding soil. Choose a high-quality pond liner that is durable and puncture-resistant. Carefully place the liner in the hole and smooth out any wrinkles or folds.
Step 4: Adding Rocks and Gravel
Enhance the natural look of your small outdoor pond by adding rocks and gravel around the edges. This not only adds aesthetic appeal but also provides hiding places for fish and beneficial bacteria to thrive. Be creative with the placement of rocks and create a visually appealing landscape.
Step 5: Filling the Pond with Water
Once the liner is in place and the rocks are arranged, it’s time to fill the pond with water. Use a garden hose to slowly fill the pond, taking care not to disturb the rocks and plants. Allow the water to sit for a few days to dechlorinate and reach a suitable temperature for aquatic life.
Step 6: Adding Plants and Fish
Now comes the fun part – adding aquatic plants and fish to your small outdoor pond. Choose a variety of plants like water lilies, lotus, and water hyacinth to create a vibrant and healthy ecosystem. Introduce fish like koi or goldfish to help control algae and add movement to the pond.

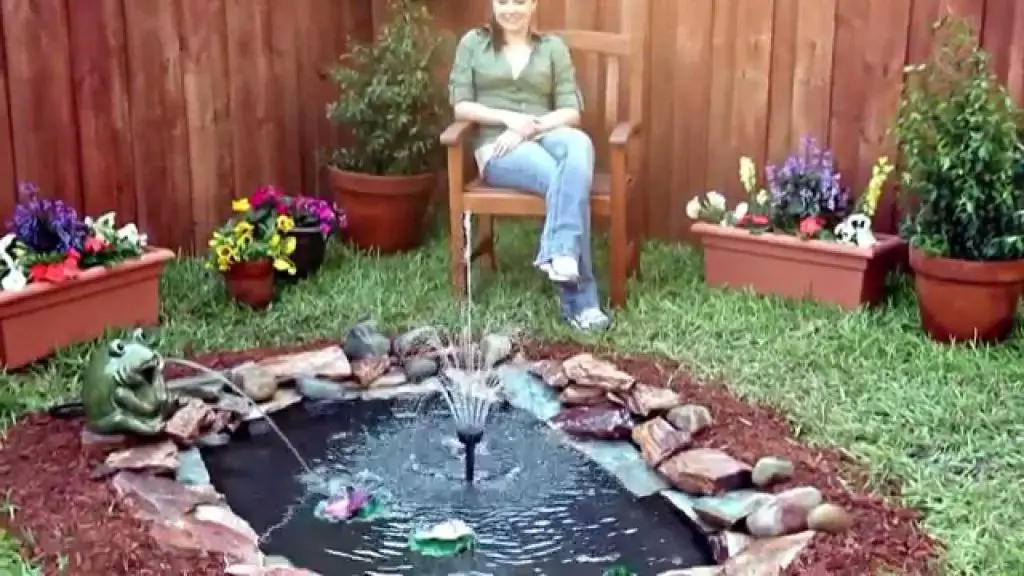
Credit: littleterracedhouse.com
Step 7: Maintenance and Care
Once your small outdoor pond is up and running, it’s essential to maintain and care for it regularly. Monitor water quality, clean filters and pumps, and remove debris to keep the pond healthy and thriving. Regularly check for leaks or damage to the liner and address any issues promptly.
Tips For Maintaining Your Pond:
- Monitor Water Quality
- Clean Filters and Pumps
- Remove Debris Regularly
- Check for Leaks or Damage
Step 8: Enjoying Your Small Outdoor Pond
After all the hard work and dedication you put into building and maintaining your small outdoor pond, it’s time to sit back, relax, and enjoy the beauty of your creation. Spend time observing the plants and fish, listening to the soothing sounds of flowing water, and connecting with nature right in your backyard.
Building a small outdoor pond is a fulfilling and enriching experience that brings nature closer to home. By following these steps and putting in the effort, you can create a tranquil oasis that enhances your outdoor space and provides a sanctuary for plants, fish, and wildlife. So, grab your shovel and get ready to embark on a journey of creating your very own small outdoor pond!