Building a small fish pond in your backyard can be a rewarding and relaxing project. Whether you’re an experienced fish enthusiast or a beginner looking to add a touch of nature to your outdoor space, a small fish pond can be a beautiful addition to any garden. In this guide, we’ll take you through the step-by-step process of building your own small fish pond.
1. Planning and Design
Before you start digging, it’s important to plan and design your fish pond. Consider the size and shape of the pond, the type of fish you want to keep, and the surrounding landscaping. Take into account the location of the pond in relation to trees and other plants, as well as the amount of sunlight it will receive.
Make a rough sketch of your pond design, including the dimensions and any additional features such as waterfalls or fountains. This will help you visualize the end result and make any necessary adjustments before you begin construction.

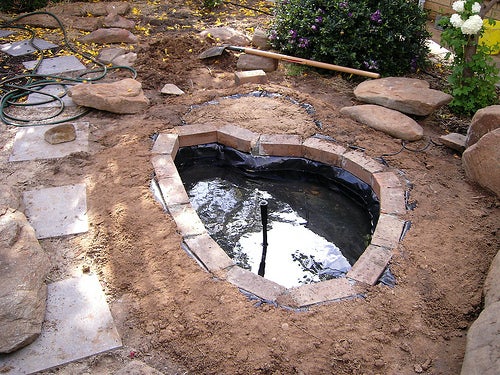
Credit: www.instructables.com
2. Choosing the Right Location
Once you have a design in mind, it’s time to choose the right location for your fish pond. Look for a spot in your yard that receives a good balance of sunlight and shade, as excessive sunlight can lead to algae overgrowth and water temperature fluctuations.
Additionally, avoid locating the pond near trees with large roots that could interfere with the pond’s liner or cause damage. Take into consideration the proximity to power sources if you plan to install a pump or filtration system.
3. Digging the Pond
With your design and location finalized, it’s time to start digging. Use a garden hose or spray paint to outline the shape of the pond on the ground. Start digging from the center and work your way out, gradually creating a shallow shelf around the edge for plants and easy access for cleaning.
Be mindful of the depth – a small fish pond should be at least 18 inches deep to provide adequate space for fish to thrive. As you dig, periodically check the depth and shape of the pond to ensure it aligns with your initial design.

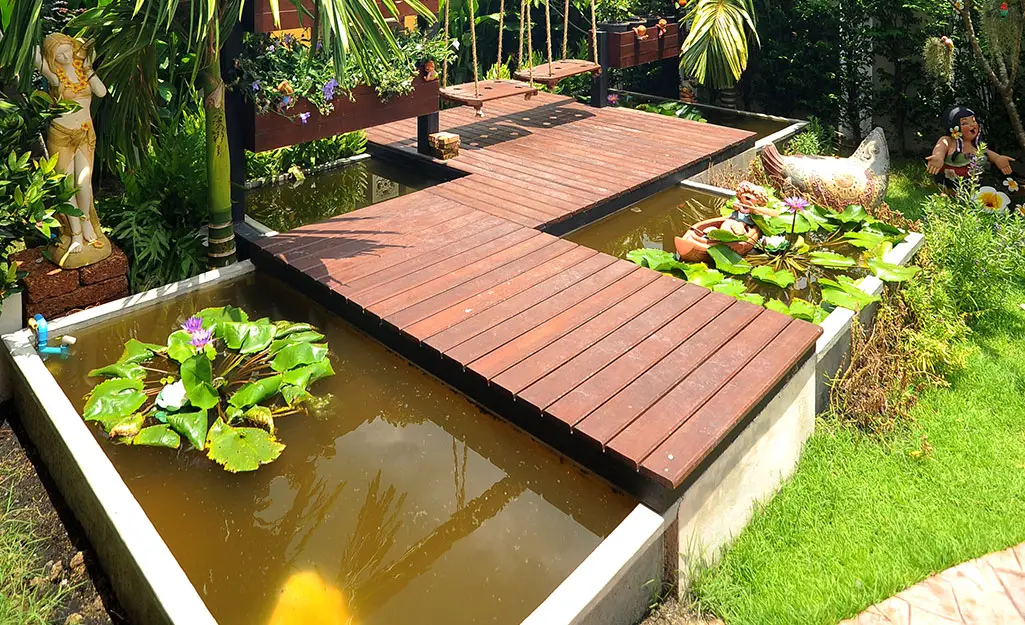
Credit: www.youtube.com
4. Installing the Liner
Once the hole is dug to the desired depth and shape, it’s time to install the pond liner. Choose a high-quality pond liner that is durable and resistant to tears. Place the liner carefully in the hole, ensuring that it conforms to the shape of the pond without any folds or creases.
Smooth out the wrinkles and folds in the liner, and add a layer of sand or old carpet beneath the liner to protect it from sharp objects or roots. Trim any excess liner, leaving a few extra feet around the edge to allow for adjustments and securing the liner in place.
5. Adding Water and Filtration
Once the liner is in place, it’s time to add water to the pond. Use a garden hose to fill the pond, and periodically adjust the liner to accommodate the weight and movement of the water. As the pond fills, trim and secure the excess liner, ensuring a snug and secure fit.
Consider installing a filtration system to keep the water clean and clear. A small pump and filter can help maintain a healthy environment for your fish and aquatic plants. Research the specific needs of the fish you plan to keep to determine the appropriate filtration system for your pond.
6. Landscaping and Aquatic Plants
With the pond filled and the filtration system in place, it’s time to add some landscaping and aquatic plants. Consider adding rocks, gravel, and aquatic plants around the edge of the pond to create a natural and visually appealing border.
Choose a variety of aquatic plants such as water lilies, lotus, and floating plants to provide shade, shelter, and oxygen for the fish. These plants also contribute to the overall aesthetic of the pond, creating a tranquil and natural habitat for your aquatic friends.
7. Introducing the Fish
Once the pond is fully set up and the water has stabilized, it’s time to introduce the fish. Choose fish species that are suitable for a small pond, such as goldfish, koi, or minnows. Research the specific requirements of each species, including water temperature, feeding habits, and compatibility with other fish.
Acclimate the fish to the pond water by floating the bag in the pond for about 15-20 minutes to equalize the temperature, then release the fish into their new home. Monitor the fish closely in the first few days to ensure they are adapting well to their new environment.
8. Maintenance and Care
With the fish settled into their new home, it’s important to establish a regular maintenance routine for the pond. Regularly check the water quality, clean the filter, and remove any debris or dead leaves from the surface of the pond.
Monitor the fish for any signs of illness or distress, and ensure they are receiving the proper nutrition. In colder climates, consider investing in a pond heater to prevent the water from freezing during the winter months.
Conclusion
Building a small fish pond can be a fulfilling and enjoyable project that adds beauty and tranquility to your outdoor space. With careful planning, design, and construction, you can create a thriving habitat for fish and aquatic plants, transforming your backyard into a peaceful oasis.
Remember to research the specific needs of the fish and plants you plan to introduce to your pond, and establish a regular maintenance routine to ensure the health and longevity of your small fish pond.
By following these step-by-step guidelines, you can create a small fish pond that not only enhances the natural beauty of your garden but also provides a serene and relaxing environment for you to enjoy for years to come.


