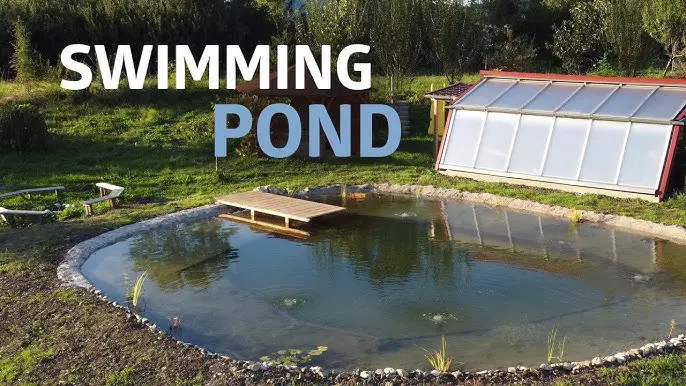
Are you looking to enhance the beauty of your backyard with a stunning pond? Building a pond can be a rewarding project that adds a touch of tranquility to your outdoor space. In this comprehensive guide, we will walk you through the step-by-step process of creating your very own pond. Whether you are a beginner or a seasoned DIY enthusiast, this guide will provide you with all the information you need to build a pond that you can be proud of.
Step 1: Planning and Design
Before you start digging, it’s essential to plan and design your pond. Consider the size and shape of the pond, the location in your yard, and any additional features such as waterfalls or fountains. You can use online resources or pond design software to visualize your pond before you begin construction.
Step 2: Choosing A Location
When selecting a location for your pond, consider factors such as sunlight exposure, proximity to trees, and the natural slope of the land. Choose a spot that is visible from your home and provides easy access for maintenance.
Step 3: Gathering Materials
Once you have a plan in place, it’s time to gather the materials you will need to build your pond. This may include pond liner, a pump and filter system, rocks and gravel for landscaping, and aquatic plants.
Step 4: Digging the Pond
Begin by marking the outline of your pond using spray paint or a rope. Use a shovel or a backhoe to dig out the shape of the pond, making sure to create varying depths to accommodate different plant and fish species.
Step 5: Installing the Pond Liner
Once the hole is dug, carefully install the pond liner, making sure to smooth out any wrinkles or folds. The liner will help to retain water and create a barrier between the soil and the pond water.

Credit: www.youtube.com
Step 6: Adding the Pump and Filter System
Install the pump and filter system according to the manufacturer’s instructions. This system will help to circulate and clean the water, keeping it clear and healthy for any fish or plants you choose to add to your pond.
Step 7: Landscaping The Pond
Now it’s time to add rocks, gravel, and aquatic plants to your pond. Use a variety of sizes and shapes of rocks to create a natural-looking shoreline, and consider adding water lilies, lotus plants, or other aquatic vegetation to enhance the beauty of your pond.
Step 8: Filling the Pond
Once you have finished landscaping, fill the pond with water. Use a de-chlorinator to remove any harmful chemicals from the water before adding fish or plants to your pond.
Step 9: Adding Fish and Plants
If you choose to add fish to your pond, introduce them slowly to allow them to acclimate to their new environment. Consider adding koi, goldfish, or other species that are well-suited to pond life. You can also add floating plants or submerged vegetation to provide shade and oxygen for your fish.
Step 10: Maintenance and Care
Regular maintenance is essential to keep your pond healthy and beautiful. This may include cleaning the filter, removing debris, and monitoring water quality. With proper care, your pond will provide years of enjoyment for you and your family.

Credit: www.youtube.com
Conclusion
Building a pond can be a fulfilling and enjoyable project that adds a touch of nature to your outdoor space. By following the steps outlined in this guide, you can create a stunning pond that will be a focal point in your yard for years to come. So, gather your materials, roll up your sleeves, and get ready to build the pond of your dreams!


