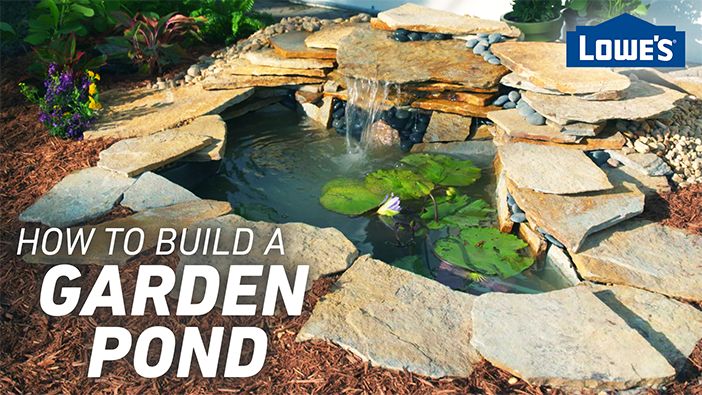
Building a garden pond can be a rewarding and enjoyable project that adds beauty and tranquility to your outdoor space. Whether you are a beginner or an experienced DIY enthusiast, creating a garden pond can be a fun and fulfilling experience. In this article, we will provide you with a step-by-step guide on how to build a garden pond from start to finish.
Step 1: Planning and Design
Before you start digging, it’s important to carefully plan and design your garden pond. Consider the size and shape of the pond, the location in your garden, and whether you want to include features such as waterfalls or aquatic plants. Sketching out your design on paper can help you visualize the final result and make any necessary adjustments before you begin.
Step 2: Choosing a Location
When selecting a location for your garden pond, it’s essential to consider factors such as sunlight exposure, proximity to trees, and ease of access for maintenance. Choose a spot that receives a good amount of sunlight but is not exposed to direct sunlight all day long, as this can lead to excessive algae growth. Avoid placing the pond near trees, as falling leaves can clog the pond and create maintenance issues.
:max_bytes(150000):strip_icc()/Japanese-Style-Garden-Pond-157913682-56a4a0ca3df78cf7728351b0.jpg)
Credit: www.thespruce.com
Step 3: Digging the Pond
Once you have planned the design and selected a location, it’s time to start digging the pond. Use a rope or garden hose to outline the shape of the pond on the ground. Start digging from the center and work your way out, gradually creating the desired depth and shape. Remove any rocks, roots, or debris from the hole to ensure a smooth and even surface.
Step 4: Installing the Pond Liner
After digging the pond, it’s time to install the pond liner. Choose a high-quality pond liner that is durable and resistant to punctures. Carefully place the liner in the hole, making sure to smooth out any wrinkles or folds. Secure the edges of the liner with rocks or bricks to hold it in place and prevent shifting.
Step 5: Adding Water and Rocks
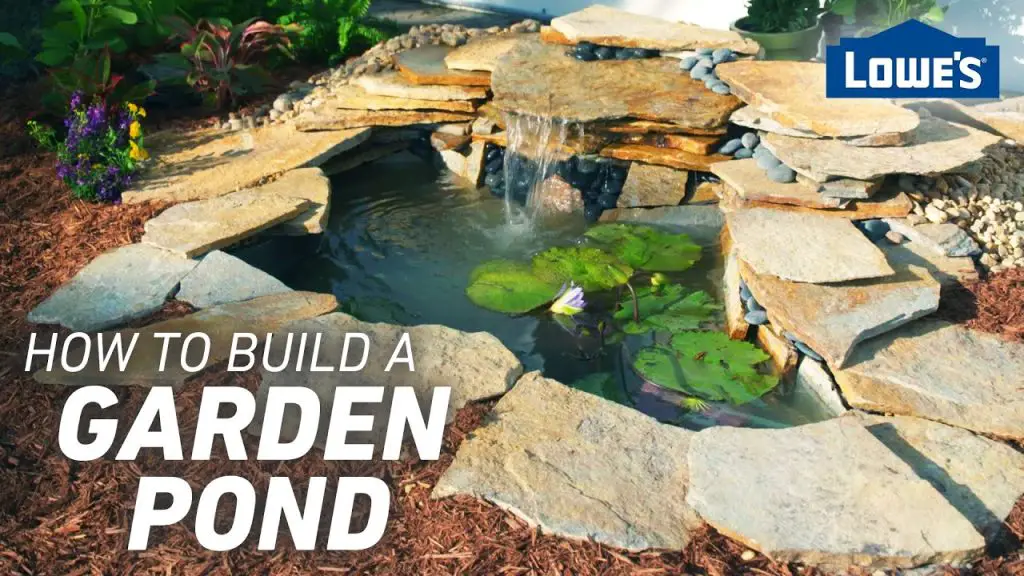
Once the pond liner is in place, it’s time to fill the pond with water. Use a garden hose to slowly fill the pond, allowing the liner to settle and conform to the shape of the hole. As the water level rises, add rocks and stones around the edges of the pond to create a natural and aesthetically pleasing border.
Step 6: Installing a Pump and Filter
To maintain the water quality and circulation in your garden pond, it’s important to install a pump and filter. Choose a pump that is the right size for your pond and install it according to the manufacturer’s instructions. Place the pump at the bottom of the pond to ensure proper water circulation and filtration.
Step 7: Adding Plants and Fish
Enhance the beauty and ecosystem of your garden pond by adding aquatic plants and fish. Choose a variety of plants such as water lilies, lotus, and water hyacinth to create a natural and vibrant underwater landscape. Introduce fish such as koi or goldfish to help control algae and add movement and life to the pond.
Step 8: Maintenance and Care
Once your garden pond is complete, it’s important to establish a regular maintenance routine to keep it healthy and beautiful. Remove debris such as leaves and algae regularly, check the pump and filter for any clogs or malfunctions, and monitor the water quality with a test kit. With proper care and maintenance, your garden pond will continue to thrive for years to come.

Credit: www.lowes.com
Conclusion
Building a garden pond is a rewarding and creative project that can transform your outdoor space into a peaceful oasis. By following these steps and tips, you can create a beautiful and functional pond that brings joy and tranquility to your garden. Remember to plan carefully, choose the right location, and maintain your pond regularly to ensure its longevity and beauty. Enjoy the process of building your garden pond and watching it flourish over time!


