Welcome to our comprehensive guide on how to build a stunning waterfall for your pond! Adding a waterfall to your pond can create a beautiful focal point in your outdoor space, enhance the aesthetics of your landscape, and provide a soothing sound of running water. Whether you have a small backyard pond or a large water feature, a waterfall can take your pond to the next level. Let’s dive into the step-by-step process of building a waterfall for your pond.
Step 1: Planning and Design
The first step in building a waterfall for your pond is to plan and design the layout. Consider the size of your pond, the desired height and width of the waterfall, and the overall look you want to achieve. Sketch out a rough design of how you want your waterfall to flow into your pond, taking into account the natural slope of the land and any existing features.
Step 2: Gather Materials
Before you start building your waterfall, gather all the necessary materials. You will need rocks of various sizes, a pond liner, a submersible pump, tubing, and a shovel. Make sure to choose rocks that are suitable for a waterfall, such as natural stones that will create a natural-looking cascade.

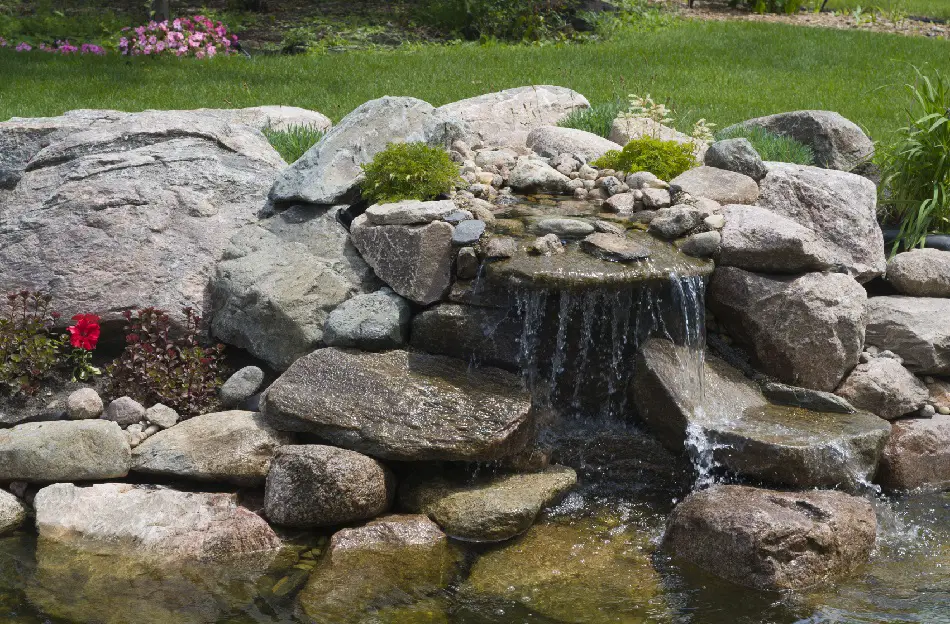
Credit: premierpond.com
Step 3: Digging the Waterfall Area
Using a shovel, start digging the area where you want to place your waterfall. Create a gradual slope that will allow the water to flow smoothly down the rocks. Make sure to dig a shallow reservoir at the base of the waterfall to collect the water and recirculate it back to the top.
Step 4: Installing the Pond Liner
Once you have dug the waterfall area, install a pond liner to prevent water from seeping into the ground. Place the pond liner over the excavated area, making sure to leave some excess liner around the edges to secure it in place. Trim any excess liner once it is properly positioned.

Credit: www.youtube.com
Step 5: Placing Rocks
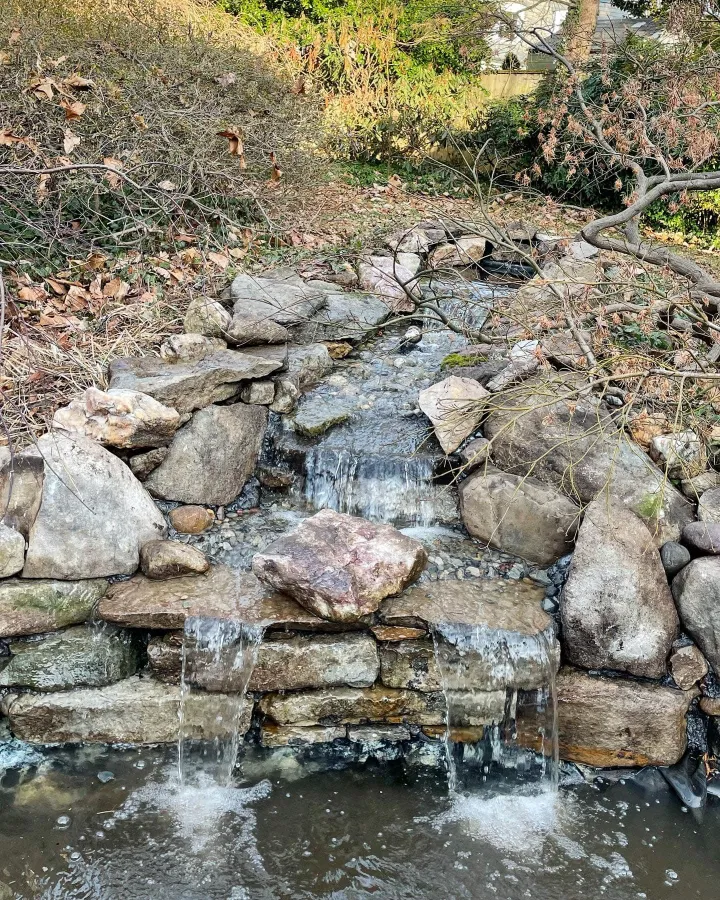
Now comes the fun part – placing the rocks to create your waterfall! Start by placing larger rocks at the base of the waterfall to form a solid foundation. Gradually work your way up, stacking rocks of various sizes to create a cascading effect. Make sure to leave gaps between the rocks for the water to flow through.
Step 6: Installing the Pump and Tubing
Next, install the submersible pump at the base of the waterfall in the reservoir you dug earlier. Connect the pump to the tubing that will carry the water from the reservoir to the top of the waterfall. Conceal the tubing behind the rocks to maintain a natural look.
Step 7: Testing and Adjusting
Once you have finished installing the rocks, pump, and tubing, fill the reservoir with water and turn on the pump to test the flow of water. Make any necessary adjustments to the rocks or tubing to ensure a smooth and even flow of water down the waterfall.
Step 8: Adding Plants and Lighting
To enhance the beauty of your waterfall, consider adding aquatic plants around the base of the waterfall. Plants such as water lilies, irises, and cattails can soften the edges of the rocks and create a more natural look. Additionally, adding underwater lighting can highlight the cascading water at night and create a magical ambiance.
Step 9: Maintenance and Care
Once your waterfall is up and running, it is important to maintain it regularly to keep it looking its best. Clean the pump and tubing periodically to prevent clogs, remove debris from the reservoir, and trim any overgrown plants. Regular maintenance will ensure that your waterfall continues to flow smoothly and adds beauty to your pond.
Conclusion
Building a waterfall for your pond can be a rewarding DIY project that will enhance the beauty and tranquility of your outdoor space. By following these step-by-step instructions, you can create a stunning waterfall that will become the focal point of your pond and provide a relaxing atmosphere for you to enjoy. So, roll up your sleeves, gather your materials, and get ready to build a beautiful waterfall for your pond!


