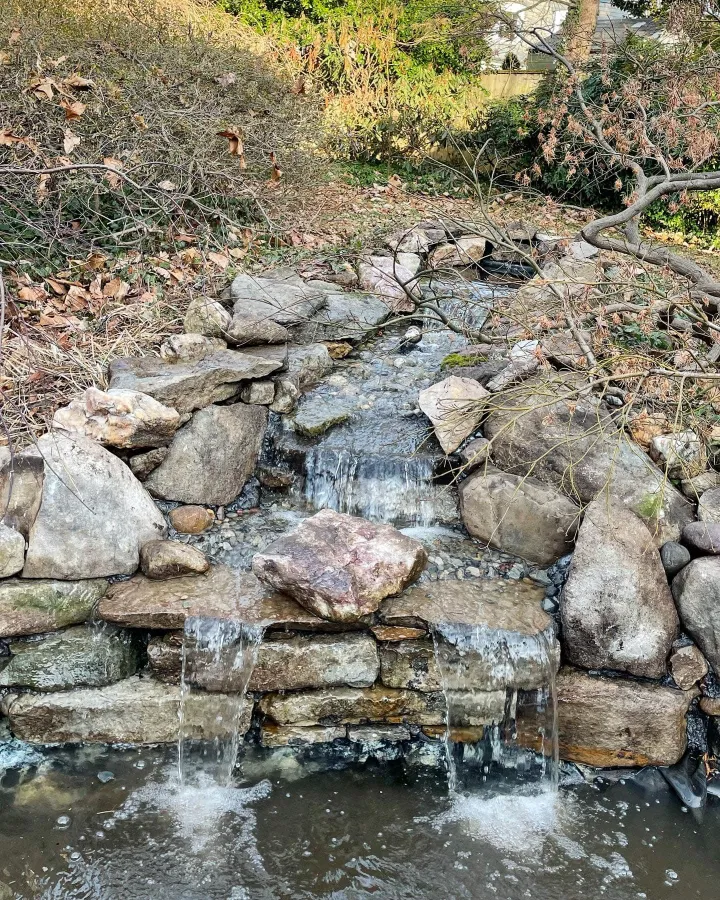
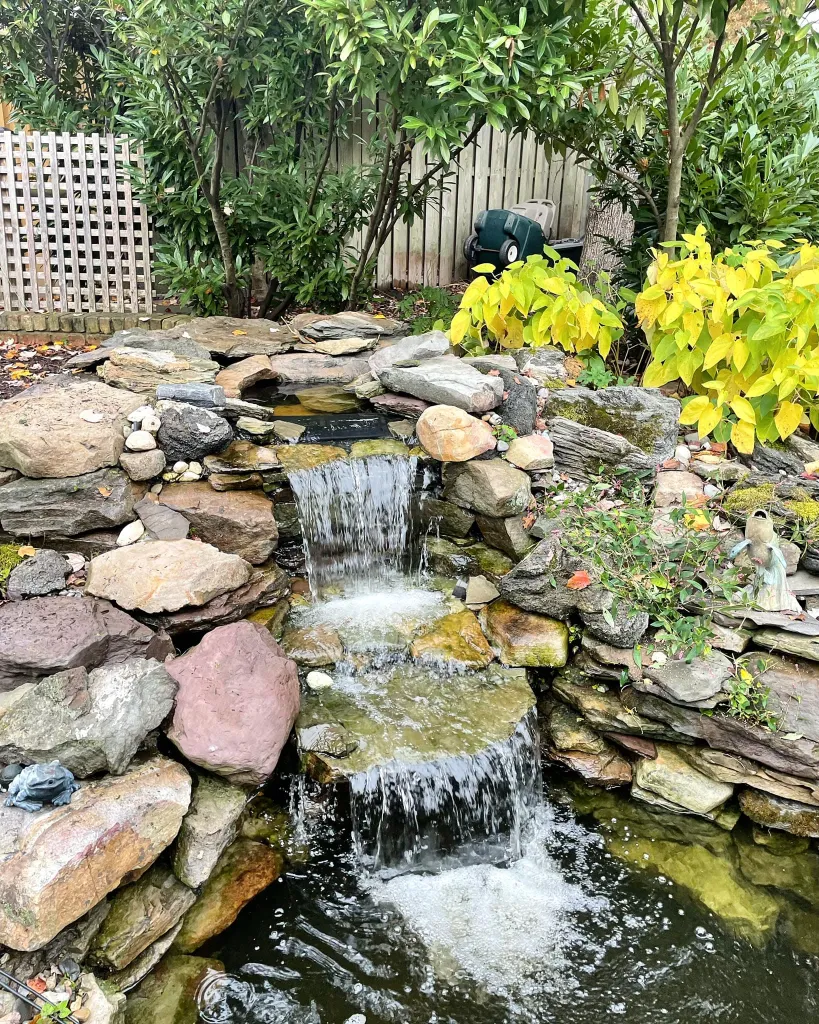
Adding a waterfall to a pond can enhance its beauty and create a tranquil oasis in your backyard. Not only does it provide a soothing sound of flowing water, but it also adds a touch of elegance to your outdoor space. Building a waterfall into a pond may seem like a daunting task, but with the right guidance and tools, you can create a stunning water feature that will be the focal point of your garden. In this article, we will discuss the step-by-step process of building a waterfall into a pond.
Materials Needed:
To build a waterfall into a pond, you will need the following materials:
- Pond liner
- Rocks of various sizes
- Pond pump
- Tubing
- Waterfall spillway
- Shovel
- Level
- Marker
Step 1: Plan Your Waterfall Design
Before you start digging, it’s important to plan out the design of your waterfall. Consider the size and shape of your pond, as well as the placement of the waterfall. Sketch out your design on paper and mark the area where the waterfall will be located.
Step 2: Dig the Waterfall Area
Using a shovel, dig out the area where the waterfall will be placed. Create a shallow basin at the top of the waterfall where the water will collect before flowing down the rocks. Make sure the area is level to ensure proper water flow.
Step 3: Install the Pond Liner
Once the area is dug out, place the pond liner in the waterfall area, making sure to cover the entire space. The pond liner will help to retain the water and prevent leakage.
Step 4: Add Rocks
Start by placing larger rocks at the base of the waterfall, gradually working your way up with smaller rocks. This will create a natural-looking waterfall effect. Be sure to securely place the rocks to prevent shifting.
Step 5: Install the Waterfall Spillway
Position the waterfall spillway at the top of the waterfall area. This will help to regulate the flow of water and create a smooth cascade down the rocks. Connect the spillway to the pond pump using tubing.
Step 6: Connect the Pond Pump
Attach the pond pump to the tubing connected to the waterfall spillway. Place the pump in the pond and ensure that the tubing is securely attached to the spillway. The pump will circulate the water from the pond to the waterfall.
:max_bytes(150000):strip_icc()/how-to-build-outdoor-waterfalls-inexpensively-2132910-hero-f125991fc8314c95b1f547f4ac480a47.jpg)
Credit: www.thespruce.com
Step 7: Test the Waterfall
Fill the pond with water and turn on the pump to test the waterfall. Adjust the flow of water as needed to achieve the desired cascade effect. Make any necessary adjustments to the rocks or spillway to enhance the appearance of the waterfall.
Step 8: Add Finishing Touches
Once you are satisfied with the waterfall, add any finishing touches such as plants or lighting to enhance the overall look of the water feature. Sit back, relax, and enjoy the peaceful sounds of your new waterfall in your pond.

Credit: premierpond.com
Conclusion
Building a waterfall into a pond is a rewarding project that can transform your outdoor space into a serene retreat. By following these steps and using the right materials, you can create a beautiful water feature that will bring joy and relaxation to your garden. So, roll up your sleeves, grab your tools, and start building your own waterfall into a pond today!


